“Learning how to mix is almost as important as hitting on your original musical idea”: New to the mixing process? Start here
Don't let a brilliant song be swallowed up in a bad mix by following our guide to the central principles of the process
Our goal with our recent batch of 'Start Here' features has been to help you make and release stellar music, armed with just your computer and DAW, even if you have no prior experience. Across these features, we aim to detail every aspect of music production in as clear a way as possible, with straightforward advice and tips to help you make better music.
So far, we've explored MIDI, Interfaces, recording external synths and much more. In process terms, we have introduced the DAW - the Digital Audio Workstation - at the heart of computer music making, we have detailed how to start a track, arrange a track with loops and also how to finish a track.
This time around we're looking at mixing a track and how you can make your ideas sound better with good mix practice for the instruments, vocals, beats and more so that everything in your song shines!
Luckily, DAWs come with fantastic mixing features, including faders to adjust volumes of instruments and mix effects like EQ and compressors to tweak the sounds.
As with a lot of things when it comes to music production, being a little restrained yields benefits, so not only will we explain what to have in your mix, but what to avoid - less is often more when it comes to mixing, and small tweaks here can mean big results there.
Whatever music you make, though, learning how to mix it is almost as important as hitting on your musical idea in the first place. A good mix will put that idea on show, whereas a bad mix could well bury it forever. Before we go into the details of mixing, we now explain what the process is from its first principles.

What is mixing?
What is mixing?
When you mix your music you are simply making sure that all of your instruments, ideas, melodies, vocals and beats can be heard without hindering one another.
On a very basic level, this means making sure that certain tracks aren't too quiet while others aren't too loud and drowning out everything else.
Mixing means letting instrument tracks breathe, giving them space where required and certainly not letting them clip - that is when the audio pushes the visual feedback into the red on your virtual mixing desk.
Get the MusicRadar Newsletter
Want all the hottest music and gear news, reviews, deals, features and more, direct to your inbox? Sign up here.
As well as volume considerations, mixing is about compression and EQ. The former is making sure that signal levels remain even; you might have a bass guitar track that is quiet in some places but loud in others.
A compressor allows you to boost the quiet parts and compress the loud ones so you get a more even signal. EQ on the other hand is all about taming different frequencies, maybe cutting the low end of that wild bass synth so it's not too muddy, or boosting the mid frequencies of a vocal so that it cuts through a mix and can be heard better.
Finally, there's the concept of panning. In a stereo mix (there are surround mixes, but we're focussing on the more standard left and right stereo channels here) you have a stereo soundstage in which to place your instruments, which not only lets you keep clashing instruments away from one another but can offer a lovely, wide experience for your listener. We'll tackle all three of these areas – volume, EQ/compression, and panning in more detail below.
Why do you need to know about mixing?
Why do you need to know about mixing?
We'll assume that you have a few ideas either looping in your DAW over several audio and MIDI tracks, or you have a fairly advanced arranged project ready to mix.
The first thing to do is to set all of your fader levels at 0dB which on most DAWs leaves you some headroom to go up, although we'll more likely mix downwards so 0dB will be your peak. Some people advocate -6dB to give yourself even more headroom but for the sake or our workshop, 0dB is just fine.
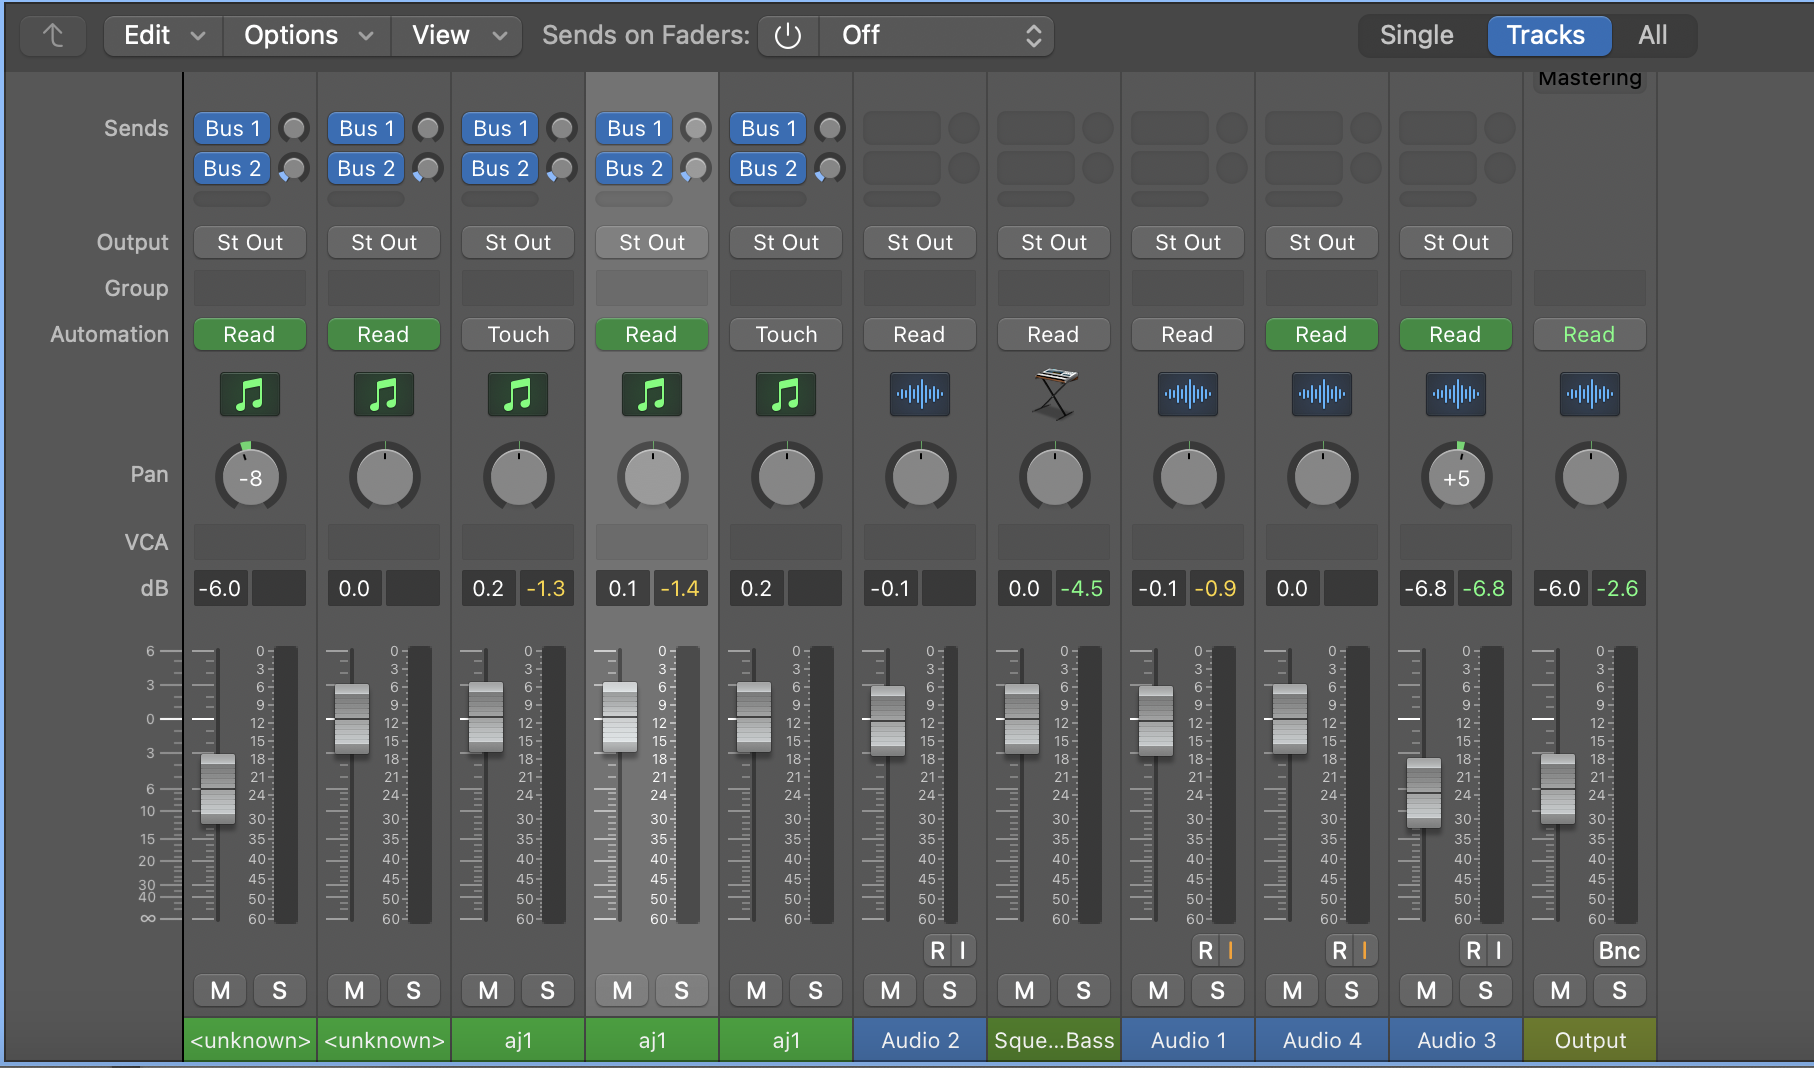
The main principles, then, are to be able to hear every track at first. You can do this by adjusting fader levels.
Pull them down from 0dB rather than up to keep that headroom - the important thing is that channels must not clip or go into the red part of each mixer channel.
You will probably find that even by adjusting levels, some sounds will clash, as everything so far is playing through the centre of your stereo soundstage, and that's where panning comes into play.
Panning simply lets you spread your instruments and vocals across a stereo spread from left to right.
While it's really up to you where you place instruments and vocals, there are some rules to follow, should you wish. One good piece of advice when mixing a live instrument/band-based piece of music (anything with traditional guitars, bass, drums and vocals) is to picture the band on stage and pan the relative positions of the instruments in that way, so drums and bass in the middle, guitars panned slightly left and right; maybe backing vocals panned to one side too.
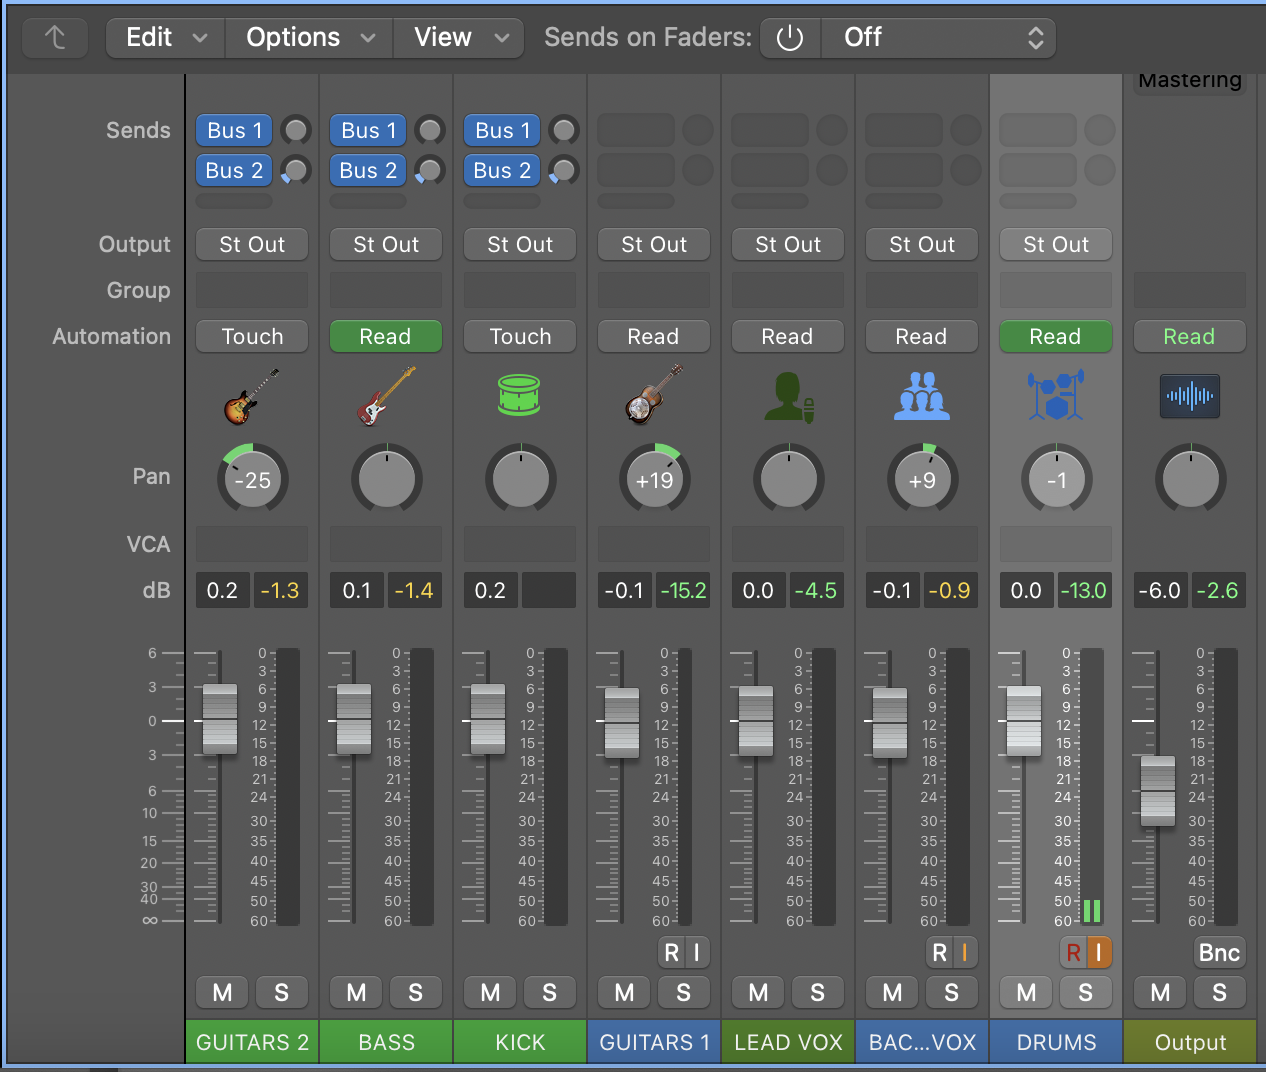
Generally speaking, low frequency instruments - your kick drum and bas guitar, for example - stay central as does you lead vocal, but otherwise, fill your boots and experiment.
The one mixing rule that you should abide by is that 'if it sounds good, it is good', even if you break all of the other rules!
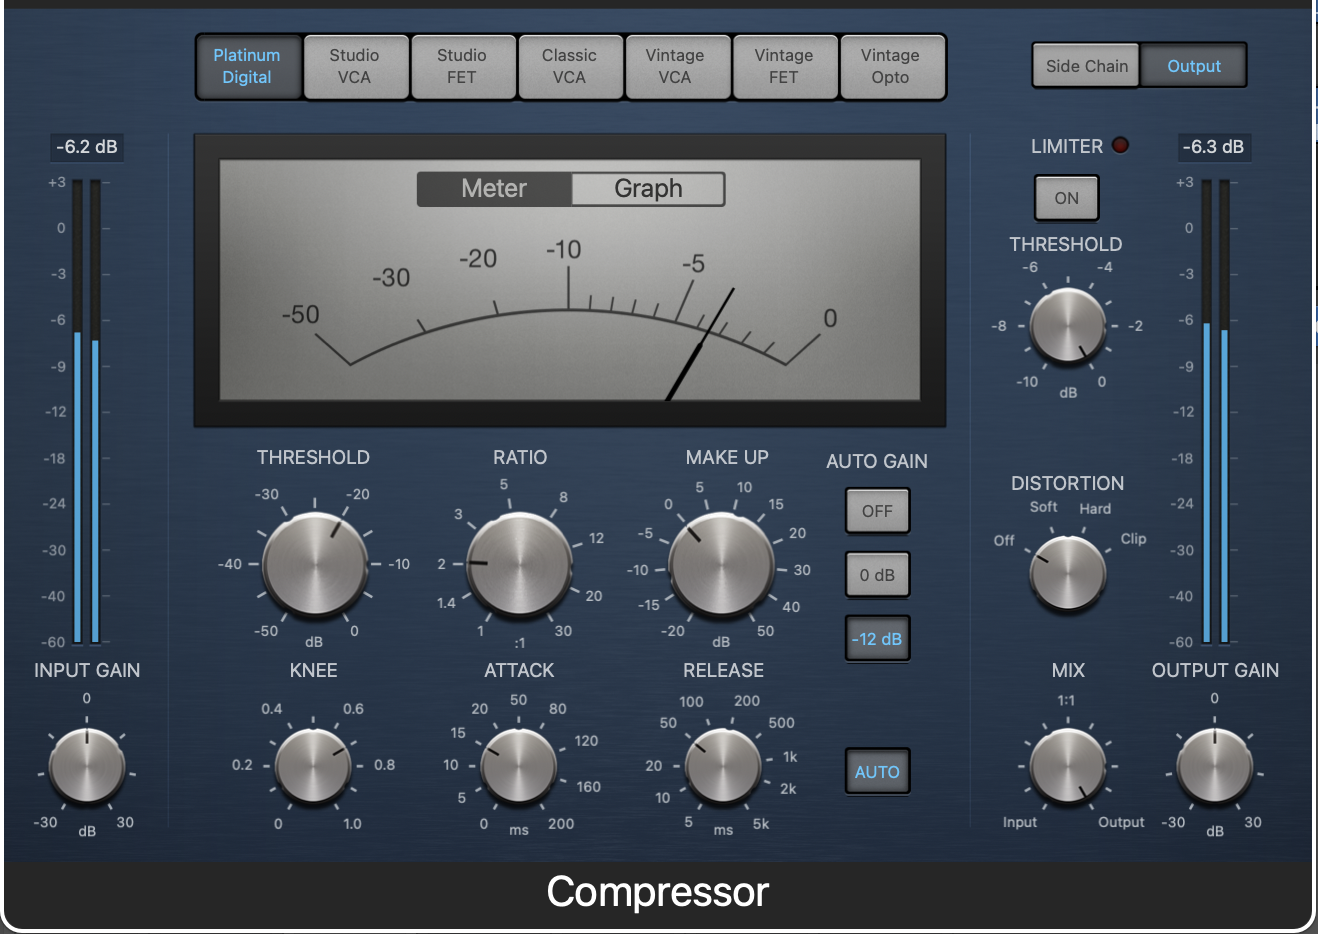
With compression, you can use it creatively to crush a sound and get some filthy distorted beats, for example, but in a mixing scenario, it is used more subtly to keep levels even. It's especially good for wayward vocals, guitar, bass and acoustic drums, where playing might not be even and some notes and beats might be louder than others.
A compressor literally compresses the higher volume sounds so that they are more even with the lower, at the same time boosting quieter notes so that they are more of a match for the louder ones. You do this by setting a threshold, a level that you want your volume to be, and the compressor will lower any signals above this at a speed defined by the attack value which controls how quickly the compression takes place and a release value, which is how quickly it stops.
On a basic level, EQ is used to boost the frequencies you want to hear and cut those you don't, but it's not just a matter of adjusting bass and treble as all of your instruments will sit in specific frequency ranges within the 20Hz to 20 kHz range of human hearing.
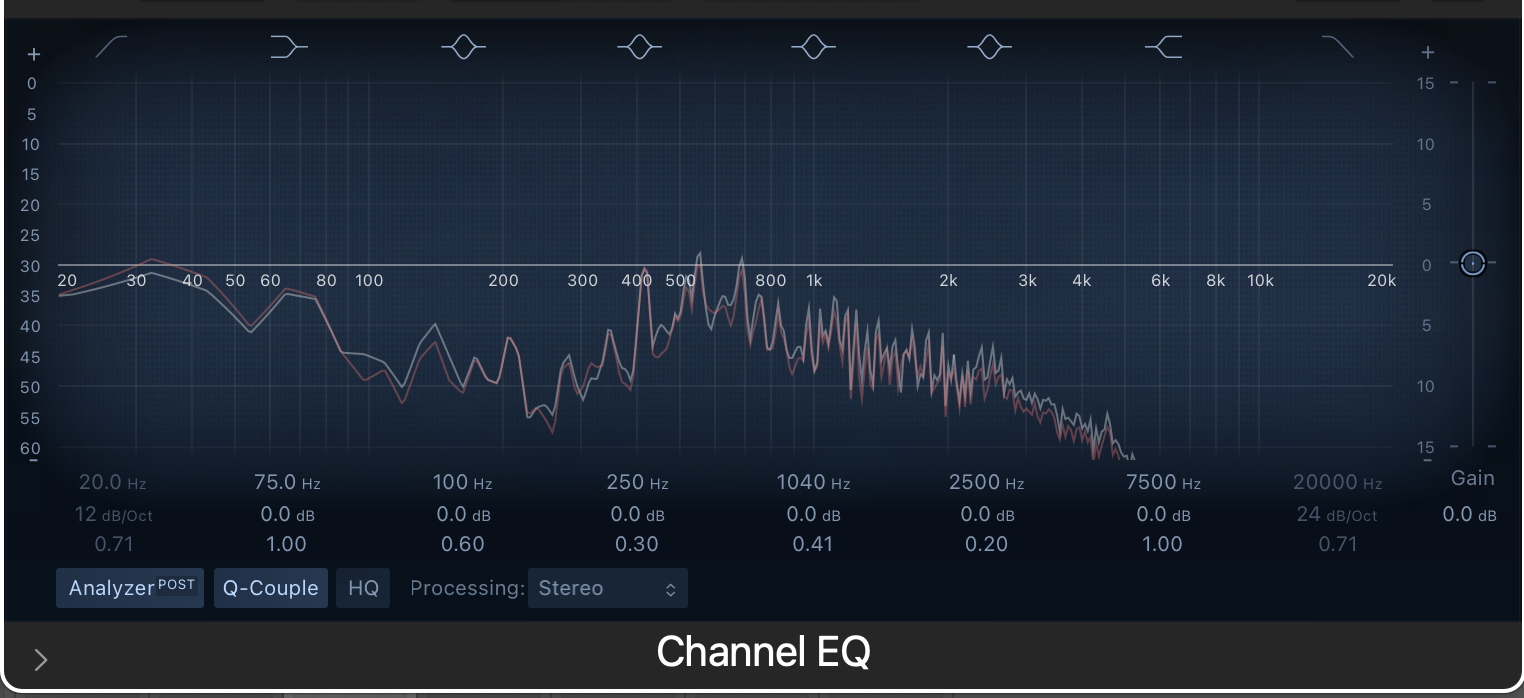
Broadly speaking, these ranges and instruments are as follows: sub bass is 20-60Hz, the lowest end of human hearing and often difficult to hear unless you own a subwoofer, but particularly important in bass heavy dance music.
The bass range is 60Hz to around 250Hz and covers your bass guitar, some male vocals, and parts of your kick drum.
The lower mid frequency range is next, covering 250Hz to 500Hz and takes in guitars, vocals, and some bass guitar elements. The mid frequency range is around 500Hz to 2kHz and deals with a lot of vocals, some percussion and keyboards.
The upper-mid range goes from 2kHz to 4kHz and takes in account female vocals, snares and strings, and finally the higher frequencies (4kHz and upwards) deal with very high percussive frequencies like cymbals.
We'll cover some of the main EQ rules in our key points on mixing below but generally the idea is to use EQ to emphasise what you want to hear by boosting certain frequency ranges, the width of which is defined by a Q value, and cut the frequencies you don't want to hear.
Overall it can sometimes be useful to think of a mix in three dimensions: panning left and right, volume up and down and EQ/compression front to back, and really the idea is to spread a mix so it fills a canvas. Use some of our tips below to help you get your mix picture perfect but remember rules are only a guid line, and if it sounds good…
10 key mixing points
10 key mixing points
1. Volume and panning are probably your first mix practices and just by getting these two right you should be well on your way to creating a good mix. Remember with the former not to mix too loud as it will be easy to end up pushing everything upwards to compete. It's often best to pull back channels to emphasise others rather than pushing everything up.
2. Generally speaking, mix decisions are about subtle tweaks here and there rather than dramatic edits. You don't want big volume differences between tracks and nor do you want extreme panning unless you are a more experimental composer. Similarly over-boosting and cutting certain frequencies might well muddy your mix so don't overdo it.
3. And taking this point further, always mix at low levels. Keep you maximum headroom at 0dB but also your overall volume level down. You might end up mixing for long sessions and you can easily damage your ears mixing at high levels. Sure, you can blast it out on occasion but keep the volume levels low for the bulk of the session.
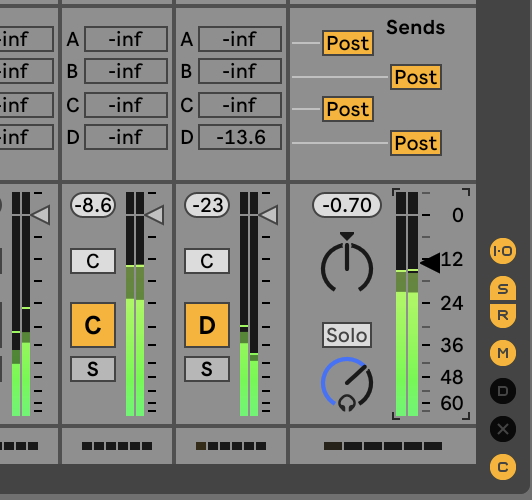
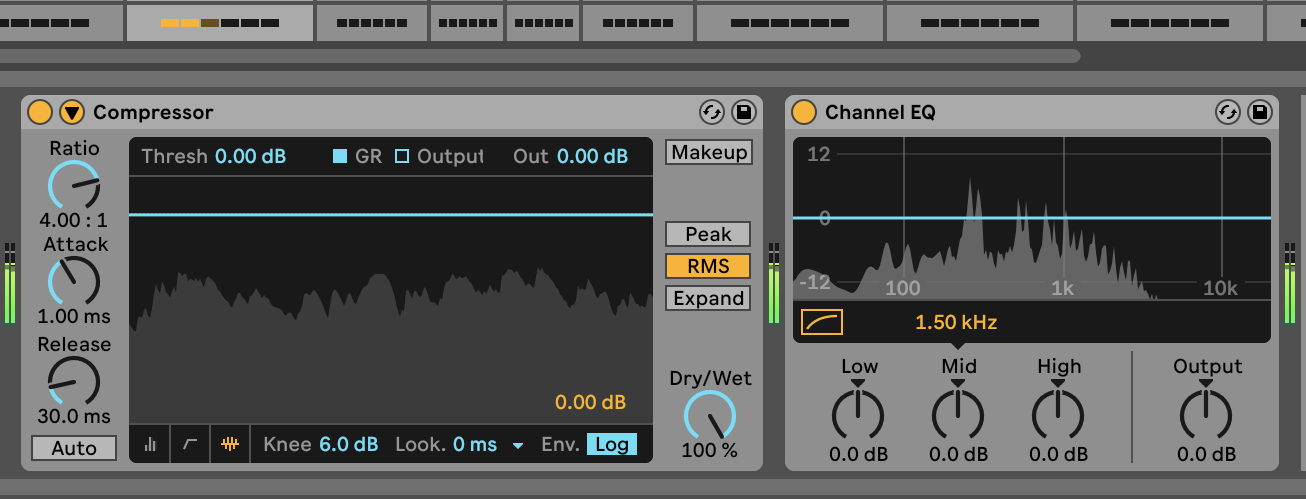
4. When you mix, it's good to have an EQ and compressor on every channel. You could and maybe should have this set up in your DAW template so that whenever you start a track, all of your channels are set up and ready to go. This is particularly useful for some mix engineers who advocate cutting the low frequencies on every channels bar the bass synth, bass guitar and kick drum - using a high pass filter on an EQ - as these are really the only channels which should be using low frequencies and every other channel might have stray frequencies in this range which muddy the bass.
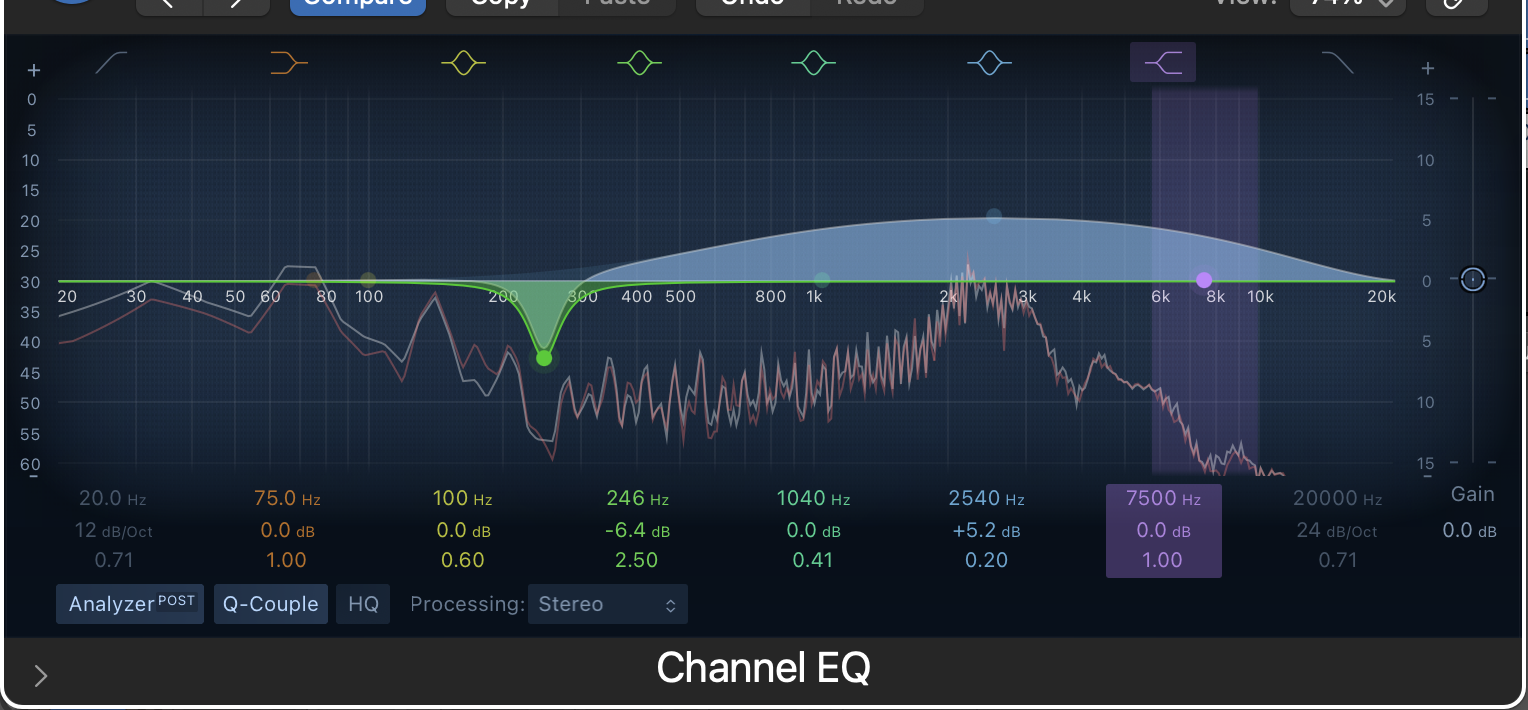
5. Inevitably, some instruments will clash when panning, a very common one being both the kick and bass if they are both placed centrally, and this is where EQ comes into its own, because it too can be used as a separator. For the kick and bass, you can use use the EQ's UI to see which parts of the frequency range are clashing and use a band pass or bell shape to boost this clashing area in one part and cut it in the other, perhaps nudging up frequencies around the cut to keep the instrument's presence in the mix.
6. One EQ rule worth following is 'boost wide and cut narrow' so keep the Q value larger when boosting certain ranges and low when cutting. This is because cutting is often used to remove problem frequencies, like keyboard or guitar body noise and ringing, so needs to be surgically narrow to avoid degrading more of the original recording. Wider boosts, on the other hand, sound more natural than narrow boosts which can sound overly dramatic.
7. If after your EQ-ing, your individual track sounds too degraded when you solo it, don't worry, it is all about how it sounds in a mix. You might well have cut the body out of a drum loop, for example, so that it sits well with a bass guitar. Yes it sounds weedy when you solo it, but as long as it sounds good in the context of a mix, you're good to go!
8. Modern DAWs make it very tempting to ladle on track after track when mixing, but even if you are a master of panning, EQ and compression, sooner or later you will end up with a massive wall of sound and a muddy mix. Again, restraint is often the option, so pull back the track count and let your initial ideas shine brighter and you will make more impact. Take a leaf out of Finneas and Billy Eilish's book; they sold 10 million copies of Eilish's debut album with songs with often just four instruments on. (Ok they might have had hundreds of vocal tracks, but you know what we mean!)
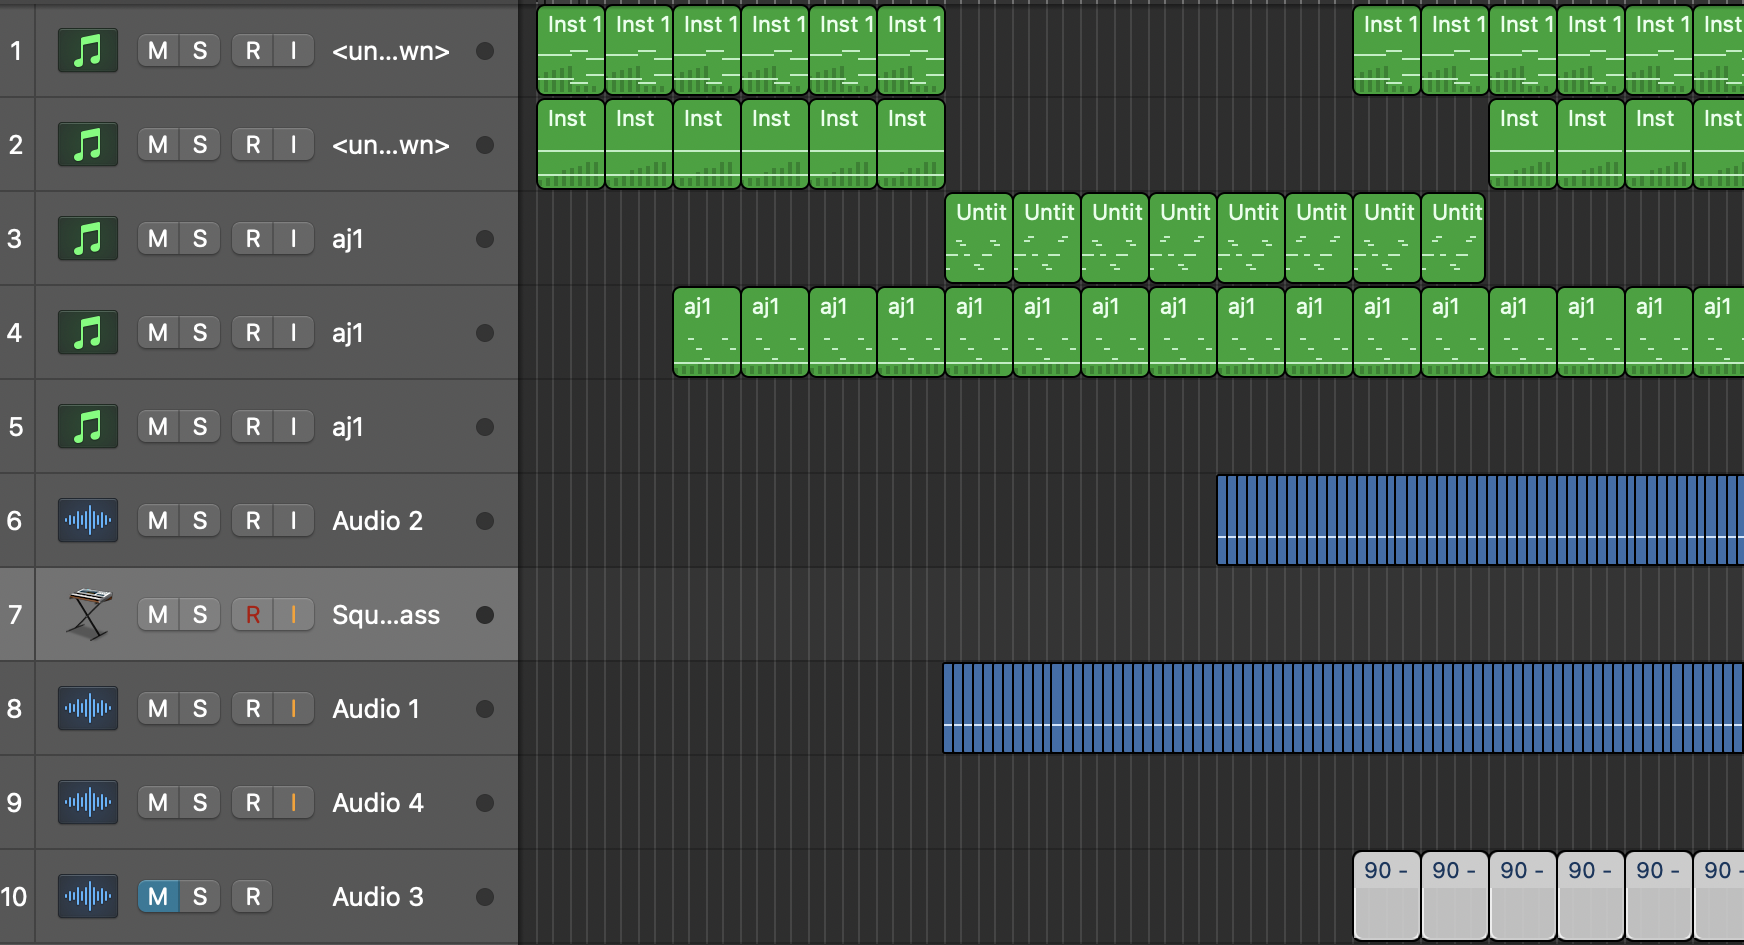
9. Use a reference track to mix. Load in an audio file of a finished track by your favourite artist, in the genre you are producing within, and try to 'mix up' to it. That is, try and reach the same dynamic range as your reference track to get the same kinds of peaks and troughs. Don't expect to reach the volume levels as that is done in the mastering stage (which we will cover in an upcoming Start Here) but a reference track will give you a good indication of the kinds of level differences and EQ targets you should be aiming for.
10. And finally the good old tip that we can pretty much put in any mixing or production feature: try your finished mix out on different playback systems - car, bluetooth system, headphones etc - to make sure it sounds good on all of them.
If, for example, it sounds consistently bass-light on these systems, it might suggest that the monitors or headphones you are using to mix are too bass-heavy and you are overcompensating by pulling back the bass when mixing. If so, you'll need to adjust the bass on your monitors downwards. Most have controls to do this.
Further reading
MusicRadar further reading
First off, here's 9 quick and effective ways to improve your mix
Here's some guidance on making your mix sound more pro-level
Want some guidance on setting up some solid mixing chain templates that will be perfect for a range of music styles? Look no further.
Sometimes it pays to defer to a smarter set of ears when handling some of mixing's more problematic challenges. While they don't have ears, these plugins and tools can certainly bring some on-the-fly know-how to improve your mixing - and save your precious time.
We asked some professional mixers to dispense some of their many years of experience in tip form, here's what they shared.
Getting vocals right and to sit comfortably in a mix can be a real challenge. Here's a route you can apply to your own mix templates to capture and mix a lead vocal effectively
While you're here, you may as well grab a selection of the very best free mixing plugins you should certainly add to your arsenal. Here's 6 of our recommended ones.
Mixing and mastering are processes that feed off and out of each other, to that end much of the wisdom pertaining to one directly affects the other. Here's a selection of mixing and mastering techniques every bedroom producer should know
Beats can prove a particularly troublesome spot to get right in the mix, here's an approach we recommend.
While a technical process, mixing very much depends on the ears, intuition and emotional responses of a human. Or does it? Here's where we put a new AI mixing-assistant to task and square it off against a real human mix engineer
Andy has been writing about music production and technology for 30 years having started out on Music Technology magazine back in 1992. He has edited the magazines Future Music, Keyboard Review, MusicTech and Computer Music, which he helped launch back in 1998. He owns way too many synthesizers.
- Andy PriceMusic-Making Editor


