“It's rare to encounter a song from the last 70 years or so that doesn’t involve it in some way”: How to work with reverb effectively
Reverb doesn’t have to be confusing. Learn how to use this incredibly important effect.
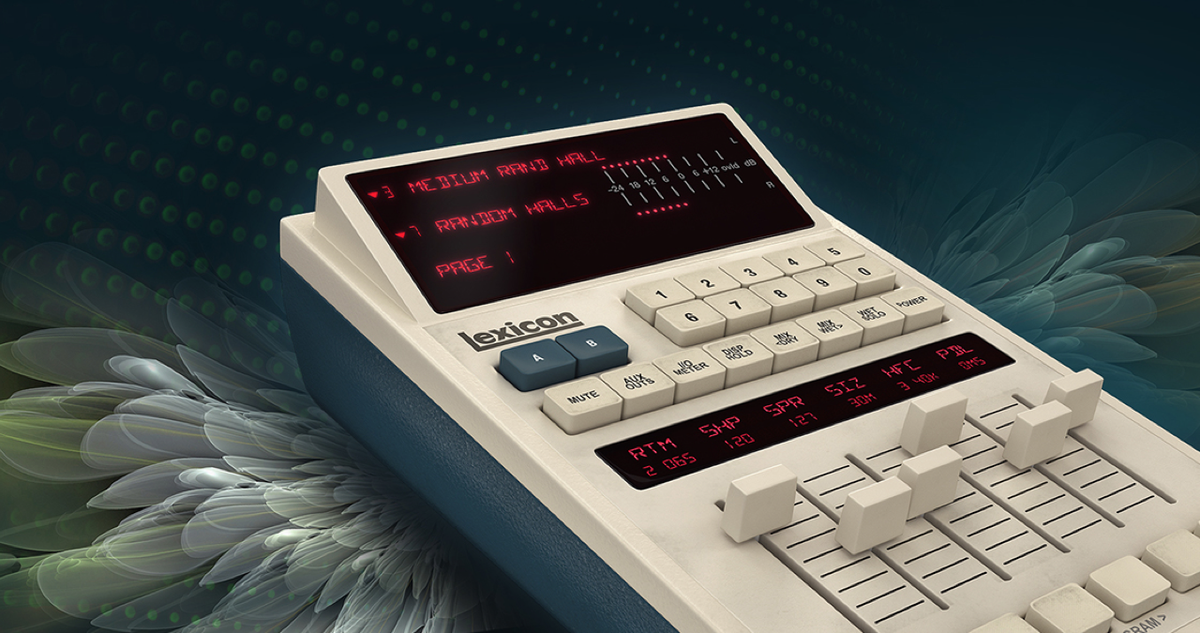
Reverb is one of the most-used effects in the music producer’s toolkit. Indeed, it’s rare to encounter a song from the last 70 years or so that doesn’t involve reverb in some way. While it may seem straightforward on the surface - slap it on a track, instant vibes - there’s a lot more to it than just set it and forget it.
It’s true that reverbs can make pretty much anything sound better but only if you use it in a way that is appropriate for the track at hand. When used correctly, a good reverb can lift a song into the stratosphere, imbuing it with a sense of space, even grandeur.
But when used incorrectly, it can destroy a mix single-handedly. Think of reverb like a special sauce that you add to a dish. Applied in the correct amount, it enhances the flavours already there. Over do it though and your meal turns into a sloppy mess.
In this latest entry in our ongoing series for absolute beginners, we’re taking a deep dive into reverbs, breaking down what they are, what all the controls mean, and how to get the best results from them.
The best part is, if you have a DAW, you likely already have a few top reverb plugins at your disposal. So fire up your DAW of choice, open up a few reverbs, and let’s get wet.
Reverb: What is it?
What is reverb?
Reverb is what happens when sound waves emanating from some initial sound bounce off surfaces and then eventually reach your ear. Imagine clapping your hands together in a tunnel.
The wash of sound that your hear all around after the clap is the reverb. Think of it like an echo but instead of a single repeat, there are multitudes of them all overlapping each other.
Reverb as an audio effect began its history in a very physical way. Hoping to add some life to overly sterile recordings, producers and engineers began experimenting with recording spaces, piping audio into stairwells, bathrooms and (later) purpose-built rooms called chambers and then recording the resulting reverb with a microphone.
Get the MusicRadar Newsletter
Want all the hottest music and gear news, reviews, deals, features and more, direct to your inbox? Sign up here.
As technology progressed, so did reverbs, with mechanical reverbs appearing in studios. One such is plate reverb, a massive metal plate suspended by springs with a transducer and pickups attached to it. Spring reverbs - the same idea but with a metal spring instead of a plate - provided a much cheaper alternative.
In the late 20th century, as digital technology came online, companies began making digital reverbs. These could recreate both physical and mechanical reverbs, plus generate new ones never heard before, like Eventide’s ShimmerVerb , which adds pitch shifting to the reverb cloud.
Nowadays, plugin reverbs dominate music production thanks to their affordability and convenience.
Most plugin reverbs use algorithms to generate their spaces, which are generally called (in order of increasing size) room, chamber and hall (think concert hall, not corridor).
They can of course also emulate plates and springs. Another popular type is convolution reverb, which uses ‘samples’ of physical spaces or hardware called impulse responses (IRs) to generate reverbs.
Modern reverbs can have all many of controls on them depending on the whims of the specific developer, but common controls can be reduced to four basics: Size, Decay, Pre-Delay, and Early Reflections. Size controls what it sounds like: how large or small the reverb is.
This will usually also adjust how long it takes for the reflections to dissipate, but that could also be given its own, separate control called decay.
Another common parameter is Pre-Delay, which adjusts the length of time it takes before you hear any reflections at all.
This pause can be used to provide vocals or drums with some space to be heard before the reverb arrives. Lastly, early reflections refer to the first reflections that arrive at the ear and are generally associated with room reverbs. Using this correctly can help impart a sense of realism to sounds.
Why do I need to know about reverb?
Why do I need to know about reverb?
The use of reverb arose to give music producers more control over the sound of their recordings. By recording elements ‘dry’ and then making them ‘wet’ with reverb, they could place the musicians into any kind of space that they wanted, real or imagined.
Reverb is also an essential tool for mixing. Any good mix needs to have three dimensions, it’s often said, and reverb can play a big part in the feeling of depth. Sounds with more reverb tend to seem farther away, after all.
To get a feel for how to use reverb, try adding a reverb plugin to a track in a song that you’re working on. Any type of audio will do, drums, vocals, guitar, although bass can be tricky due to all of the low frequencies that can quickly build up and complicate a mix.
For now, it’s best to avoid basslines and kicks until you’re more comfortable with reverb in general (sorry, techno producers).
The first choice you have to make is whether to put the reverb plugin directly on the audio track itself i.e. as an insert, or on an auxiliary track as a send.
The traditional benefit of placing it on a send is that you have control over the wet/dry balance, although most modern plugins will probably offer this feature within the plugin anyway.
Another plus for going with auxiliary tracks is that you can send more than one audio signal to the same reverb.
This can give your track a feeling of cohesion, as if all of the different elements are in the same space together. It can also keep CPU usage down.
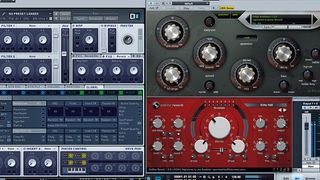
Once your reverb plugin is in place, choose an appropriate ‘space’, for example, a room reverb for a snare sound or plate emulation for a vocal. Experiment with the size/decay.
Big reverbs can sound wonderful but can also swamp the sound - perfect if you’re making ambient, not ideal if it’s a traditional folk song. Use the pre-delay settings to place a pause between the sound and its reverb to increase clarity.
If rhythm is a big part of the track, try timing the pre-delay to land on beat. Lastly, experiment with early reflections to lend a feeling of realism to acoustic sounds with room reverbs.
Once you’re feeling confident, move onto the other controls like EQ and dynamics, if present, to shape the overall tone.
10 key tips for working with reverb
10 key tips for working with reverb
1. Choose the right reverb type for the job. Spend some time familiarising yourself with how different reverb spaces sound. There’s no rule that says you can’t use a drum room preset on a guitar but, unless you’re going for sound design experimentation, you’ll get the most realistic results sticking to tradition.
2. Do EQ your reverb, either with a separate plugin after or via the onboard low- and high-cut shelves. You may only want high and airy reverbs on that vocal rather than one full of lots of mid-frequency content or - even worse - low-end mud.
3. Ducking is a dynamics parameter that pushes (ducks) the reverb effect out of the way whenever the source signal is present. This way you can dial in massive reverbs without swamping the original sound and losing clarity. It’s the best of both worlds. No ducking control? Place a compressor after the reverb and sidechain it to the source signal.
4. After that big ‘80s drum sound? (i.e, Phil Collins' In The Air Tonight) You need gated reverbs. These reverbs have a noise gate built-in that clamps down on the reverb tail, chopping it off unnaturally and creating a huge sound. If your reverb of choice doesn’t have a gate, place your stock DAW gate after the reverb and set the threshold to engage at the best time.
5. Don’t be afraid to pair a reverb with another effect for a unique result. Modulation plugins like chorus or ensemble can add movement and work best on subtle settings. Although the standard order when using delay is to place the reverb second, try putting it first for ambient-style washes. For an aggressive lo-fi vibe, try sticking a distortion after the reverb.
6. Most reverb plugins will sound fine and get the job done with no issues, including your stock DAW ones. For higher quality reverb plugins with exceedingly realistic spaces, expect to pay in the hundreds of dollars. Going in the other direction, gritty digital reverbs inspired by budget ‘80s hardware are popular lately. Better yet, pick up an original hardware unit for about the same price as a plugin.
7. Using reverb on bass sounds is tricky but not impossible. To get massive techno kicks or neuro bass sounds, EQ is your friend. Scoop out as much low frequency information as you can from the reverb to keep the source signal clean and tight.
8. Try using automation to dynamically control the size of a reverb. Real-world spaces don’t expand or contract willy nilly, so setting your reverb to do so can create disorienting and psychedelic effects.

9. The only thing that sounds better than a massive reverb is a massively wide reverb. While it may sound amazing in isolation, too many wide stereo elements can cloud a mix. For a change of pace, try a reverb in mono. This works especially well with spring reverbs on percussion.
10. We’ve spent a lot of time telling you not to overdo it but sometimes you really should overdo it. Working with huge and long reverbs can be great fun, especially when doing sound design. Use extended reverbs to smear short sounds together and create chords for arpeggios, or gauzy sound beds and atmospheres from vocals or guitars.
MusicRadar Further Reading
Now you know how reverb works, we anticipate you're itching to get to work. If you want an external reverb, beyond your DAW's stock option (recommended) then here's what we'd suggest
If you're a guitarist looking for some creative reverb in pedal-form, or you just want to grab a hardware unit to integrate into your studio setup, we've got you covered here
Spoilt for choice? We talk you through how to choose the right reverb for the job
Need a little reminder on the basics? Let's explode the science and answer just exactly what's happening when we trigger reverb on our mix
If you're new to reverb, you might be a little baffled by some of the parameters. We talk you through the usual options here.
A really cool technique comes under the spotlight here, harnessing 3 reverbs in tandem to create something quite special.
Beyond applying reverb to instruments, you can create some pretty unique spatial effects using your reverb toolkit. We explain how.
Reverb goes beyond many effects in actually affecting the subconscious perceptions of listeners, read more here.
Even more bitesize tips for manipulating space can be gobbled up here
And finally, a classic from one of our recent 'plugin weeks' a producer's guide to reverb which covers all bases.
Adam Douglas is a writer and musician based out of Japan. He has been writing about music production off and on for more than 20 years. In his free time (of which he has little) he can usually be found shopping for deals on vintage synths.
- Andy PriceMusic-Making Editor

“It’s tougher and faster than ever”: Jump aboard the modern hardgroove train and learn to build a club-ready beat
“You can even buy and create models of instruments that are impossible to build in the real world”: Don't know where to start with virtual instruments? We're here to help


