How to build a complete mastering chain in Logic Pro using only stock plugins
Setting up an entire mastering chain in your DAW needn’t be a daunting task. Here we take a look at one way you can go about it…
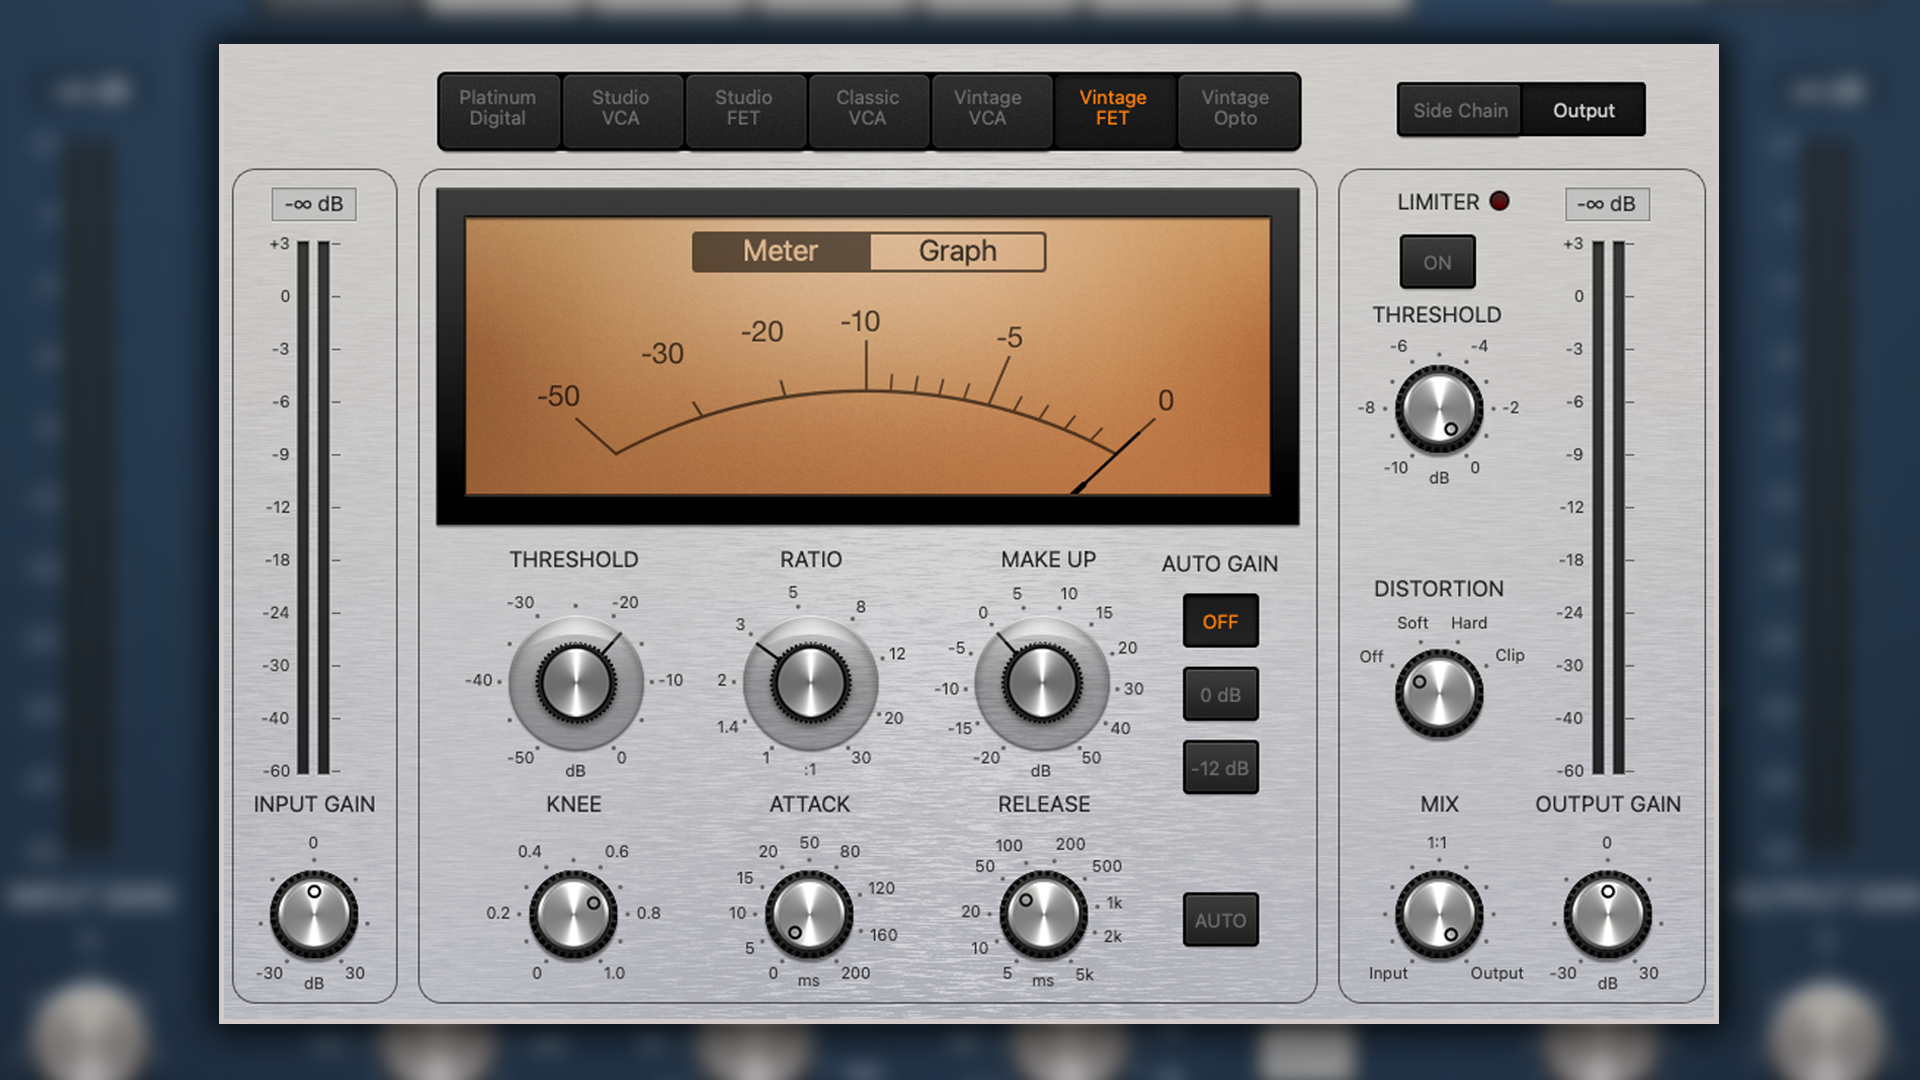
In this tutorial, we're going to walk you through building a typical mastering chain from start to finish. Anyone using Logic Pro can follow these steps and build their own chain using a combination of stock plugins available to every Logic user.
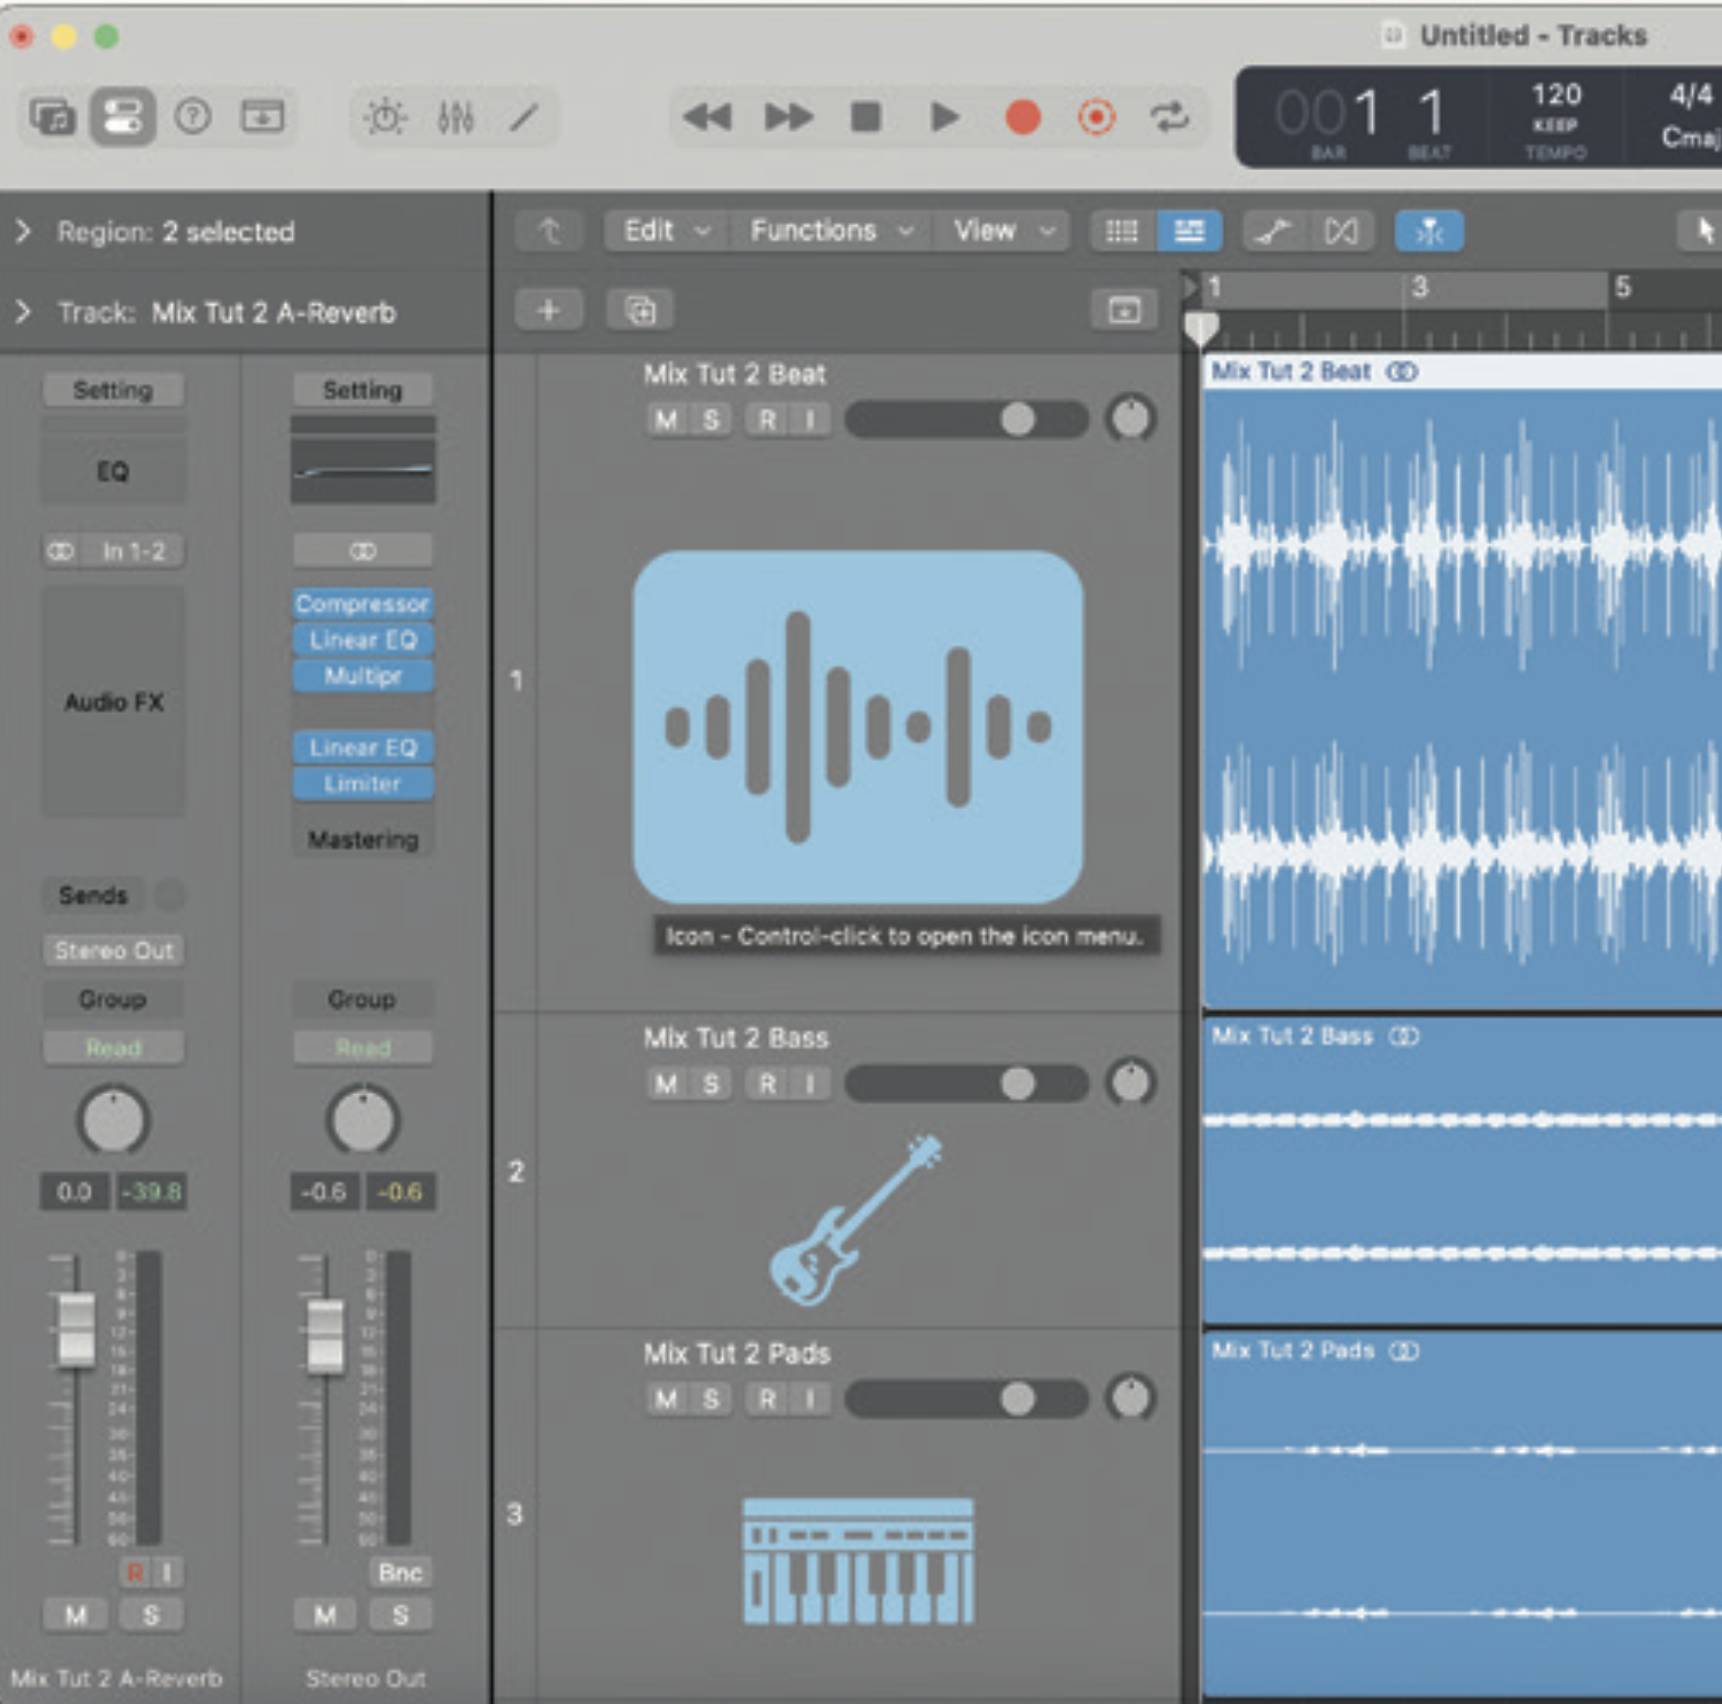
This setup demonstrates one possible combination you could use and doesn’t attempt to give you the definitive mastering chain setup. It’s best to try and experiment with your own plugins and play with the order of them to get optimum results.
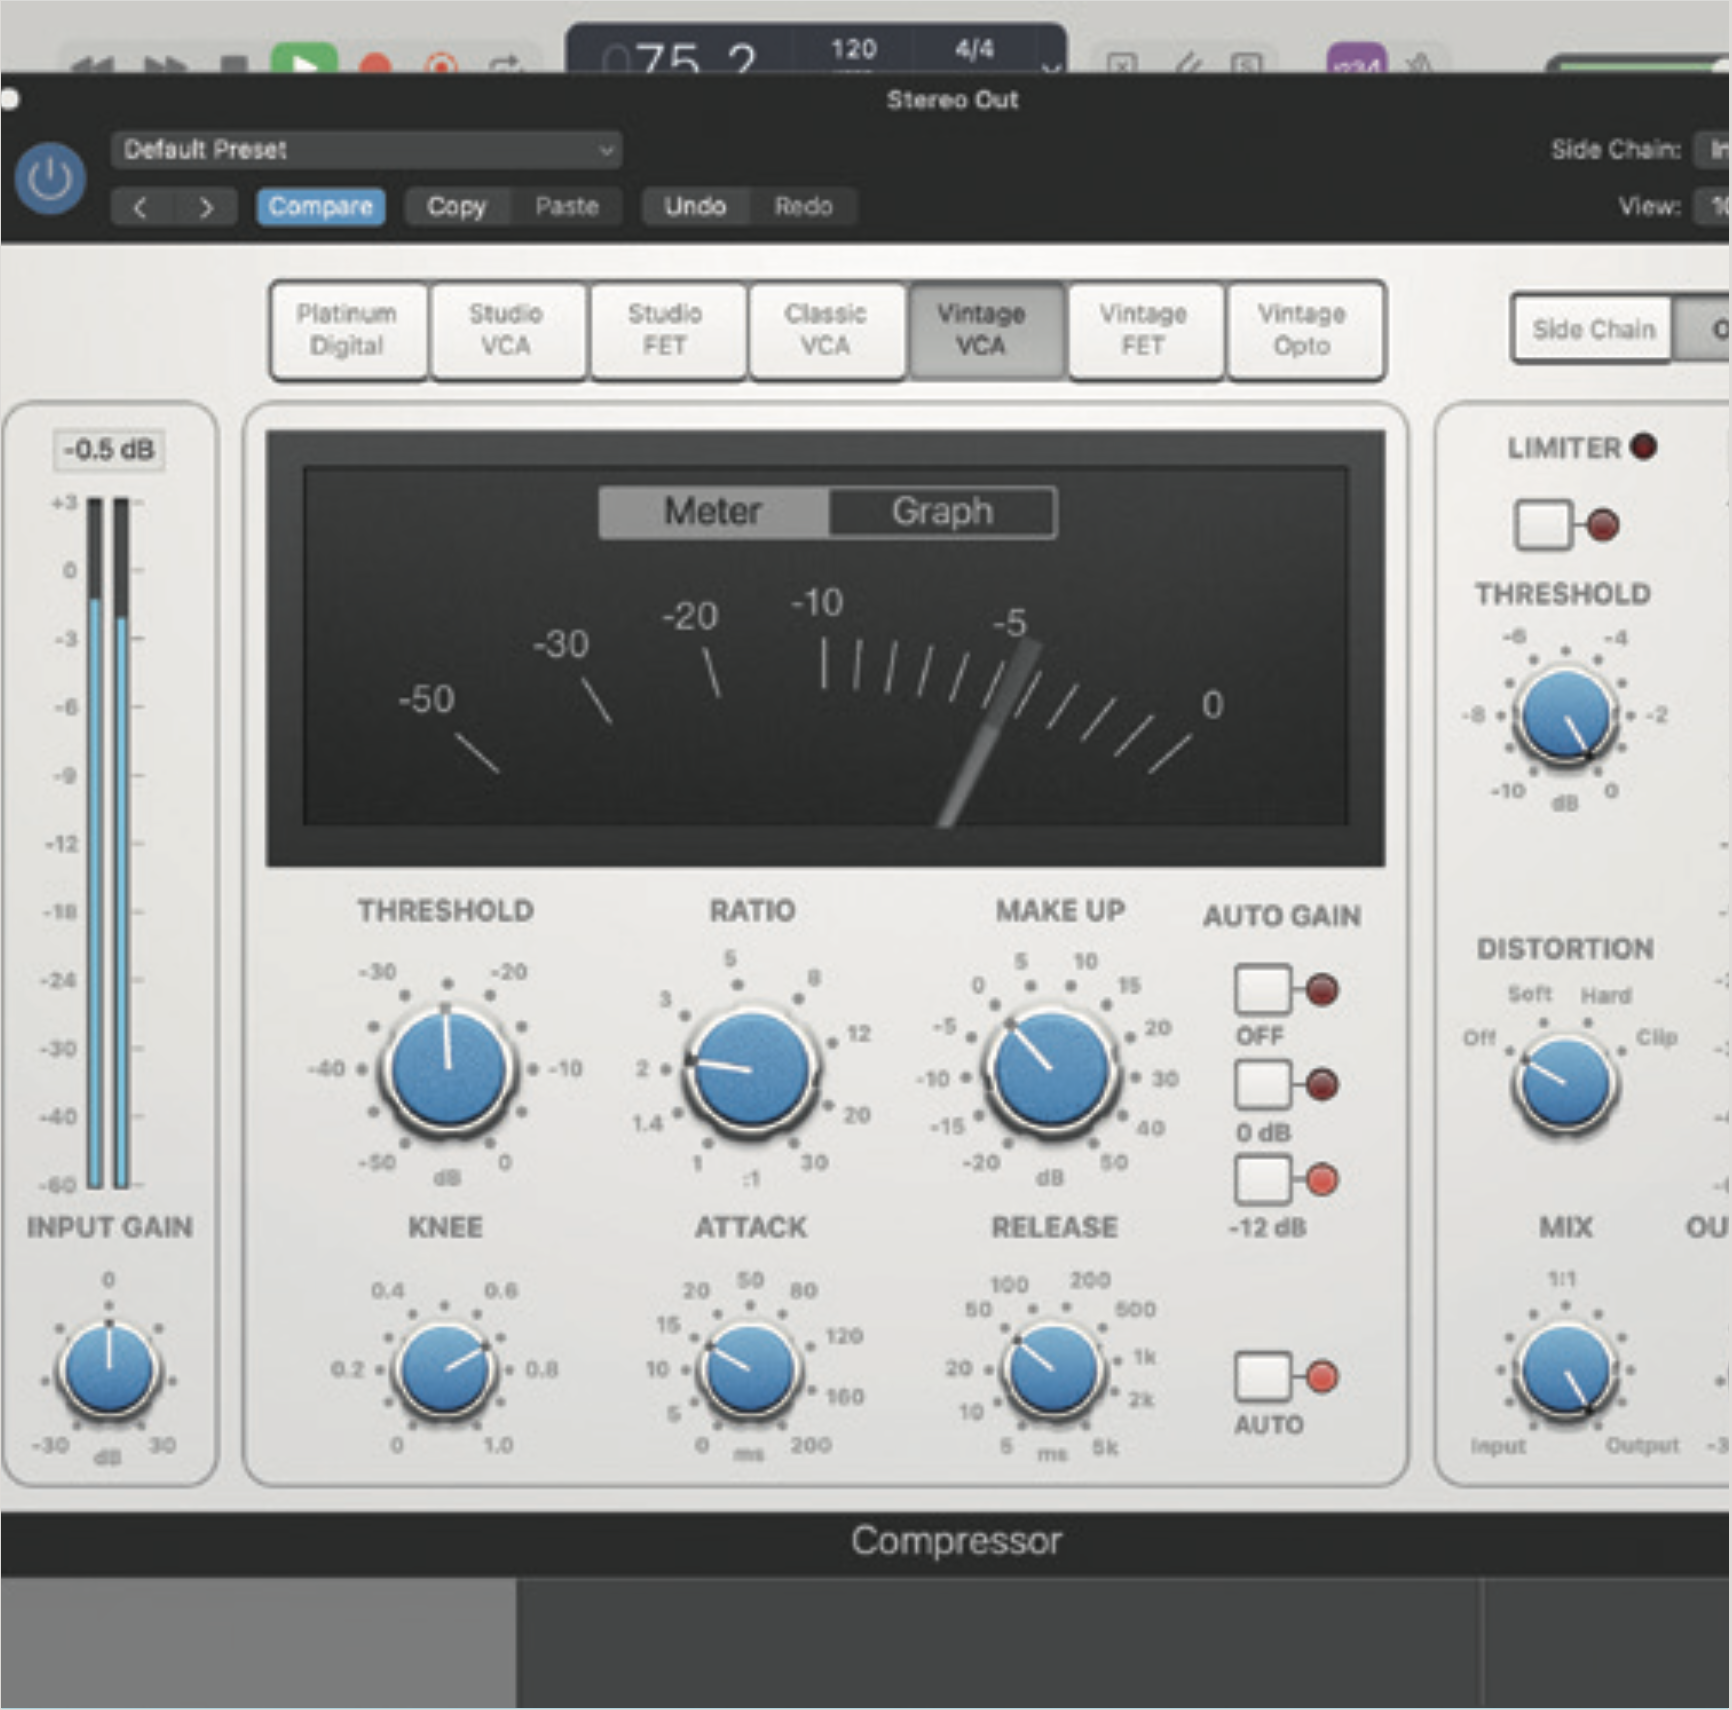
The first processor used here is Logic’s Compressor used in the SSL-style Vintage VCA mode. Using a single band compressor across the entire mix in this way should help to give you a more cohesive sound and gel the instruments together in an organic fashion. You don’t need much treatment here, even a few dBs of gain reduction should help to give your master a more uniform signature. Remember you want to preserve dynamic range as much as you can.
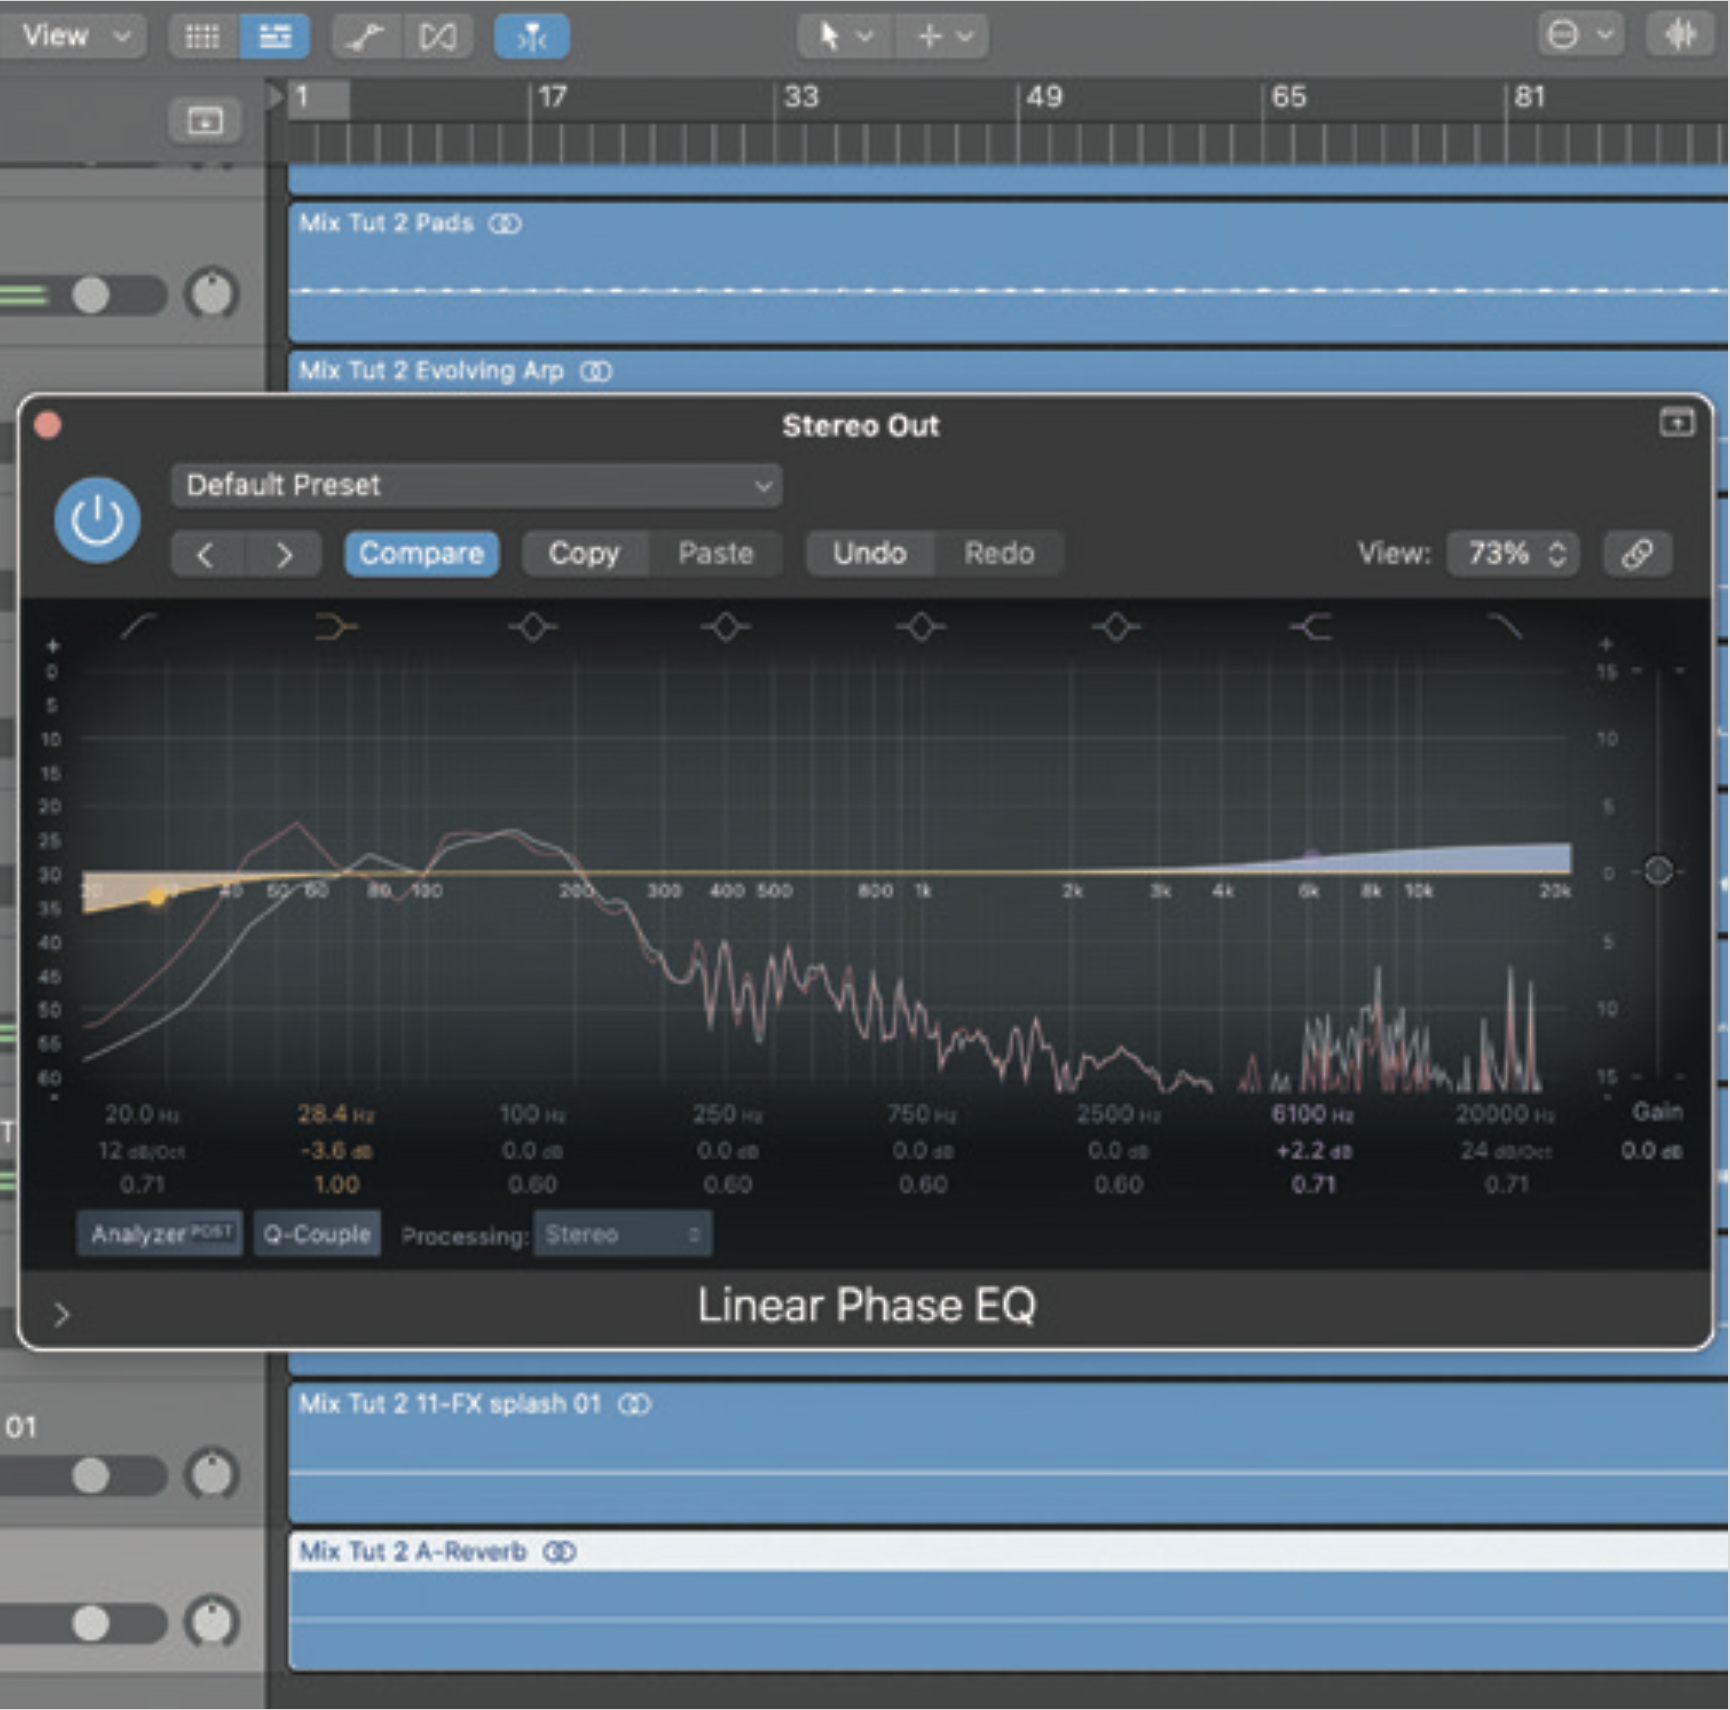
Now Logic’s Linear Phase EQ is used for some subtle sweetening. Before any processing was applied, the analyser was engaged to check for any anomalies. It was set to post EQ so that any changes made would be clearly visible in the display.
Some light high-end enhancement was added at this point using only a few dBs of gain and a high shelf setting. A similarly subtle cut was used on the subsonic frequencies using a high-pass filter.
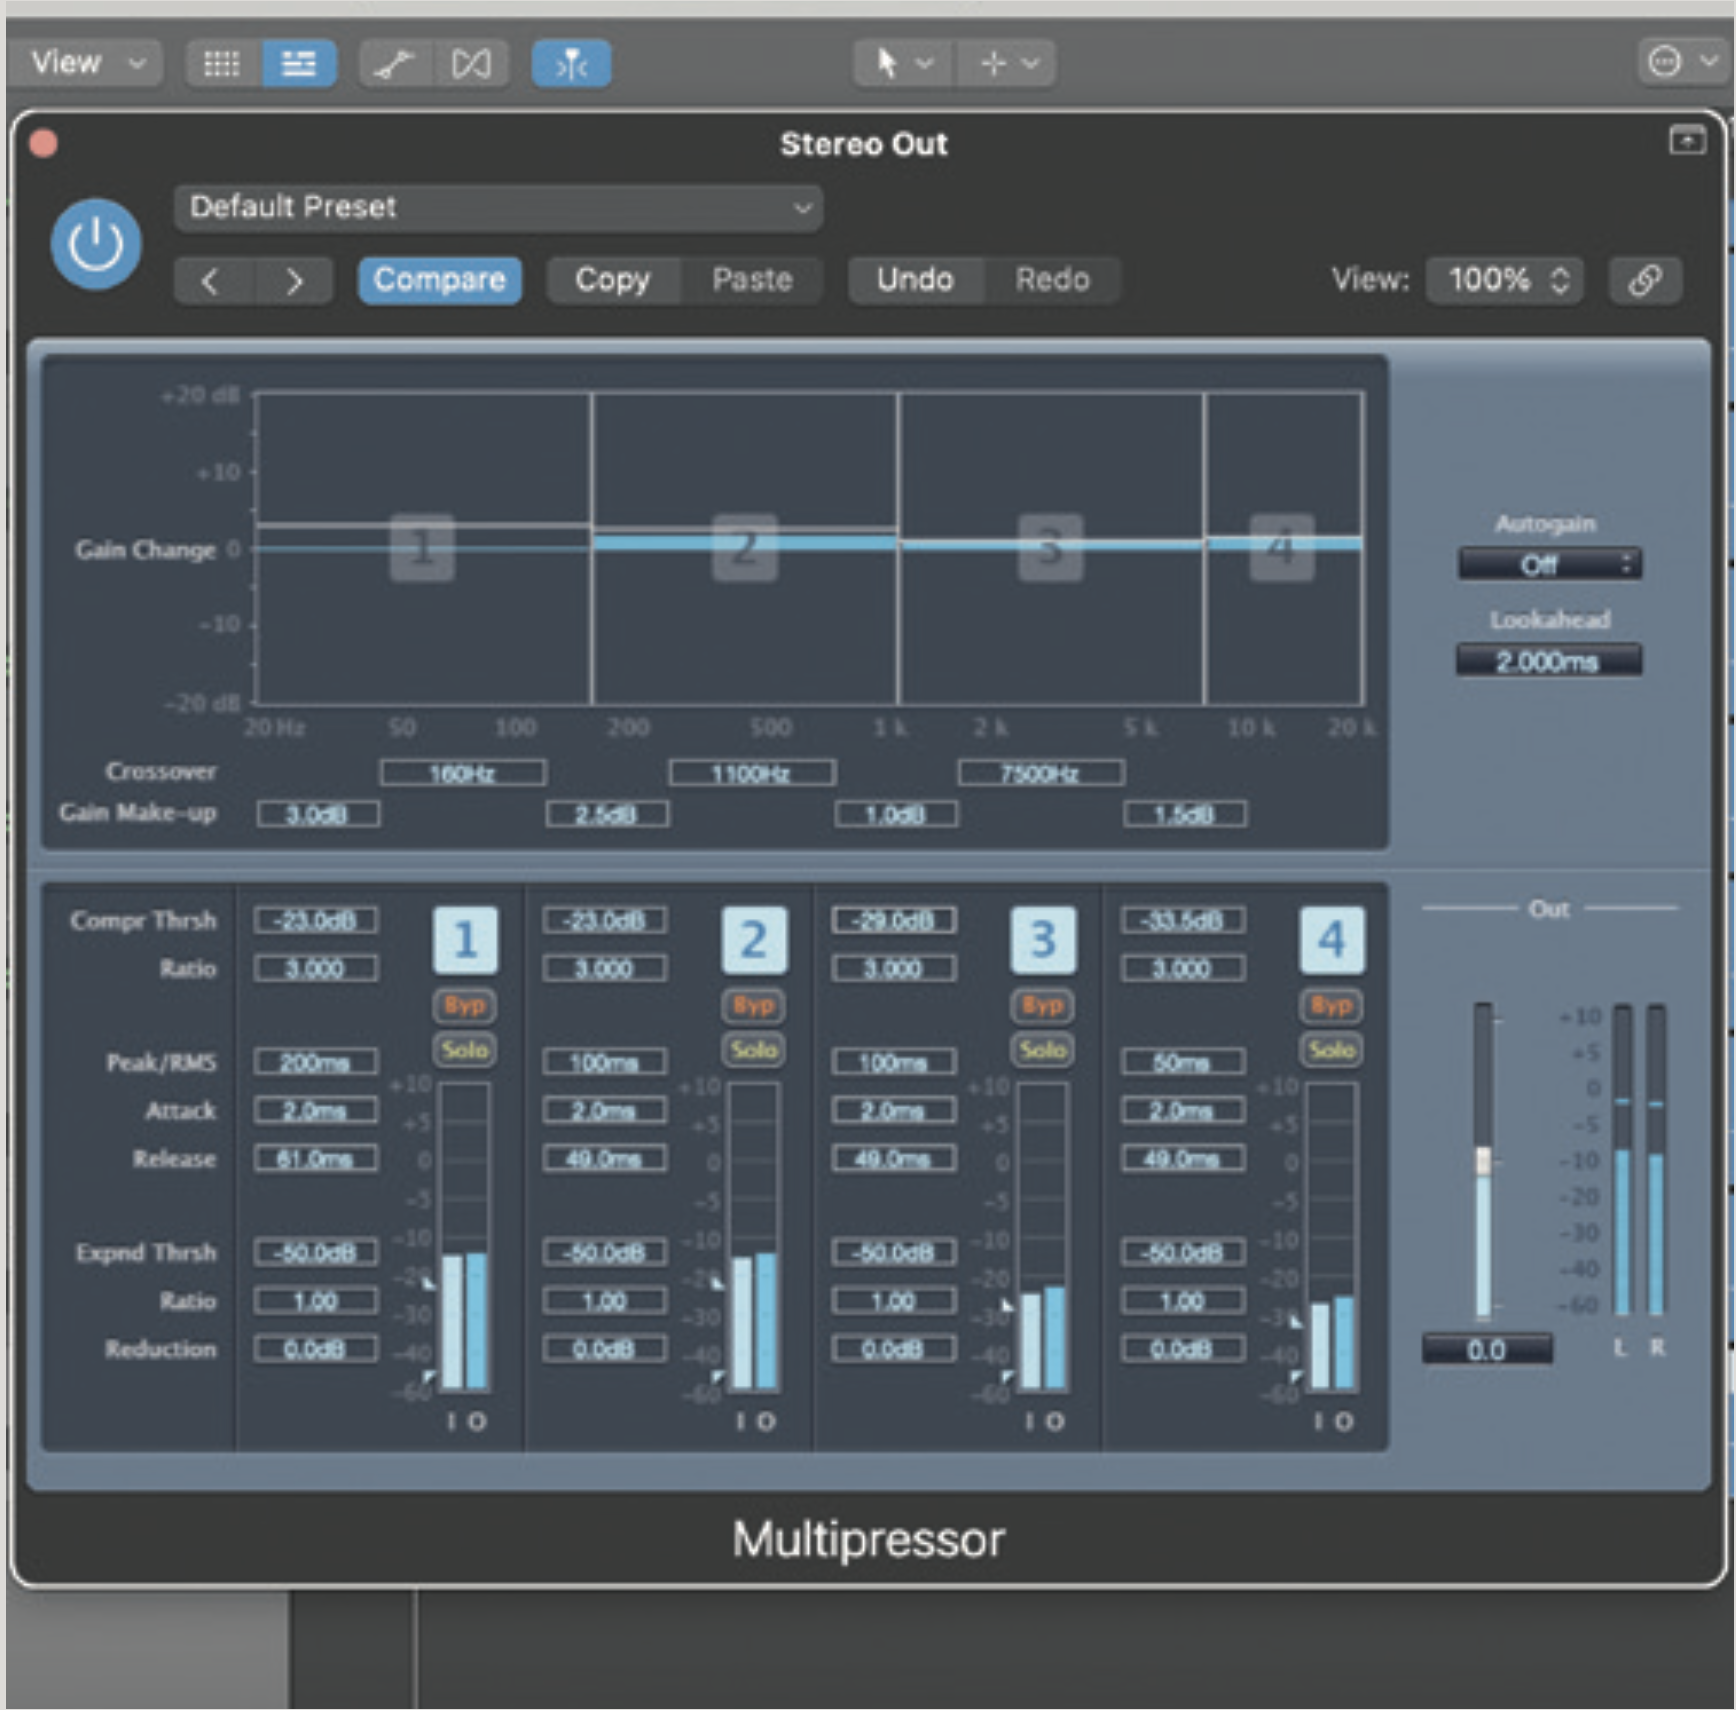
Multi-band compression can be useful even when there are no inherent problems. Logic’s multi-band compressor can be a gentle enhancer, as well as a dedicated problem solver.
Here you can see every band boosted using the gain control but also an equal amount of compression being applied. This creates a situation where both enhancement and control are applied to the signal. A subtle lift is added to all frequencies without it becoming overcooked.
Get the MusicRadar Newsletter
Want all the hottest music and gear news, reviews, deals, features and more, direct to your inbox? Sign up here.
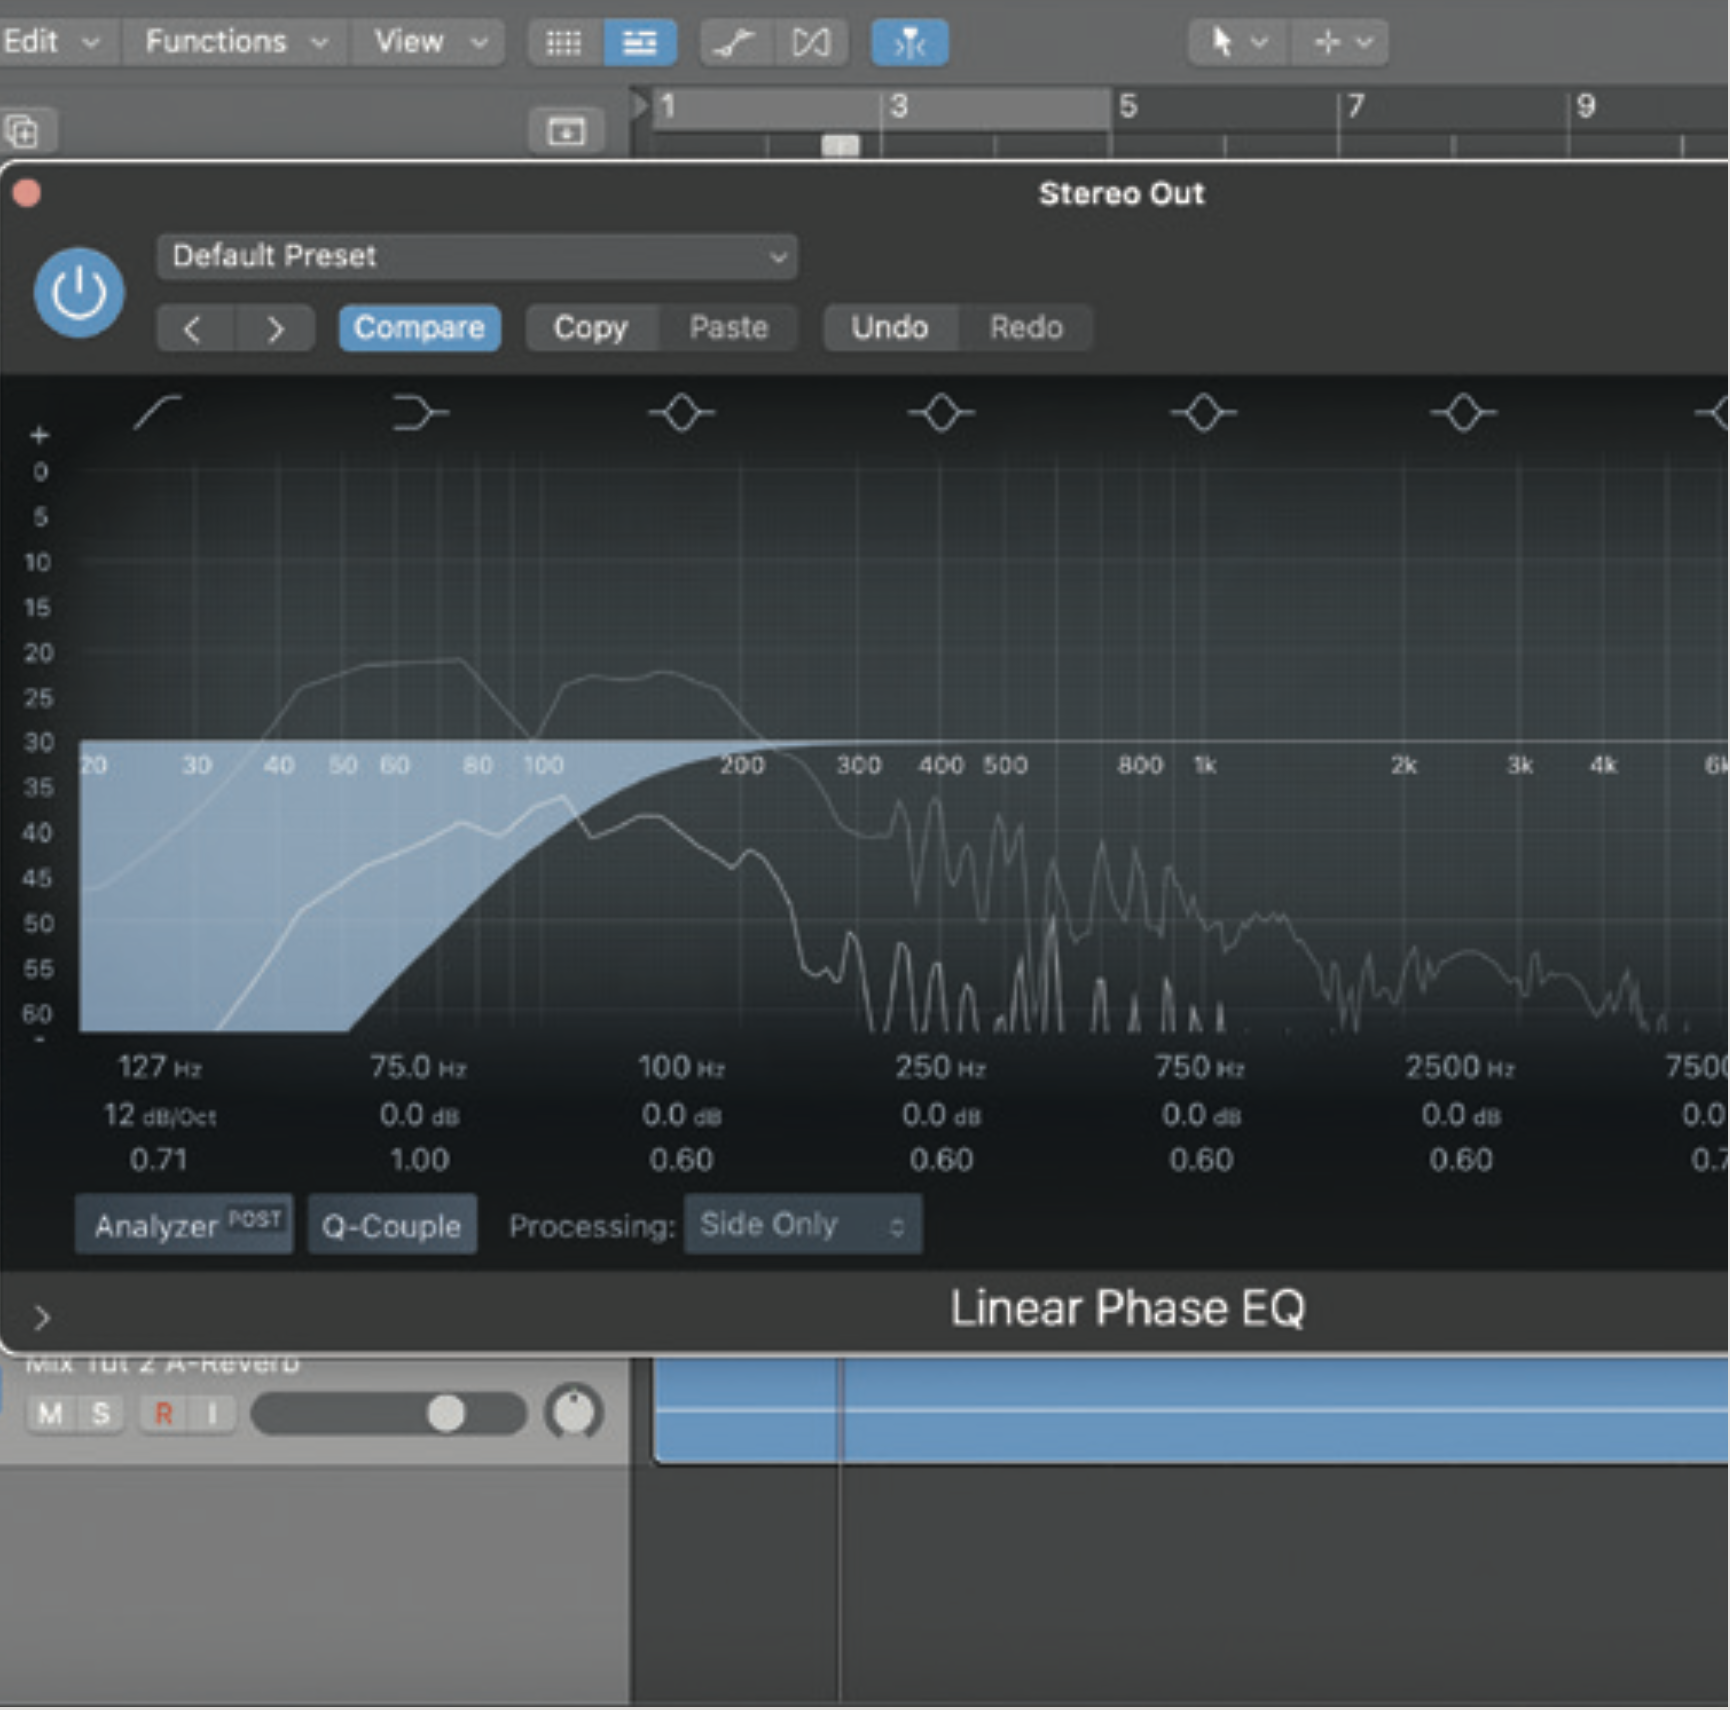
Mid/side processing is used in this step to hit a few different targets. We use Logic’s Channel EQ to cut the low frequencies from the side signal, in order to keep our bass elements entirely in mono.
This gives us a more focused and controlled low-end mix. Finally some sweetening EQ is added to the mono data and the entire stereo field is also boosted using the stereo width control.
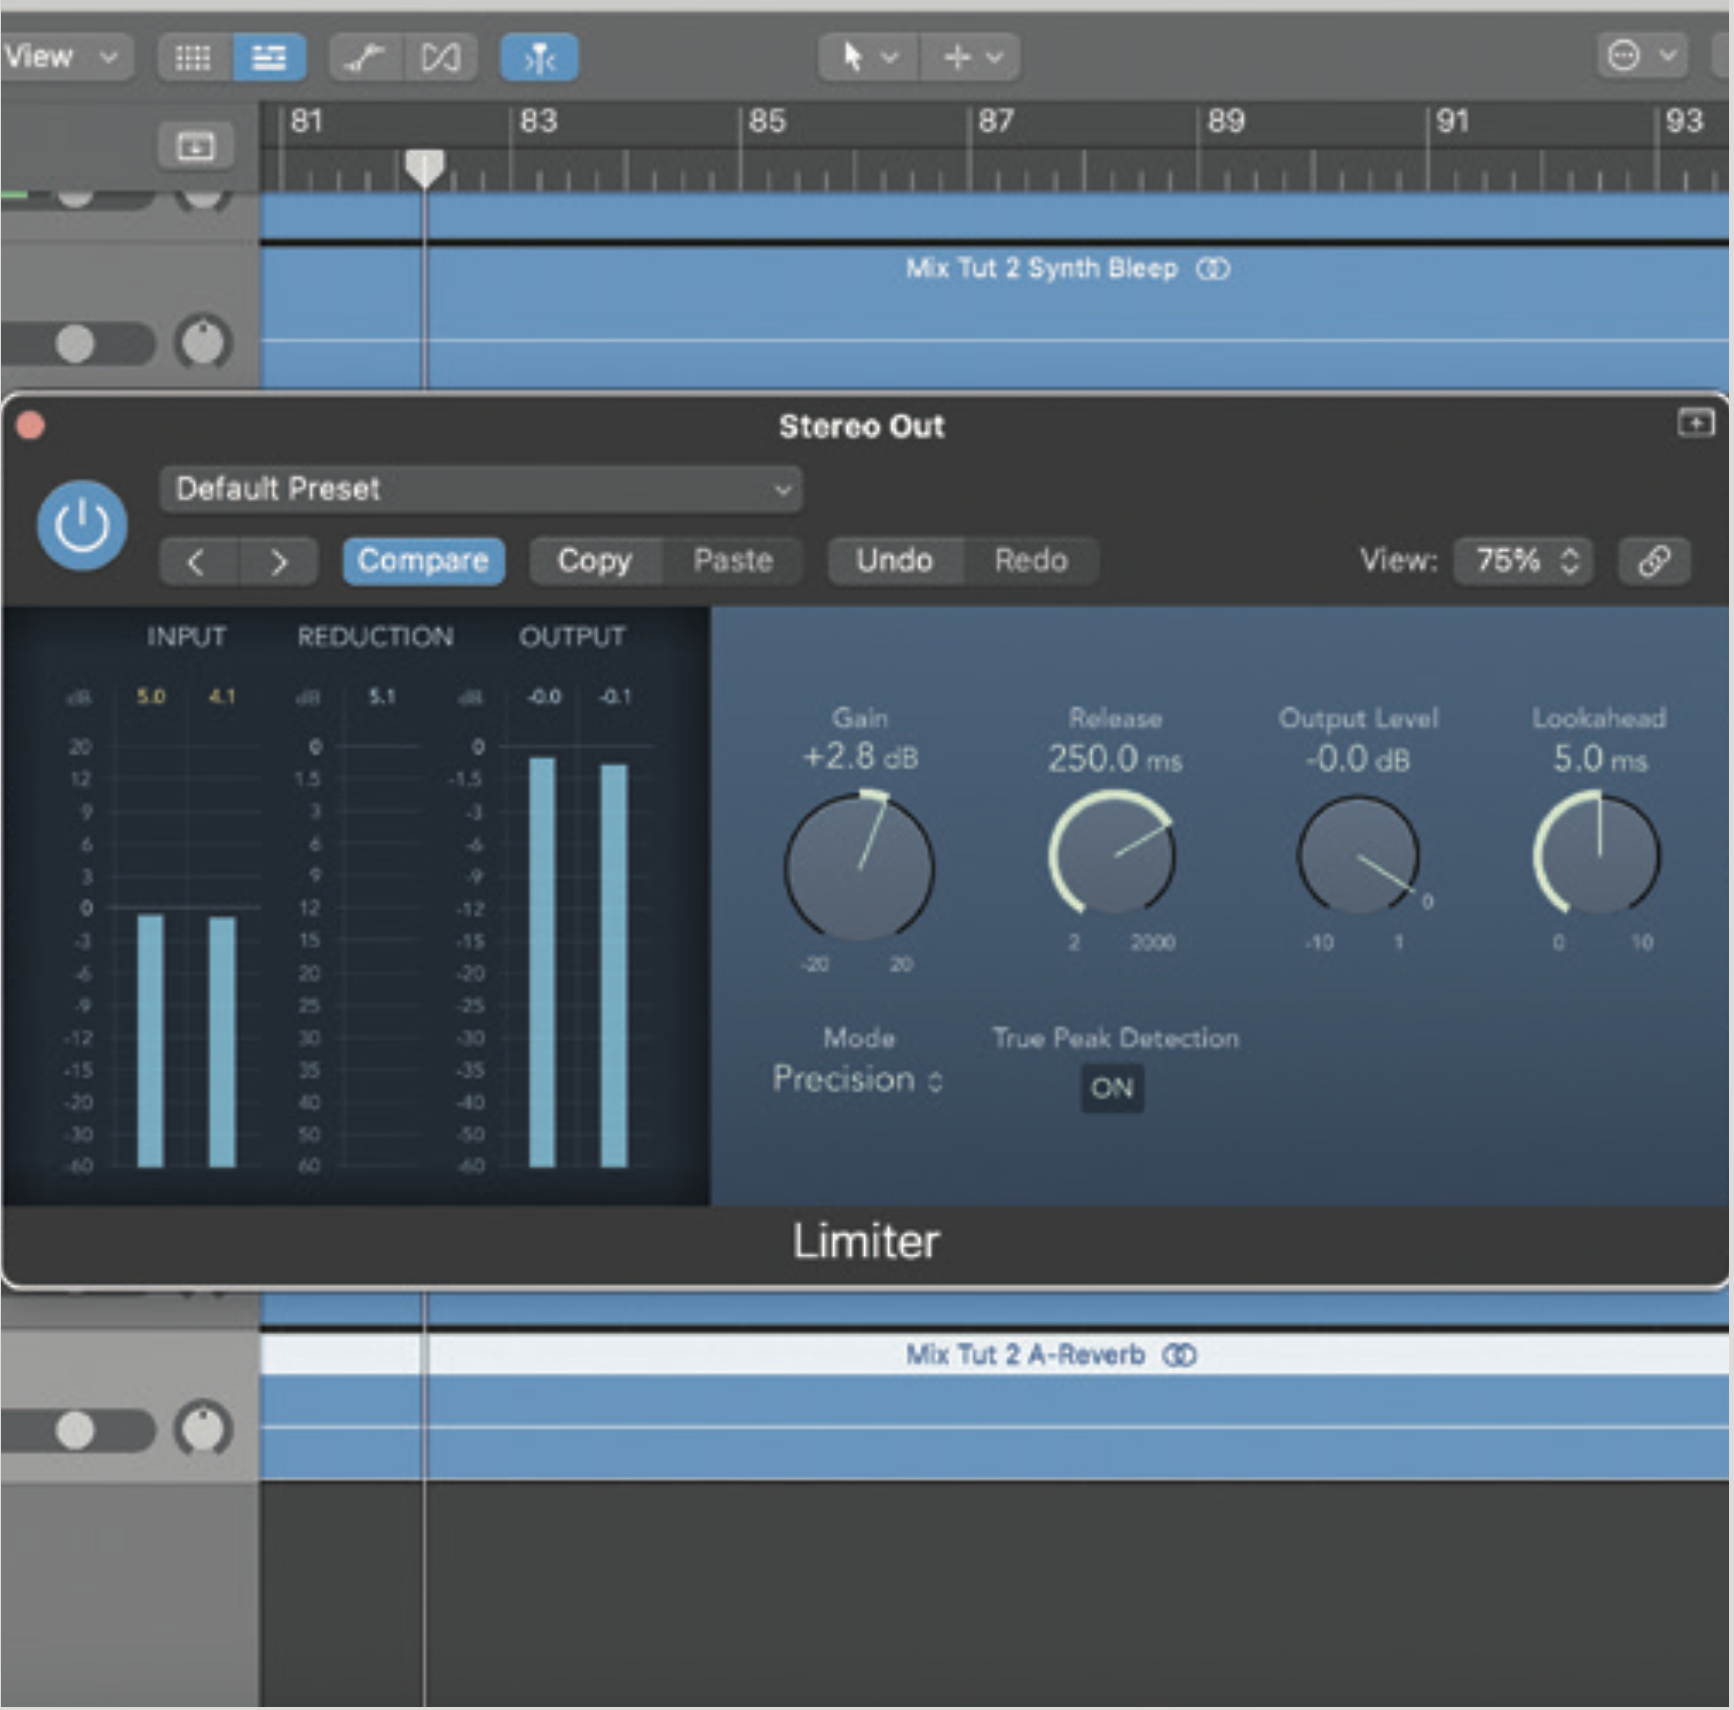
A brick-wall limiter is pretty much always the final thing in a mastering chain. There is a danger that all your hard work can be undone at this point so it pays to tread carefully with such a powerful tool.
Gain is fed into the unit until small amounts of gain reduction occur. In turn the dynamic range is reduced and perceived volume is added, giving us a full punch end result.
Future Music is the number one magazine for today's producers. Packed with technique and technology we'll help you make great new music. All-access artist interviews, in-depth gear reviews, essential production tutorials and much more. Every marvellous monthly edition features reliable reviews of the latest and greatest hardware and software technology and techniques, unparalleled advice, in-depth interviews, sensational free samples and so much more to improve the experience and outcome of your music-making.


