Synth skills: how not to lose your synths in the mix
Your epic sound design won't mean a thing if you can't hear it
In this week's Synth skills workshop we're looking at how to avoid your finely-crafted synth patches getting lost in the mix.
Here are some tips on how to give your sounds the space and punch they need to be heard.
1. Create mix space
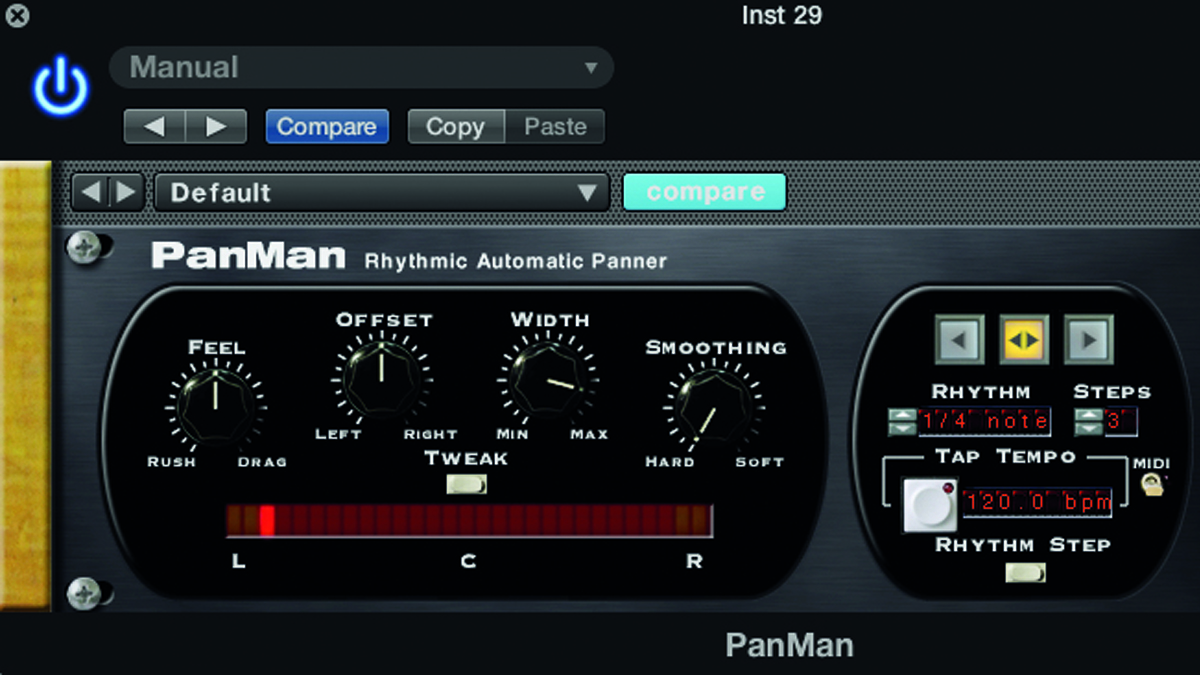
For rolling sequence parts which add drive but aren't 'feature' elements, use a tremolo or panning plugin, locked to tempo, with a square wave shape to keep a sound 'bouncing' from left to right, without clogging the centre ground.
2. Make use of compression and limiting
If a patch varies too much in level, you probably need some dynamics processing. An undulating soundscape or drastic sweep can be made more uniform using moderate compression. And compression can be used to 'slam' your patches and remove all dynamic range. This can give the impression that the whole patch is the same level - useful when you want something to stand proud in the mix.
Limiting can also be useful when more control is needed. If you have added a lot of delay and reverb to a patch you may need to add a limiter at the end of your processing chain to ensure there is no clipping.
3. Add instant bite to synth sounds
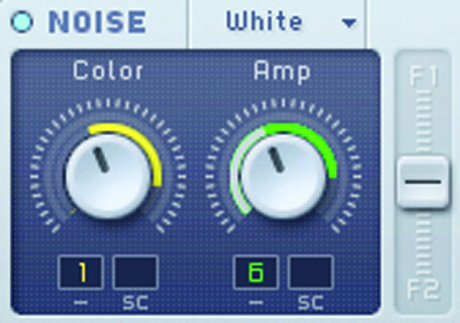
Nearly all synths offer the option to sacrifice an oscillator in favour of it producing whitenoise, and some even have dedicated noise oscillators which can produce nothing else. Either way, dialling some in will provide dirt, grit, bite, grime and all of the other qualities we love so much.
4. Use EQ for enhancement
Equalisation as a form of enhancement is ideal for fixing problems, boosting specific areas of a patch or even as a full-on creative tool.
Get the MusicRadar Newsletter
Want all the hottest music and gear news, reviews, deals, features and more, direct to your inbox? Sign up here.
A simple 4dB boost in the high-end can make or break a patch so, before you bin something or abandon an experimental session, try going back to basics with some tweaks to key frequencies.
If you can use an equaliser that is built into your synth, this is your best option. Any moves you make right within the patch will be saved when you've finished programming - better for recall later and giving more freedom to tweak and re-tweak.
5. Avoid mix clutter
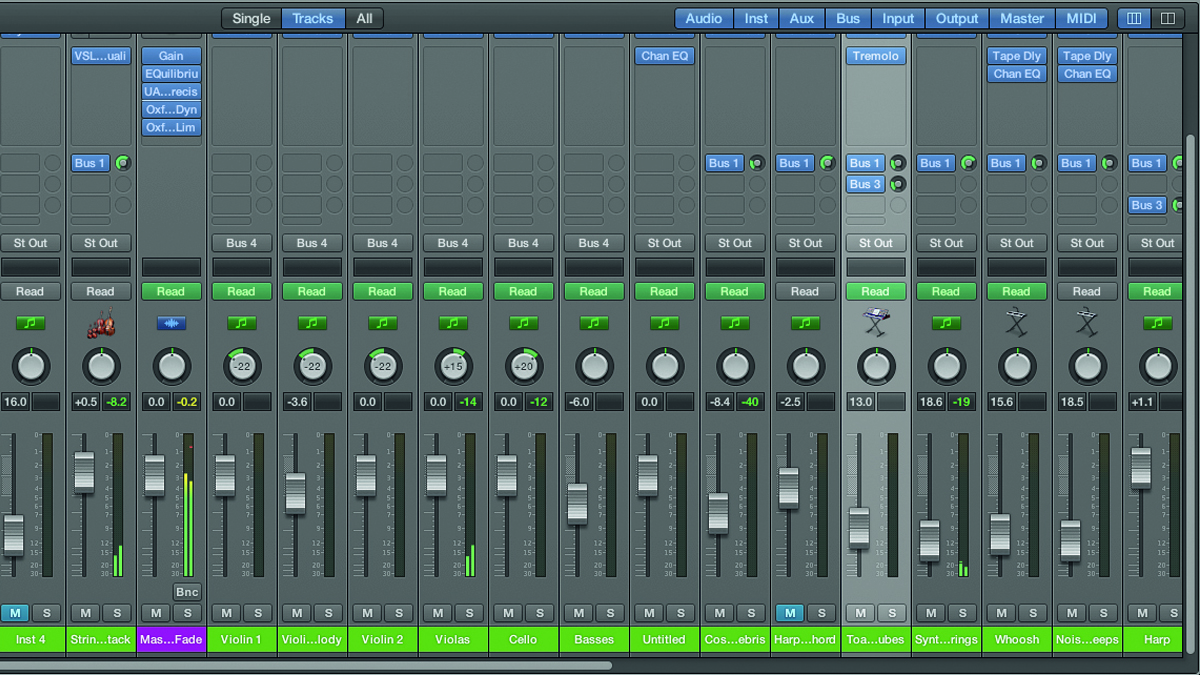
Adding effects to synths can be powerful. But if each synth within your mix features its own native effects, it's very easy to create an unfocused mix 'soup'.
If your mix is going to feature the usual array of aux effects, strip back synth sounds to 'dry' versions before adding global effects treatments which synth parts can share.
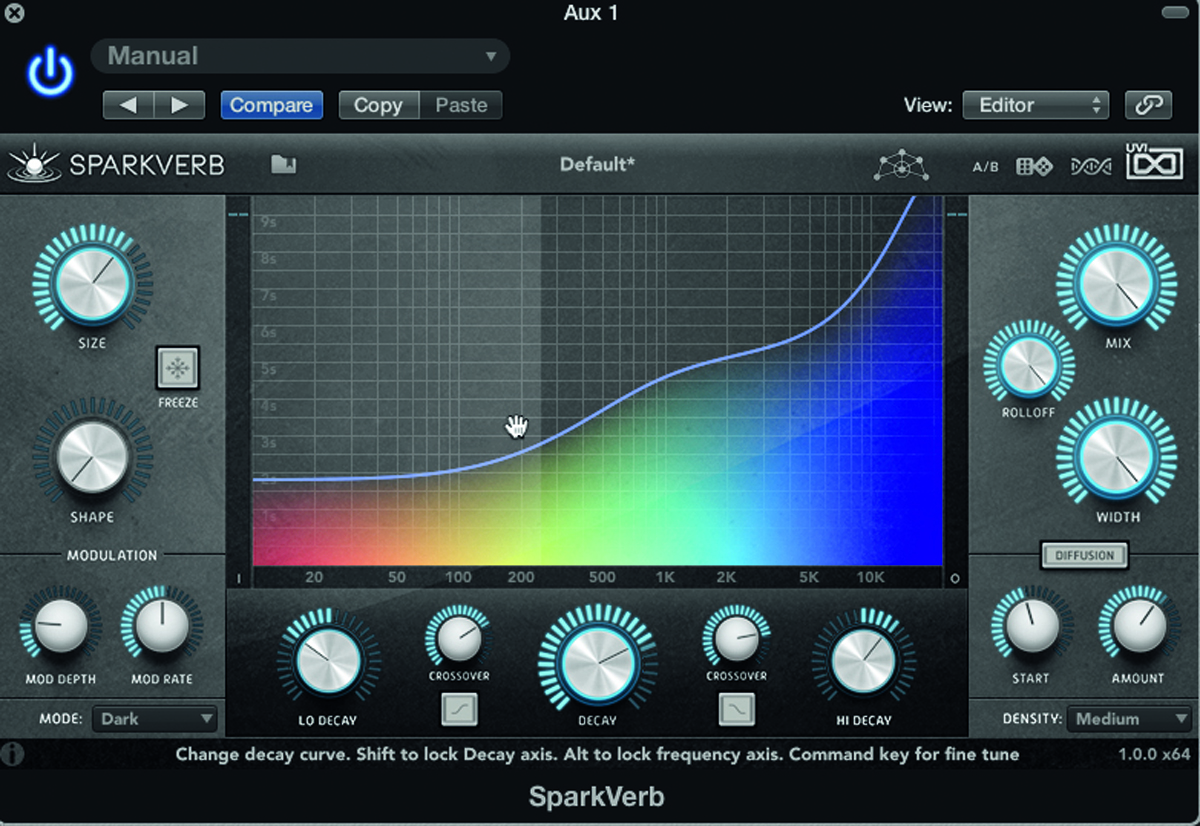
6. Go easy on the reverb
Reverb is often a great solution if things are sounding too bogged down, but be careful as adding too much reverb can have an adverse effect. It's not only the length of a reverb tail which will cloud mixes; it's the frequency content they contain too. Just as sounds can become too shiny if the reverb is accentuating top-end, so things can get very murky if the low-end is saturated.
If your reverb plugin has scope to independently adjust top and bottom-end separately, use those controls. Otherwise, apply an EQ after the reverb and use a frequency analyser to discover exactly which frequencies are causing problems.
Finally, reduce volume of the output - often you'll find reverb length is less of a contributory factor.
MusicRadar is the internet's most popular website for music-makers of all kinds, be they guitarists, drummers, keyboard players, DJs or producers.
GEAR: We help musicians find the best gear with top-ranking gear round-ups and high-quality, authoritative reviews by a wide team of highly experienced experts.
TIPS: We also provide tuition, from bite-sized tips to advanced work-outs and guidance from recognised musicians and stars.
STARS: We talk to artists and musicians about their creative processes, digging deep into the nuts and bolts of their gear and technique. We give fans an insight into the actual craft of music-making that no other music website can.


