18 pro tips and tricks for sound design
Boost the productivity of your sound design sessions with these proven techniques
Ever found yourself losing focus and direction during a sound design session? We've all been there.
Musical sound design is an amorphous, open-ended art, and it can be all too easy to lose sight of what it is you're actually trying to create. But fret not - we have the remedy in the shape of 18 tried and tested techniques guaranteed to keep you on track.
Whether you work through them methodically or dip in at random when the need for external input arises, there's plenty of inspiration to be had here. So fire up your DAW and let's get started.
1. Sidechaining
Obvious pumping compression isn't just for French house-lovers - it can also be a powerful sound design weapon. Create movement in your ambient drones by setting up a 'ghost' sidechain trigger hit (ie, one that's routed to a compressor's sidechain input, but not your project's audible output), then use this to get a pad moving in intricate ways. Dedicated plugins such as Cableguys' VolumeShaper 4 take this concept to another level, allowing you to set up rhythmic movement that can be taken up to speeds in the audible frequency range, for FM-like buzzing and grunge.
2. Record everything
It's a good idea to set up a recording when you're messing around with a new synth or experimenting with sounds. Use an external wave editor such as Sony Sound Forge to record the output of your computer and all those happy accidents and freak sounds will be saved as an audio file, so you can go back and pick out the best bits later.
3. EQ as a creative filter
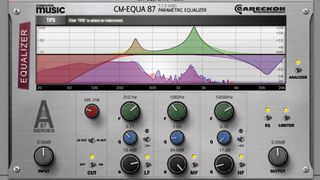
Record yourself automating boosts, cuts and notches with your favourite EQ plugin for some dramatic and controlled filtering FX. Be sure to get really animated with your EQ, rather than just sticking a load of static instances of it on every channel. Move those EQ nodes around and create some life!
4. Plugin orders
The order in which your plugins are placed will greatly impact the final sound of the channel, as the output of each one has a bearing on the effect of the next. A saturation effect preceded by a filter will sound completely different to the same two plugins the other way round, for example, while adding heavy compression to the chain will have a different effect depending on whether it comes first or last. You can either plan your effect orders, or drag-and-drop them around to see what works best. Both are valid approaches.
Get the MusicRadar Newsletter
Want all the hottest music and gear news, reviews, deals, features and more, direct to your inbox? Sign up here.
5. Distortion
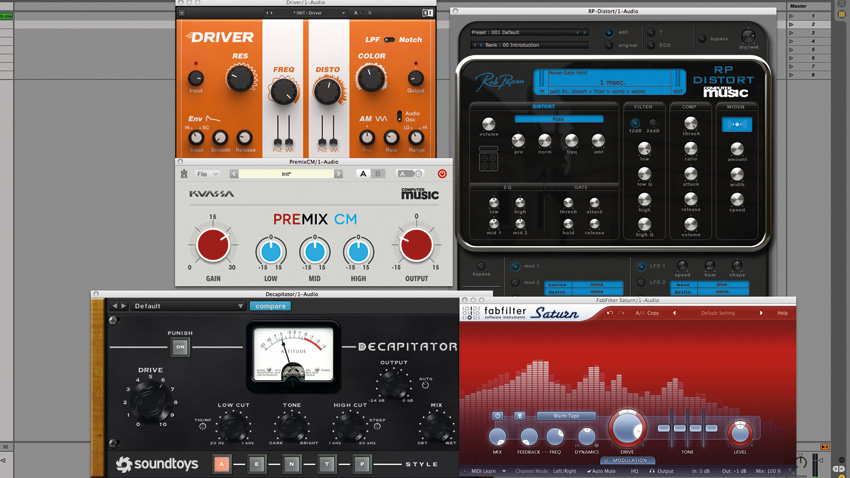
Saturation, overdrive and distortion can be magnified or tamed though pre- or post-filtering, and run in parallel for a more controlled effect. Each processor type and algorithm will have its own sound, so try out different types and amounts of distortion for each task.
6. Save your FX Chains
Make use of your DAW's ability to save effects chains, so that you can instantly call up your favourite settings without having to load each plugin individually. When you're in the zone and looking to get sounds fleshed out quickly, this can be a game-changer.
"Make use of your DAW's ability to save effects chains, so that you can instantly call up your favourite settings without having to load each plugin individually."
7. Use the wrong plugins
Just because an effect is designed for vocals, guitars or whatever, that doesn't mean it has to be used solely for that purpose. Try using a vocal enhancer on a synth lead, or a vocoder on a drum kit or a bassline, for example.
8. Patch cloning
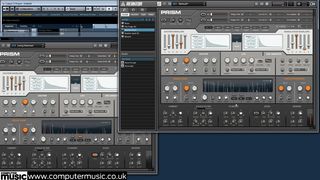
Here's a good way to learn what each knob and button on your new synth plugin does: open up two instances of it, initialise one and load a preset you like in the other. Now gradually match all the parameters on your 'blank' synth to the patched one. As you're doing this, you'll hear how each change you make affects the sound, and discover how the sounds you like are made.
9. Bitcrush excitement
Bitcrushing is great for creating harsh, deranged, trashy sounds, but used subtly over a lead, chime or bass, it can be a great way to introduce some missing high-frequency harmonic excitement to a sound in a way that EQ can't.
"If you're looking for new sounds to fit into your latest track, bounce out some of the existing parts and melodies, and import them into a sampler or a granular synth."
10. Mash up your existing parts
If you're looking for new sounds to fit into your latest track, bounce out some of the existing parts and melodies, and import them into a sampler or a granular synth. Twist them up in new ways, recording what you're doing, then bring them back into the song and reverse them or layer them up with the existing parts. Chances are this process will trigger a fresh idea to make the whole track more interesting.
11. Add a transient from another sound
If your sound needs more attack or punch, trying layering the transient of a kick, snare or percussion sample into a sampler, and playing it over the sound you're working on. This works especially well for adding sharp, clicky transients to emphasise arpeggiator patterns.
12. Noise is your friend
White, pink and other colours of noise are extremely powerful sound design tools, especially when combined with filters. They're great for creating extreme whistling/screeching effects - try using a low-pass filter with the cutoff turned down and high resonance to create an airy, windstorm-type effect.
13. Auxome
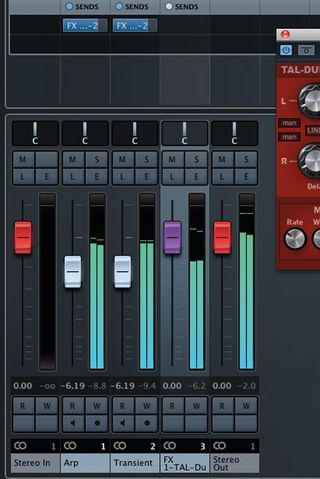
Auxiliary return tracks can be very useful for adding a '3D' feel to atmosphere and drone sounds. Try loading widening effects like a short delay, reverb, chorus or phaser onto one and sending your main signal to it. Blend the spatial effect in parallel with the solid dry signal. Aux returns can also be EQed and processed separately, giving you even more control over the effect while leaving the dry signal intact.
14. Record the world!
Grab your smartphone or a portable recorder and go nuts recording yourself hitting objects, rustling paper, driving your car… anything! When you're back in the studio, layer your captured sounds into pads, use them as percussion or twist them up into something entirely new. You might be surprised at how far you can stretch and mangle your Foley and found sounds.
15. Layering textures
Your tonal range expands greatly when you start stacking up contrasting textures and layers. A grainy field recording will dirty up a clean synth pad, gritty noise artefacts will blend dirt into a simple bassline, and generic white noise can add top-end scrape to a synth lead. If you need more low-end power, stick a simple sine or triangle wave under more complex mid-range parts. Think of an individual sound as a colour on your palette - start mixing them together for a huge selection of sonic combinations.
16. Reverse it
Try everything in reverse! Pads, basses, vocals, effects, drums, leads… sounds can take on a whole new character when played the wrong way round. Sampler reversing is good for cycling drones and pads, but audio manipulation directly on your DAW's timeline can be a more visual, immediate route to backwards FX and reversing edits.
"Try everything in reverse! Pads, basses, vocals, effects, drums, leads… sounds can take on a whole new character when played the wrong way round."
17. Extreme timestretching
When you're after new atmospheric pad sounds or intriguing, dissonant tones in a hurry, use Paul's Extreme Sound Stretch to take existing vocals or track parts and stretch them out to extreme lengths. Your source material can have a great effect on the type of result you get.
18. Separate sessions
Sound design can be a complex, intricate and time-consuming process. If you stop mid-way through a composition session to create a rise or drone, you'll likely cut off your creative flow and lose the vibe of the track. Get around this by allocating time to your sound design sessions, and set yourself goals. Create five pad samples in an hour, synthesise ten basslines from scratch, or another similar challenge. Render each sound to your samples folder, save the synth patches/FX chains, then draw on them when you're next composing.
Computer Music magazine is the world’s best selling publication dedicated solely to making great music with your Mac or PC computer. Each issue it brings its lucky readers the best in cutting-edge tutorials, need-to-know, expert software reviews and even all the tools you actually need to make great music today, courtesy of our legendary CM Plugin Suite.

"A classic compressor for free on Valentine's Day – it must be love!": Universal Audio is giving away an 1176 plugin as a Valentine's gift - here's how to get it and use it

“A magical part is this sidechain with the bass”: Lady Gaga breaks down Disease in new studio video
Most Popular


