How to warp a full track in Ableton Live 8
Warp this way
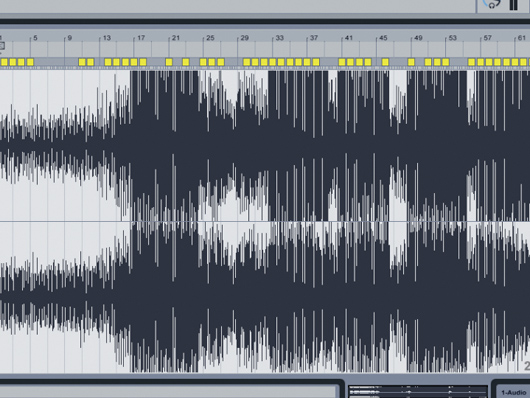
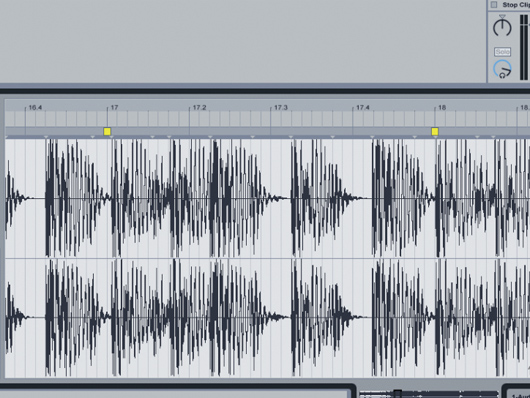
Step 1: There are a number of warping techniques in Ableton Live 8, but the first, and the most different from previous versions, involves warping long material. So, start by creating a new Live project and adding the file Live 8 demo (right-click to download) Live automatically warps the file and adds numerous transient markers.
• For many more Ableton Live guides go to our massive learning hub: Learn Ableton Live and Ableton Push: music production tips and tutorials
Moving markers
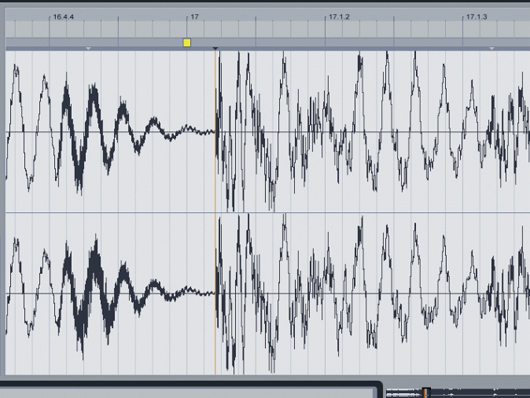
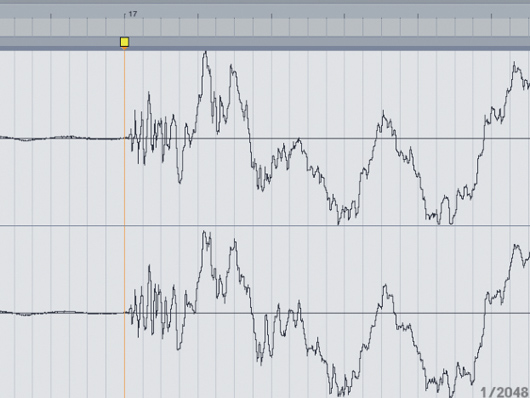
Step 3: Sometimes you might want to manually adjust the location of a transient marker. Hold Shift, click on the marker and move the mouse from side to side. This will slide the audio along the marker. Now, release Shift, get hold of the marker and drag it along the timeline, pulling the audio.
Warping options
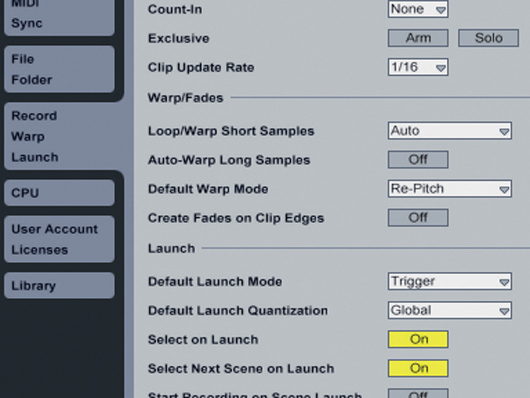
Step 4: So far, all of this assumes that you have Auto-Warp Long Samples engaged, but depending on how you usually use Live, this might not be the best option for you. Open Preferences, go to the Warp section and switch this option off now, then delete the clip Live 8 demo and add it again. You’ll see that no warp markers are added.
No Auto-Warp
Step 5: If you’re a DJ using electronic material, you’ll almost certainly want to leave Auto-Warp disengaged. This is because the type of material you frequently add will be at a consistent tempo, with no wavering at all, whereas the location of the transient markers Live adds will often vary from kick to kick, depending on other layered sounds.
Warp from here
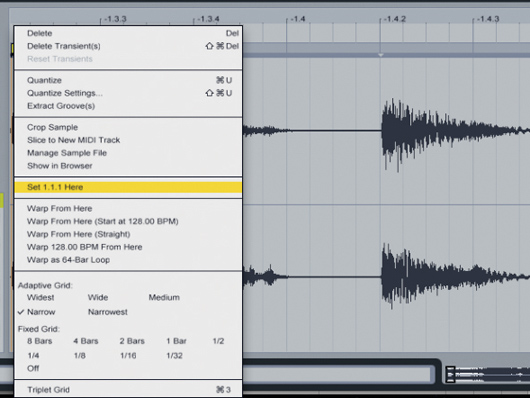
Step 6: For the last time, delete the current clip, set the Preferences to Auto-Warp Long Samples again and re-import the Live 8 demo file. Create a transient marker on the first beat of the track, right-click and select Set 1.1.1 here, then select Warp from here (Straight) from the same menu.
Lining up
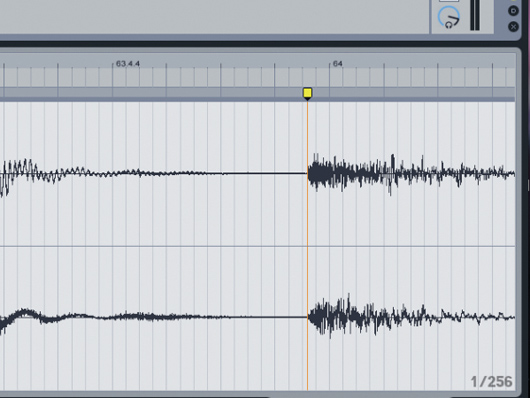
Step 7: Live should have calculated the tempo accurately, so the beats should be very close to correctly placed. All you need to do now is line up a beat towards the end, just as you would have done in previous versions of Live. Go to a beat near the end of the track, create a marker on it and nudge it to the nearby beat.
Re-Pitch mode
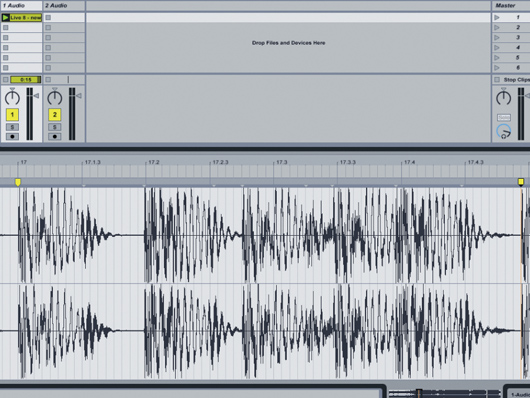
Step 8: One thing to be careful of when warping tracks in Re-Pitch mode (arguably the best option for DJ mixing) is that setting warp markers less than eight bars apart can cause audible changes in pitch. Try this now by adding two warp markers about one bar apart, then moving one of them in closer to the other and having a listen.
