How to use insert and auxiliary effects
Introduction
If you really want your productions to stand up, you need to get your head around effects processing. Stock sounds or simply recorded performances rarely cut it untreated, and the mixing stage is your last chance to get this right.
Before you even start, however, it’s important to understand the difference between insert and auxiliary. Fundamentally, an insert effect replaces the original signal you stick through it. Sometimes the effect you use will have a balance option to enable you to blend in some of the original, but this is the exception. Typical insert effects include EQ, compressor, gate, phaser, flanger and chorus.
By contrast, auxiliary effects make use of send and return busses and are added to the original signal. Auxiliary busses enable you to add the same effect to many tracks, with the effected sounds ending up blended with the originals in the stereo mix output. Auxiliary effects include reverb, delay and harmonisers.
Inevitably, the rules can be broken, and you can use any effect in either way, but this basic categorisation is useful as it reflects the underlying way we add and process when we mix. For example, if we want to brighten up a guitar sound, we’re unlikely to want to combine the dull and brightened sounds via an auxiliary bus, and worse still would be to share the exact same EQ with a multitude of other instruments.
On the other hand, it’s quite likely we’ll need to add the same tempo-matched delay to many sounds, so an auxiliary is the best bet.
With these basic concepts understood, applying effects processing will be much simpler. Let’s consider some examples.
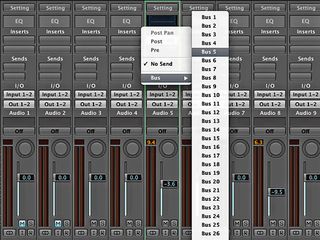
Step 1: First, identify inserts and auxiliaries in your DAW. Insert implementation on channels is pretty universal - you’ll likely have a number of assignable slots above each fader. Auxes are sometimes preconfigured, or in the case of Logic, which we’re using here, freely selectable from a list. Identify the return level, as it’s here that you’ll assign your effect.
Inserts
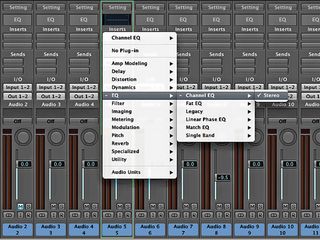
Step 2: Inserts are typically used to ‘replace’ the whole signal. This applies to most EQ and dynamics processors, and these will be your main insert effects, but you can also employ other effects such as chorus and reverb as inserts, using their mix parameters to balance the dry and wet signals. Be aware, though, that with too many inserts, things can get messy.
The effects chain
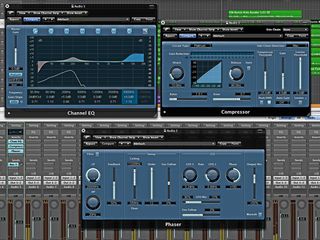
Step 3: With inserts, each process affects the next in line - if you have an EQ followed by a compressor, the EQ settings will affect the drive of the compressor. The order in which you put your inserts will depend on what you’re trying to achieve, but a good starting point is to put the EQ first, then the compressor, and any effects with wet/dry mix settings at the end.
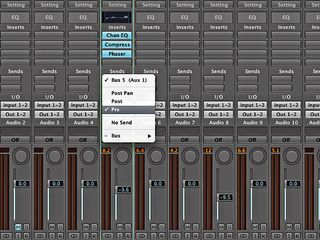
Pre or post
Step 4: Auxiliary effects send a split of your channel signal to a shared effect via an auxiliary bus, with the shared effect mixed back into the overall master mix output. Typically, it’s sent after the fader and affected both by any inserts on the channel and by the fader level itself. Most DAWs also include a ‘pre-fader’ option, to take the fader level out of the equation.
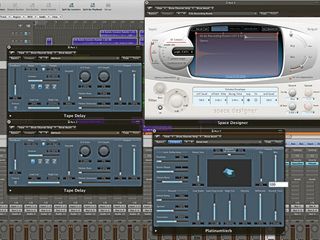
Typical aux effects
Step 5: As auxiliary effects are shared, it’s best to choose them based on the general needs of the track. A good starting point is a couple of tempo-synced delays with quarter- and half-note timings, and small and medium reverbs. Stick these on separate auxiliary busses, and make sure the effects mix is set to 100% wet. Finally, assign sends from the desired tracks.
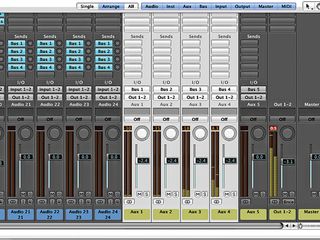
Other aux issues
Step 6: One advantage of using a post-fader auxiliary is that you can change your fader level and have the effect send modified accordingly. If you start using pre-fader sends or more complex sub-mixing techniques, however, think about how it could affect auxiliary levels. Remember, changing the overall effect return will alter all sounds using the effect.

