How to use hardware inserts in your DAW
Bringing the outside in
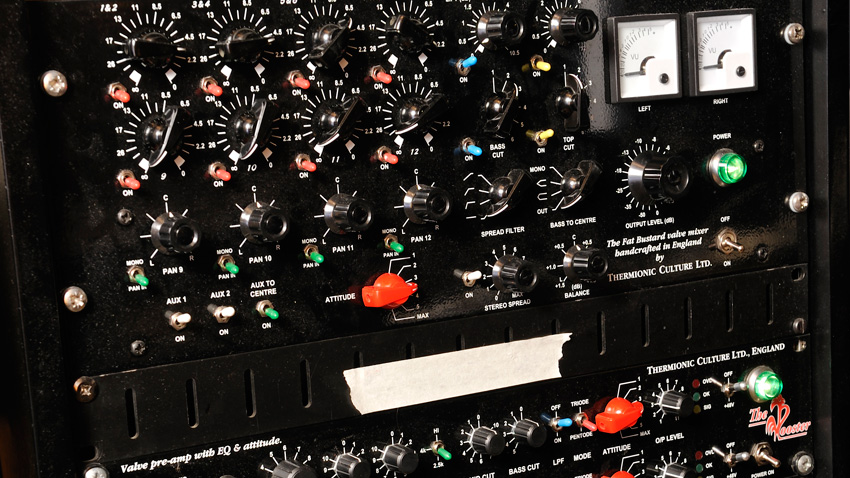
Whether you have a few older processors sitting around or are just looking to expand your studio, hardware can be a great way to add some variation to your sound. It's debatable whether hardware actually sounds 'better' - honestly, we think it's subjective - but there's no doubt that working with hardware can unlock sounds that may not be attainable with plugins.
Most of us work purely in the box and it's very unlikely this is going to change - in fact we're increasingly seeing top engineers and producers dropping bespoke analogue setups in favour of a more efficient digital workflow. With this in mind, it's best to integrate hardware in a way that creates a 'hybrid' system.
In this walkthrough, we'll show you how to plumb your hardware effects and dynamics processors into your DAW in order to process signals from the latter using the former. For more on hardware processing, pick up Future Music 284, which is on sale now.
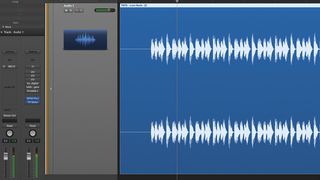
1. We're going to look at a few different things, including how to set up your DAW for basic outboard processing. This will involve creating 'virtual' insert points to route audio back and forth between your hardware and DAW. We'll then get into creating a hybrid effects chain using a mixture of hardware and software inserts. We'll look at level balancing, bouncing results and even delay compensation techniques.
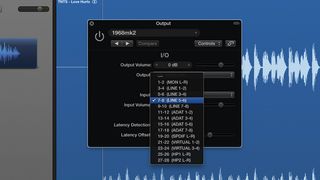
2. Start by connecting your hardware to your audio interface, then loading your DAW's external routing plugin in an insert slot. This can be before or after any software plugins on the same channel. Obviously, make sure your outboard is switched on and everything is plugged in correctly; if it's not, you simply won't hear anything! You should be able to hear your audio being passed through your hardware.

3. Now it's time to run a quick latency test. Only certain DAWs will have this feature or require you to go through the process. We're in Logic Pro X, which can accurately measure the round trip latency: simply hit the Ping button and the Latency Offset slider should automatically adjust itself for very low latency. If it's much more than a few samples either way you may have a problem somewhere in your system.

4. Next, let's get our levels balanced. This involves tweaking the output volume (the level leaving your audio interface and entering the hardware) and the input level (the level coming back into your DAW from the hardware). You want to establish a healthy level into the hardware, then a hot signal with no clipping back into your DAW.
Get the MusicRadar Newsletter
Want all the hottest music and gear news, reviews, deals, features and more, direct to your inbox? Sign up here.
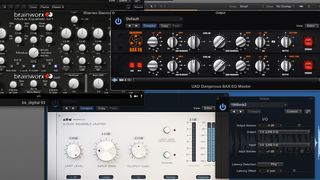
5. If you have more than one hardware processor, simply repeat the process. Now you can throw any plugin effects you like into the chain, too, for a hybrid of hardware and software processing. A sensible move at this point is to save your work. Most DAWs will allow you to save a preset for the hardware routing plugin, storing the level adjustments, latency settings and, most importantly, routing that we set at the beginning.

6. With your multiple effects combined and settings saved, you're ready to mix or bounce the results. Bouncing them provides a fair few advantages. It reduces the load on your CPU and frees up the external processors that you were using, allowing them to be re-used on other sounds. Obviously you'll need to bounce in real time for the external effects to be captured!
Future Music is the number one magazine for today's producers. Packed with technique and technology we'll help you make great new music. All-access artist interviews, in-depth gear reviews, essential production tutorials and much more. Every marvellous monthly edition features reliable reviews of the latest and greatest hardware and software technology and techniques, unparalleled advice, in-depth interviews, sensational free samples and so much more to improve the experience and outcome of your music-making.

"If I wasn't recording albums every month, multiple albums, and I wasn't playing on everyone's songs, I wouldn't need any of this”: Travis Barker reveals his production tricks and gear in a new studio tour

“My management and agent have always tried to cover my back on the road”: Neil Young just axed premium gig tickets following advice from The Cure’s Robert Smith


