How to use basic reverb parameters
Learn the essentials of ambience control
Artificial reverb, whether created by a hardware box or a software plugin, aims to simulate real-world ambience to a varying degree of sonic authenticity. While sample-based convolution reverbs are jaw-droppingly convincing in their emulation of specific captured spaces, the vast majority of reverbs are algorithmic, doing their thing using nothing more than mathematical signal processing and thus being able to generate unreal, wholly imagined spaces as well as more realistic ones.
Of course, in order to coax such a variety of sounds from your algorithmic reverb plugins, you need to know your way around the core parameters. In this tutorial, using Ableton Live's built-in Reverb as an example, we'll take a tour of the controls you absolutely need to have a handle on if you're to take your first steps towards reverb mastery.
For much more on reverb and its many uses, check out the August issue of Computer Music (206).
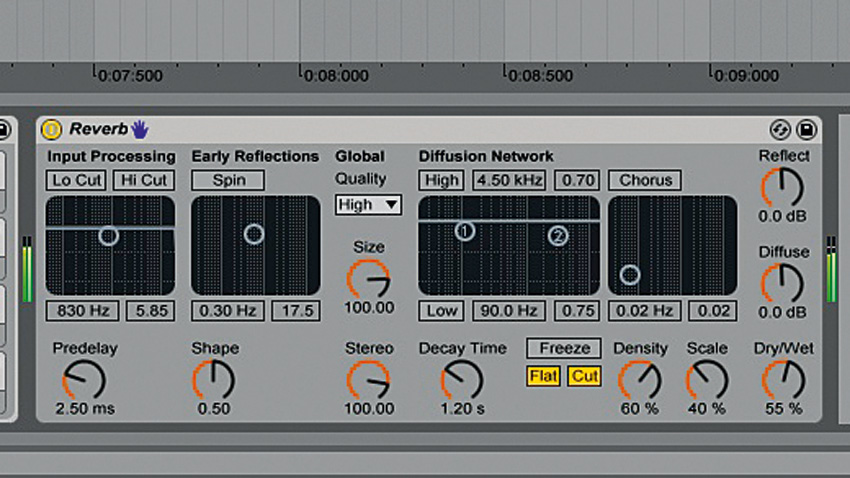
Step 1: We fire up Ableton Live, program a drum pattern, then insert Live's Reverb plugin into its channel. We turn off everything that can be turned off, so that it isn't filtered or modulated at all, and set the plugin to a 50/50 mix of drums and reverb. Any typical reverb plugin will do, and your DAW almost certainly includes one that has very similar features to the one we're using here.
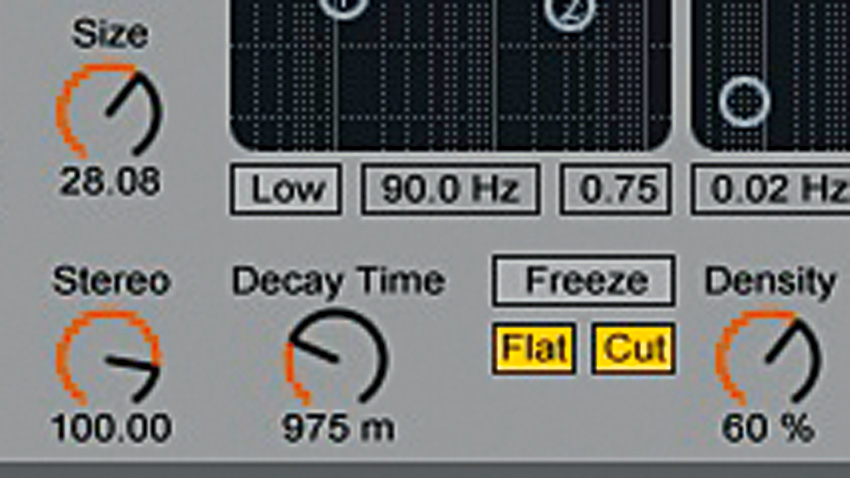
Step 2: Rather than a set of specific room algorithms, Reverb sports a single room Size control. At its lowest setting, the drums sound like they're in a bathroom; at max, they're in a stadium. The Decay Time sets the duration of the reverb tail, from 200ms to 60s - that is, how long the reverb takes to fade away to silence. These two knobs set the character of our reverb tail (late reflections), along with…
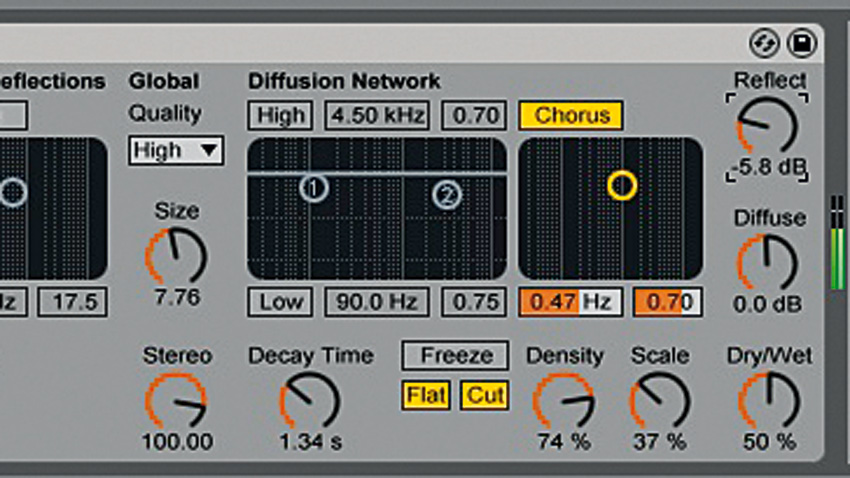
Step 3: …the Diffusion Network controls. Different reverbs will offer different controls with which to adjust the density and smoothness of the tail - here, we have the Density and Scale parameters in the Diffusion Network section. Your reverb may well let you modulate the tail to impart a bit of 'wobble', too - Reverb's Chorus module gives control over the speed and depth of its LFO.
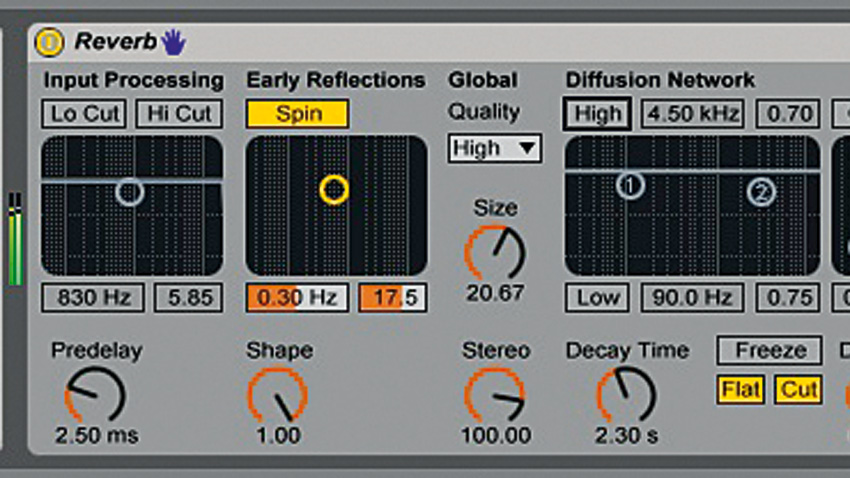
Step 4: In the real world, early reflections are the very first echoes to arrive at your ears, before all the echoes aggregate to form a more smoothly decaying tail. The Shape control on Live's Reverb sets the 'prominence' of the early reflections, while the Reflect dial sets their volume in the mix (Diffuse does the same for the tail).
Get the MusicRadar Newsletter
Want all the hottest music and gear news, reviews, deals, features and more, direct to your inbox? Sign up here.
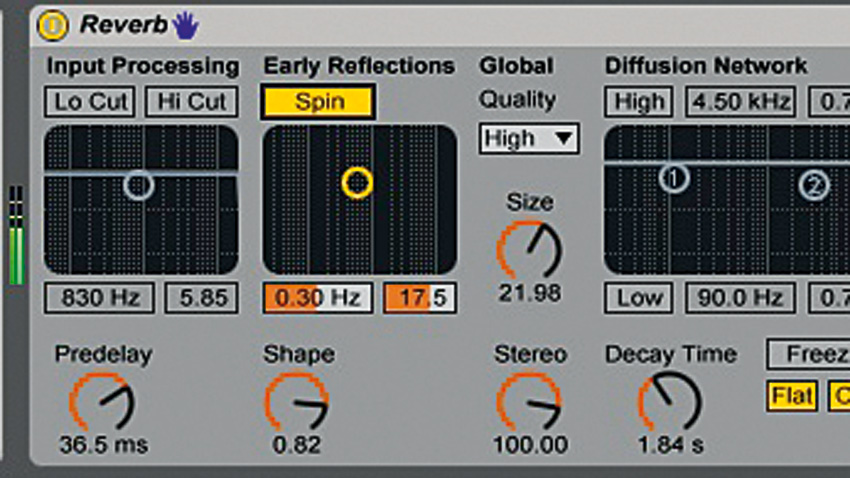
Step 5: The time it takes for the first early reflections to appear is called the pre-delay, and it can be used to give transients a bit of space before the reverb kicks in, and add to the impression of size with large spaces. Live's Predelay, found in the very lower left of Reverb's interface, is typical, ranging from 0.5ms to 250ms.
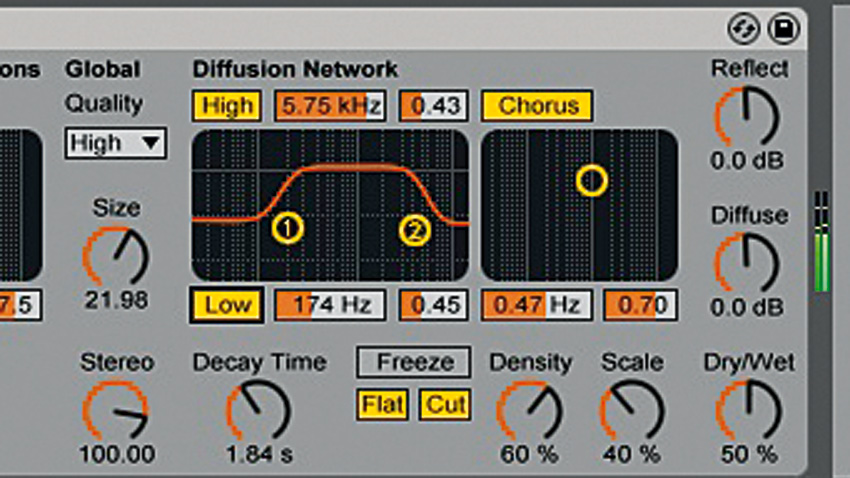
Step 6: Our reverb spans the frequency range, but in a mix, you may want to rein in the highs/lows. Some reverbs have filters for this - Live's has them on the input and in the Diffusion Network (the latter acting as reverb damping controls, to control bass/treble tail length). Your reverb may also have a stereo width control for narrowing/widening the signal.
Computer Music magazine is the world’s best selling publication dedicated solely to making great music with your Mac or PC computer. Each issue it brings its lucky readers the best in cutting-edge tutorials, need-to-know, expert software reviews and even all the tools you actually need to make great music today, courtesy of our legendary CM Plugin Suite.


