How to sequence drums with Ableton Push
Learn to program beats with the Live 9 controller
Live 9 has been lit up by its own dedicated controller - Push. Here we get hands-on and show you how to sequence a beat using the new device.
• For many more Ableton Live guides go to our massive learning hub: Learn Ableton Live and Ableton Push: music production tips and tutorials
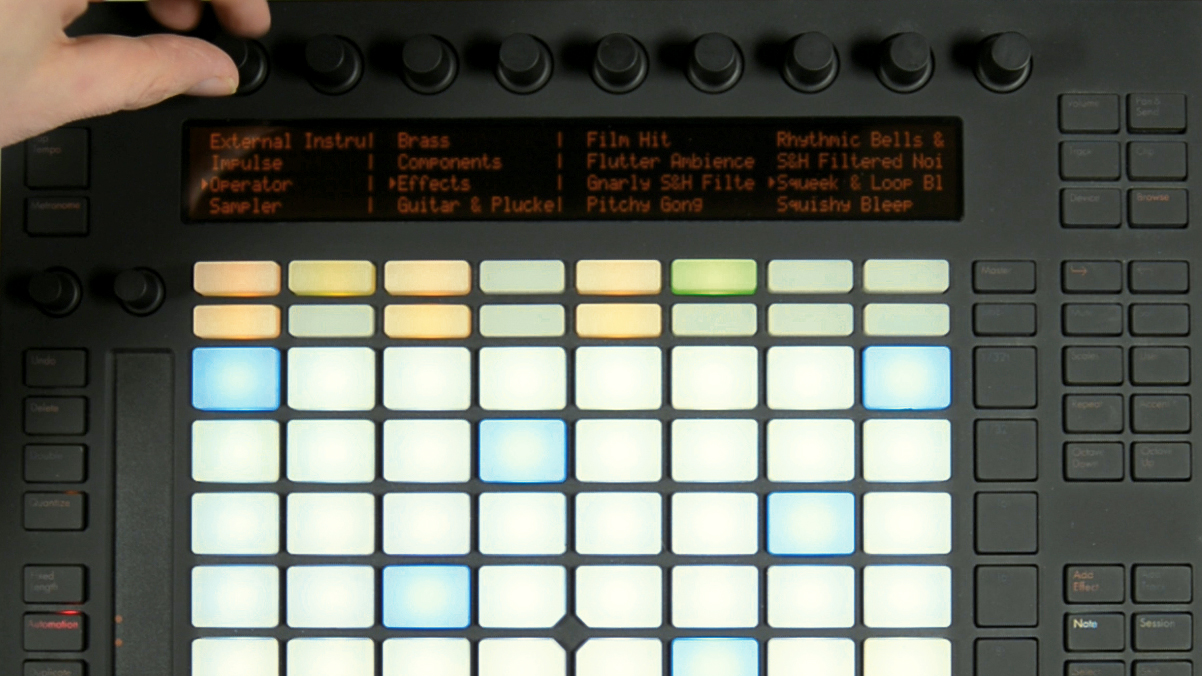
Step 1: Let's use Push to step sequence some drums. With a new project started and a MIDI track loaded, we need a sound source, so we hit the Browse button on Push to hunt for a drum kit. Push can only browse the Live library - third-party plugins and sounds have to be integrated into it to show up in the browser.
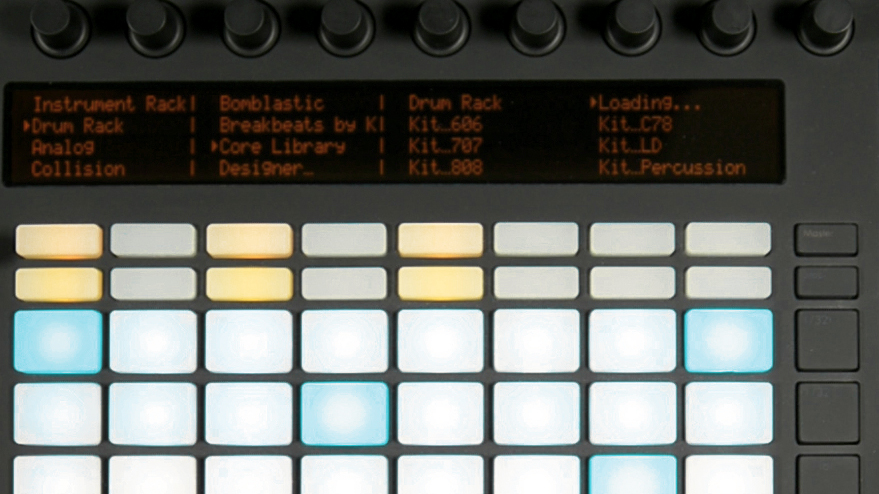
Step 2: You can freely record a part of any length you like, but since our drum loop is two bars long, we'd like our percussion to match it automatically. Holding down the Fixed Length button presents us with a range of musically logical clip durations to choose from. We opt for 2 bars, then hit Record and perform our part live on the pads.
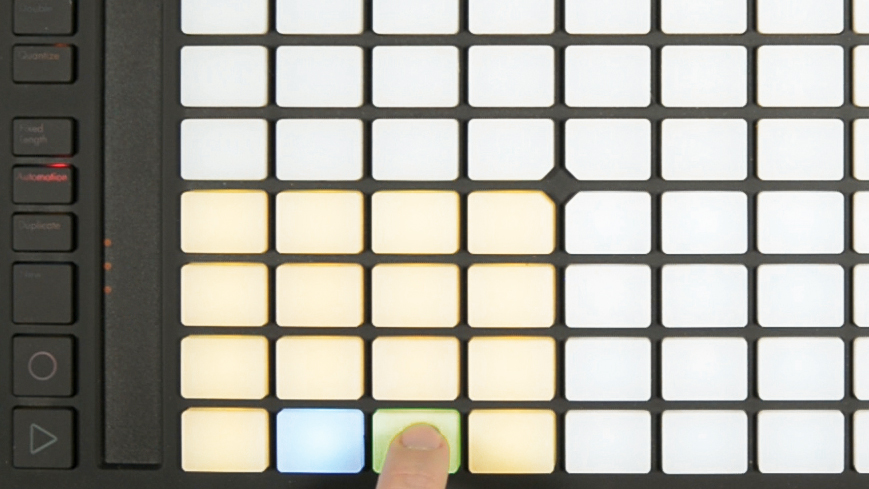
Step 3: Push's Repeat function enables rolls of varying speeds to be generated by holding down the pads: we turn Repeat on and hold down the conga pad to generate an eighth-note roll. The Grid buttons to the pads' right set the Repeat rate, and the pressure applied to the pad controls the volume of the repeats. We activate record again and capture our roll.
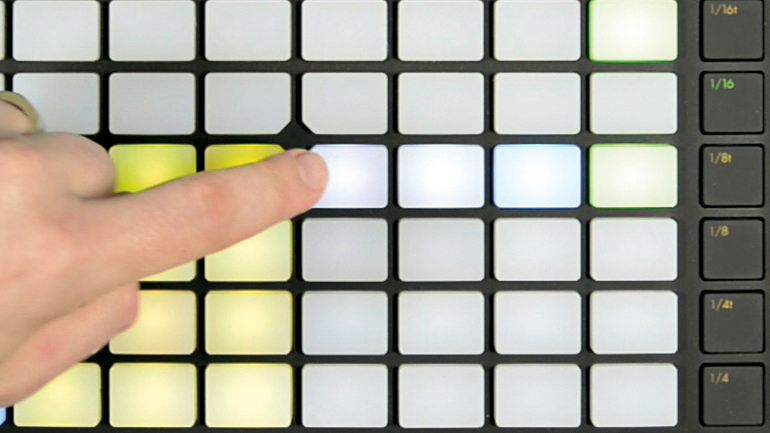
Step 4: The loop length is set using the bottom-right 4x4 block of pads. Starting at its top left, each lit pad represents one bar. At the moment we have a two-bar loop: the green button shows which bar is currently playing, while all other active bars (or bar, in this case) are lit up blue. If we were to hold down the top left pad and hit the bottom right one, we'd have a 16-bar loop.
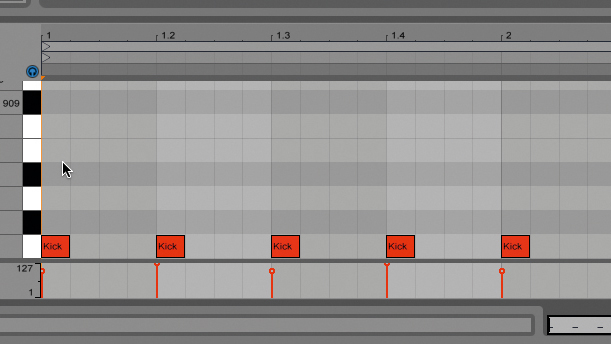
Step 5: At the moment, all our kick drum hits are at the same velocity. Pressing the Accent button sets the velocity of newly entered notes to maximum. Here we're upping every other kick drum to maximum velocity before returning them to the regular level.
Get the MusicRadar Newsletter
Want all the hottest music and gear news, reviews, deals, features and more, direct to your inbox? Sign up here.
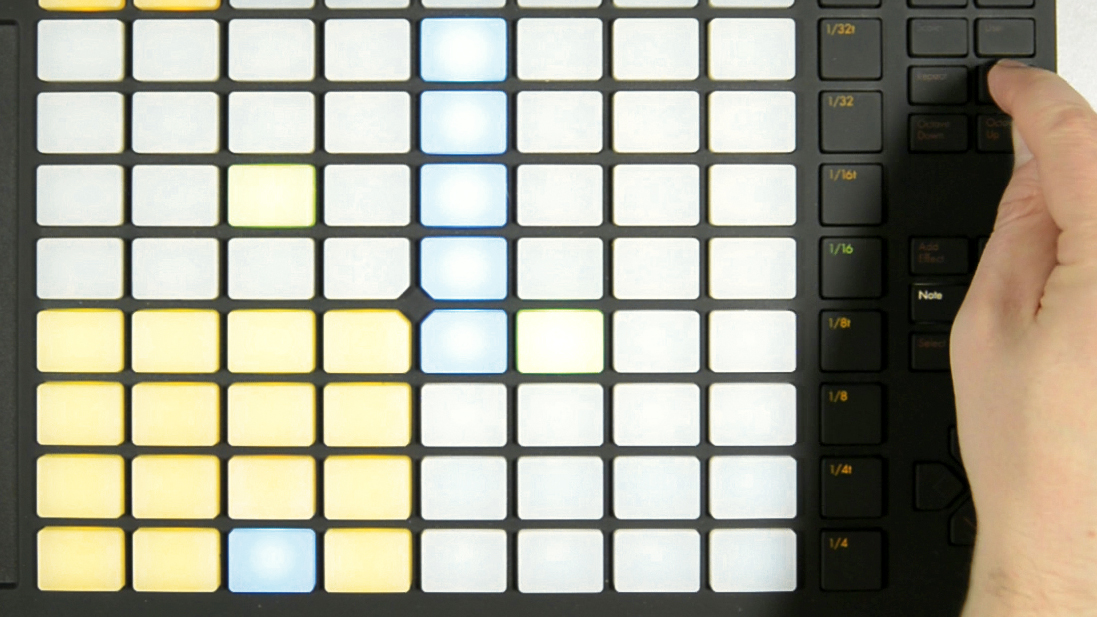
Step 6: Next, we place a snare and handclap on the backbeat. At the default velocity level, the snare is a bit quiet, though, so we press the Accent button on the right-hand side of the unit and re-enter the hits to set them to maximum velocity.
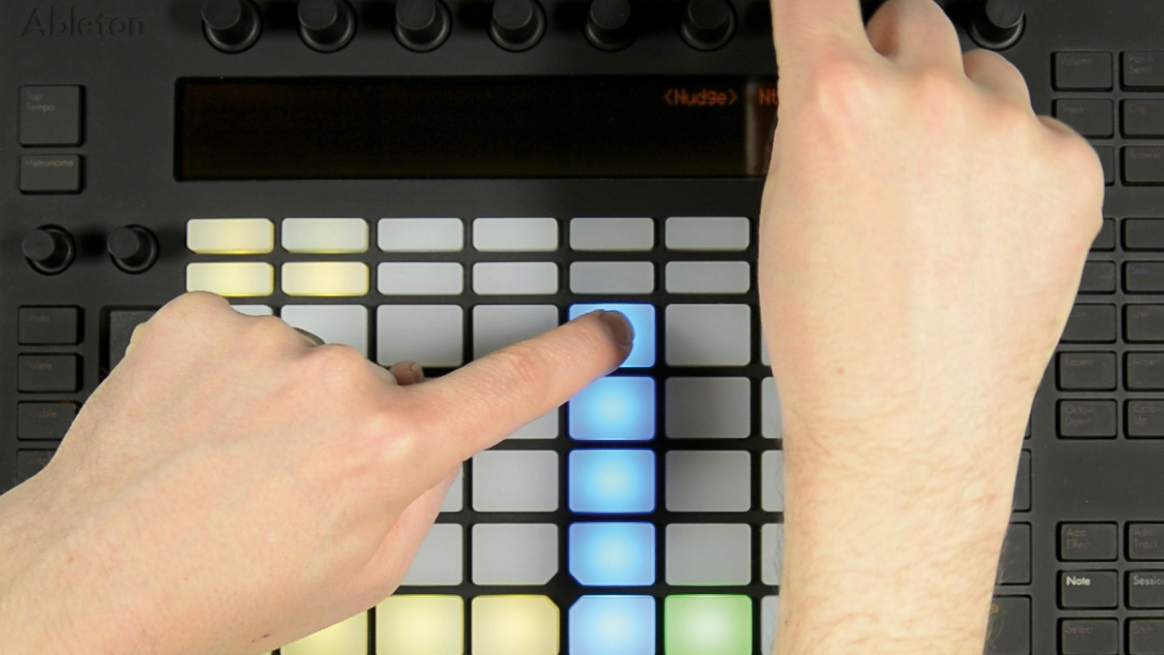
Step 7: Holding down a pad in the step sequencer gives access to three editing functions for that note via the rotary encoders. The first is Nudge, which enables us to shift the selected hit left and right. The second is Note Length, which doesn't work for our one-shot clap sound, but would shorten or extend a sustained synth sound. Finally, the third encoder adjusts the Velocity.
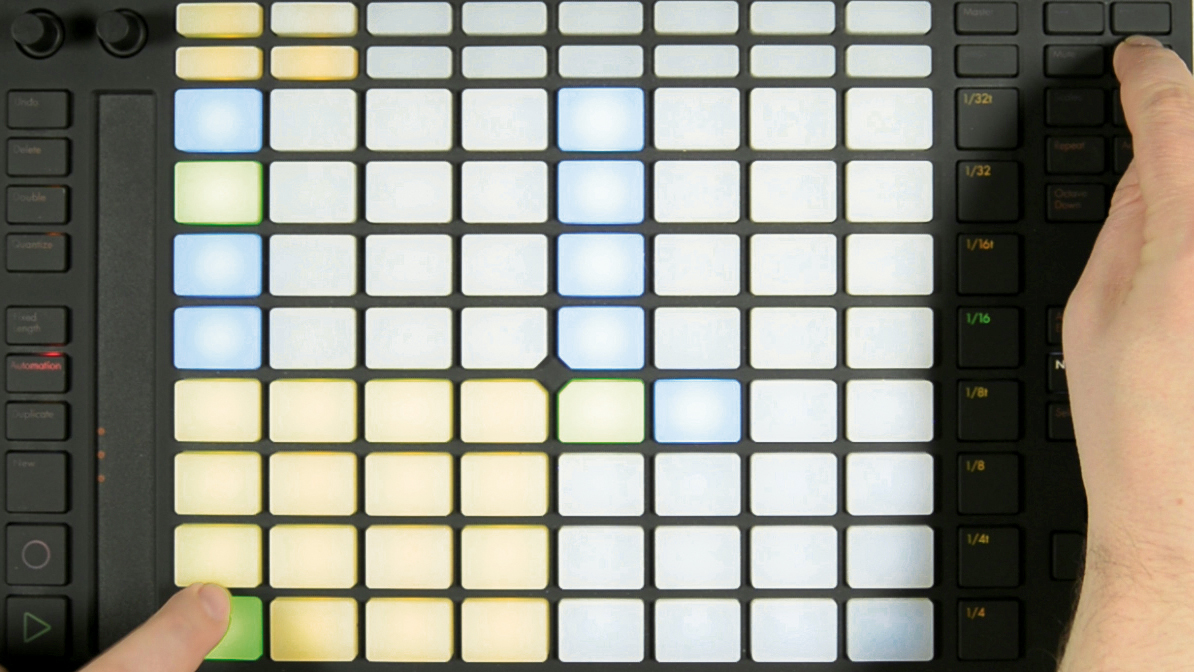
Step 8: Now for some hi-hats. We tap in closed hats on the offbeats and an open hat on the last offbeat of the second bar. Individual drums can be soloed and muted: holding down the Solo button and hitting the kick drum pad solos the kick, for example, while holding down the Mute button and hitting the same mutes it.
Computer Music magazine is the world’s best selling publication dedicated solely to making great music with your Mac or PC computer. Each issue it brings its lucky readers the best in cutting-edge tutorials, need-to-know, expert software reviews and even all the tools you actually need to make great music today, courtesy of our legendary CM Plugin Suite.


