How to recreate DJ Premier's sample slicing and sequencing style
Learn to create golden era hip-hop riffs by triggering slices from samples from your MIDI controller
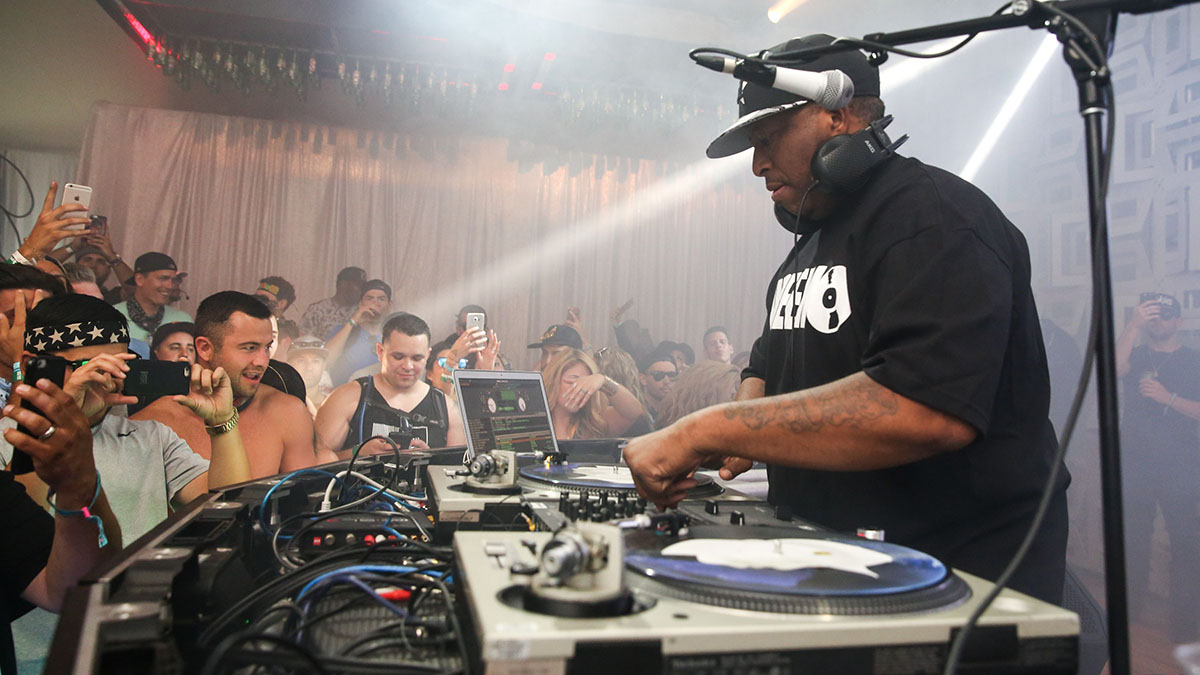
Modern music software gives us the ability to manipulate and rearrange audio in just about any way we can imagine. However, when making classic-style hip-hop tracks, you'll want to put all that aside and get back to basics, emulating the MPC workflow that defines the genre by cutting up loops and triggering the resultant slices from your MIDI controller.
In this tutorial we'll show you how to recreate the production style of the legendary DJ Premier by doing exactly that in Ableton Live. For more hip-hop tutorials, pick up the November edition of Computer Music (CM236).
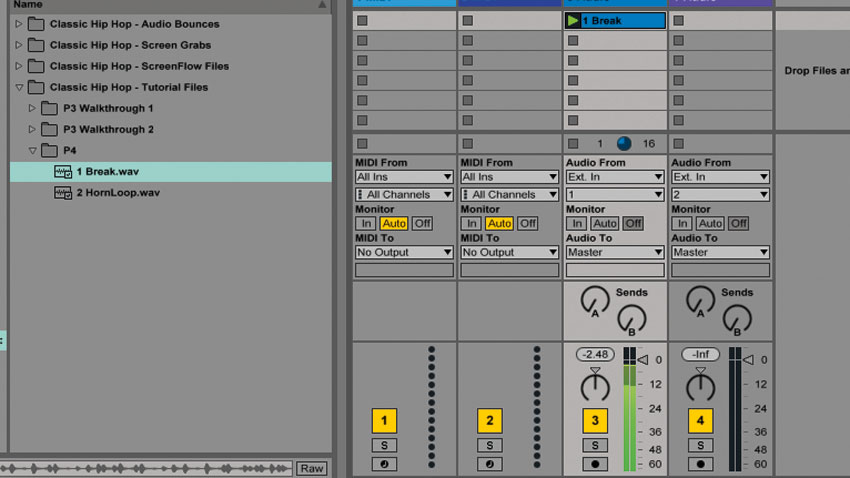
Step 1: Key to authentic golden-era hip-hop is the slicing and resequencing of sampled riffs using a drum pad sampler. Instead of dusting off a battered MPC, we'll be using Ableton Live 9's Drum Rack with a MIDI keyboard for this walkthrough, but you can apply the skills we'll cover to any drum pad sampler. Start by importing Break.wav into a 95bpm project.
Break
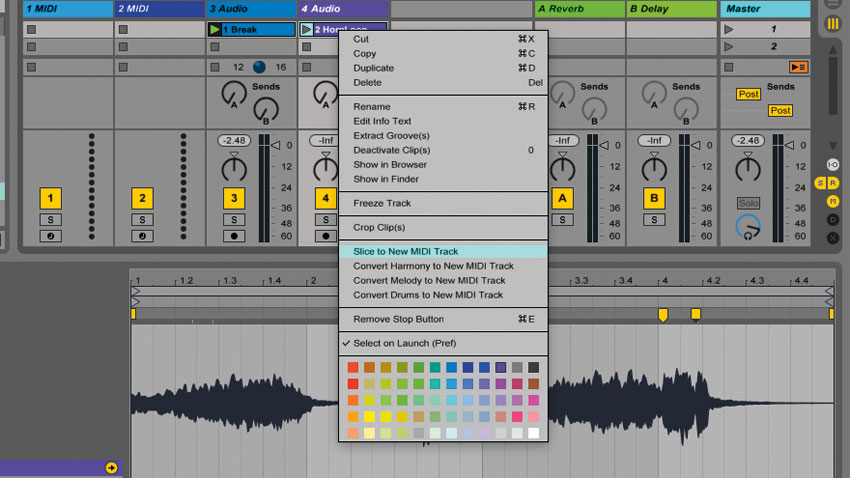
Step 2: Let's import a horn sample for further slicing - grab HornLoop.wav. Live 9's automatic slicing is usually pretty accurate, but as our sample doesn't have distinctive transients, we'll dictate the slices manually by adding a warp marker to the start of every note. Now, right-click the HornLoop clip and choose Slice To New MIDI Track.
Horn loop
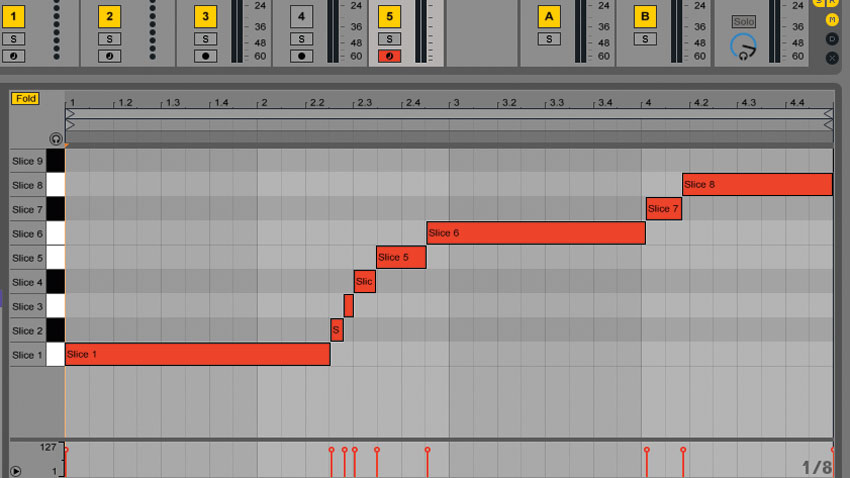
Step 3: In the Slice To New MIDI Track dialog box, pull down the top menu and select Warp Marker- this'll slice our sample according to the markers we've just laid down. Next, disable Preserve Warped Timing, as we'll be playing our own riff from the sampled loop. After hitting OK, the loop will be sliced into nine parts, ready to be replayed as a new riff.
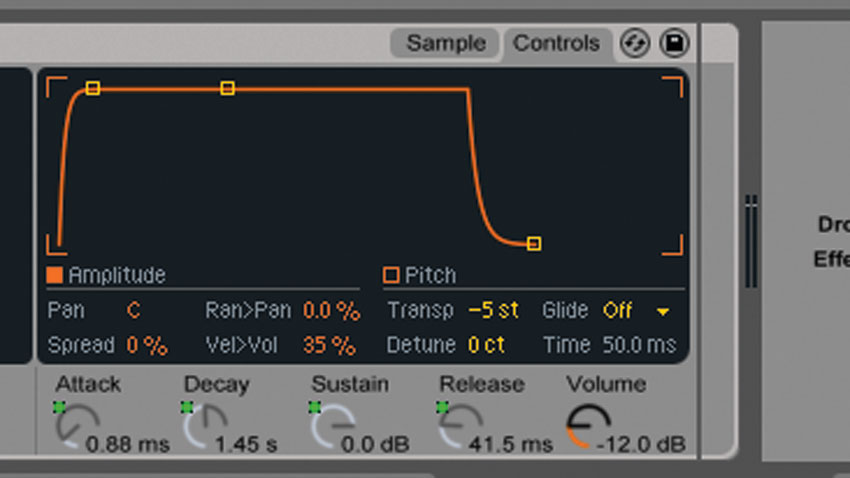
Step 4: Delete the HornLoop audio clip to keep things tidy. Now to fine-tune our riff setup: duplicate slices 1 and 6 onto blank pads in the Drum Rack, double-click the copied pads and pitch them down to -3 semitones via Simpler's Controls tab. After this, repeat the process again but pitch the two samples down to -5 semitones -the pitched-down slices will allow for a more interesting riff.
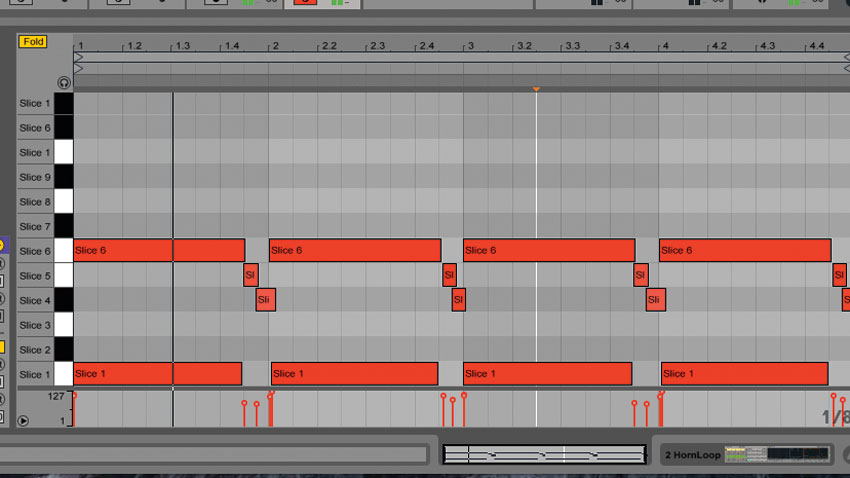
Step 5: Now we've sliced our sample, we'll record in a riff using our MIDI keyboard. Delete the MIDI clip from the HornLoop channel, then hit the grey circle to record a new clip. We've layered two slices to make a sustained riff; you can experiment to find something that works for you. After this, we'll fix any playing errors by opening the MIDI clip and editing the notes until the riff fits the drum break's groove nicely.
Get the MusicRadar Newsletter
Want all the hottest music and gear news, reviews, deals, features and more, direct to your inbox? Sign up here.
Recorded horn riff
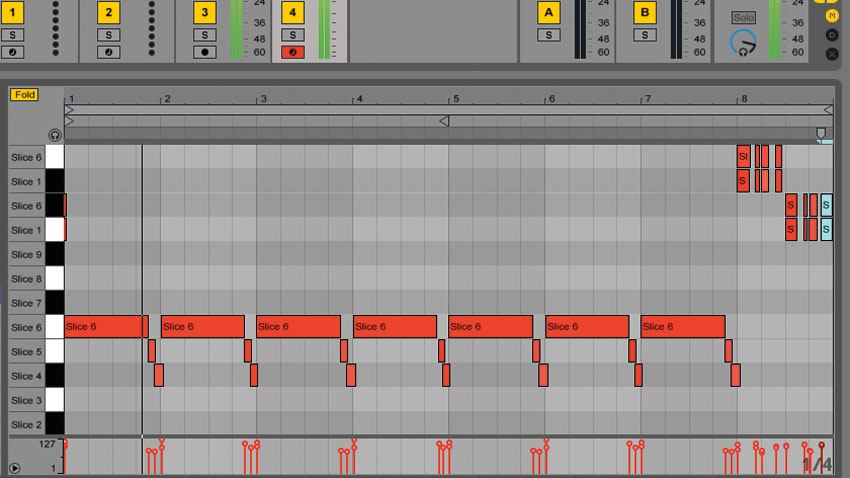
Step 6: Finally, we create a variation of our riff to use as a flourish at the end of eight bars. Change the MIDI clip's length to eight bars, then duplicate the notes from bars 1-3 across to bars 5-7. Hit the Overdub button to record a variation onto bar 8. After recording, edit the notes manually to fix playing errors without strictly quantising them, giving the part a live feel.
Added end flourish
Computer Music magazine is the world’s best selling publication dedicated solely to making great music with your Mac or PC computer. Each issue it brings its lucky readers the best in cutting-edge tutorials, need-to-know, expert software reviews and even all the tools you actually need to make great music today, courtesy of our legendary CM Plugin Suite.


