How to record Motown-influenced soul vocals
Give your mixes that classic soul sound

Motown magic
In the early days of Motown Records, when the label was striving to define a classic sound for soul music, Berry Gordy’s engineers ran into a problem. They couldn’t get their vocals to stand out in the mix.
Unlike a lot of music around at the time, those early soul productions had the instrumentation cranked up loud, which meant that the vocals had to fight very hard to compete. The engineers applied plenty of compression and EQ to make them sound bigger, but the early recordings felt like they had the life sucked out of them.
With no dynamics, they just weren’t as good as they could be. And at a label where songs routinely went through upwards of 20 different mixes to get them sounding as clear as possible, that just wouldn’t do.
Enter Lawrence Horn. Now serving a life sentence for three murders, he was once one of the best mix engineers at Motown. He came up with a technique that managed to lift the vocals up and make them powerful and bright, while still retaining their dynamics.
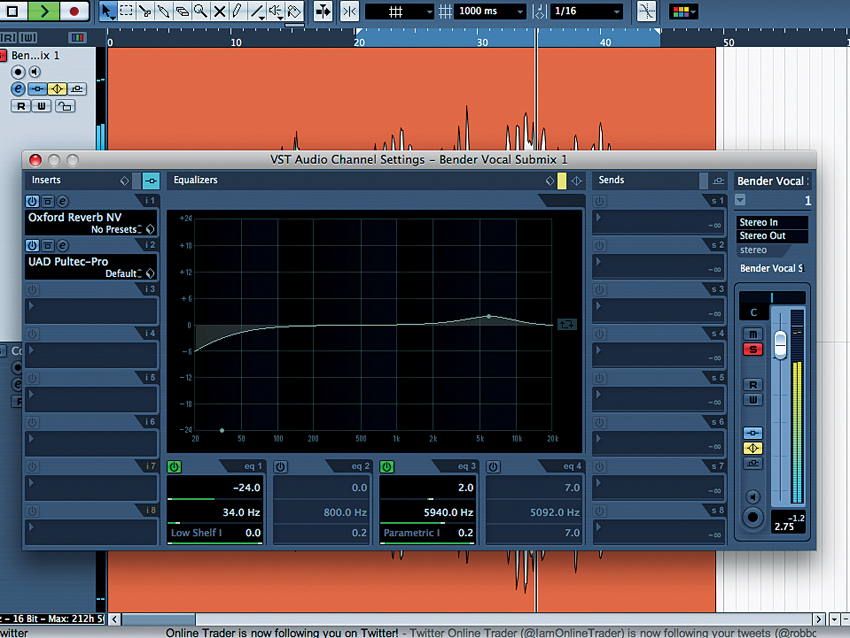
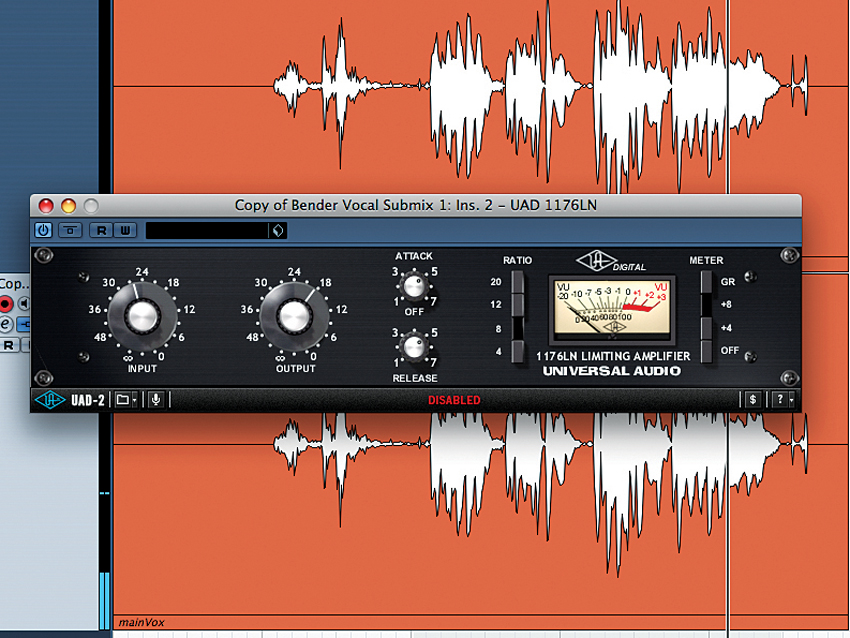
Parallel compression was still some years away from being invented, but Horn’s technique, which we illustrate below, uses the same principle: combining a compressed signal with an uncompressed one to get a fantastic combined sound.
Although production styles have moved on since the days of Motown, this is a technique that’s still used in mixing soul music today. It’s a very straightforward method to put into practice, and if you create a mixer template for it, you’ll find that sticking it on your soul vocals becomes second nature.
Next: How to get that Motown vocal sound
Double up
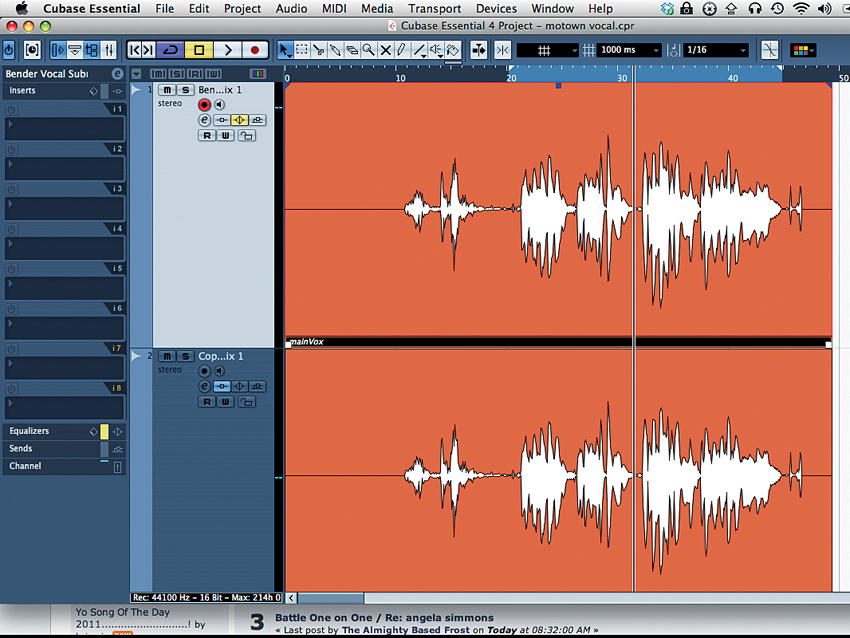
Step 1: First things first: double up your vocal. You can use two different takes or simply duplicate the same one. In this case, we duplicate Ilana’s voice, without adding any effects just yet. This technique can work just as well with a single vocal sent to an auxiliary track, but we’ve opted for doubling here.
Mix the two channels
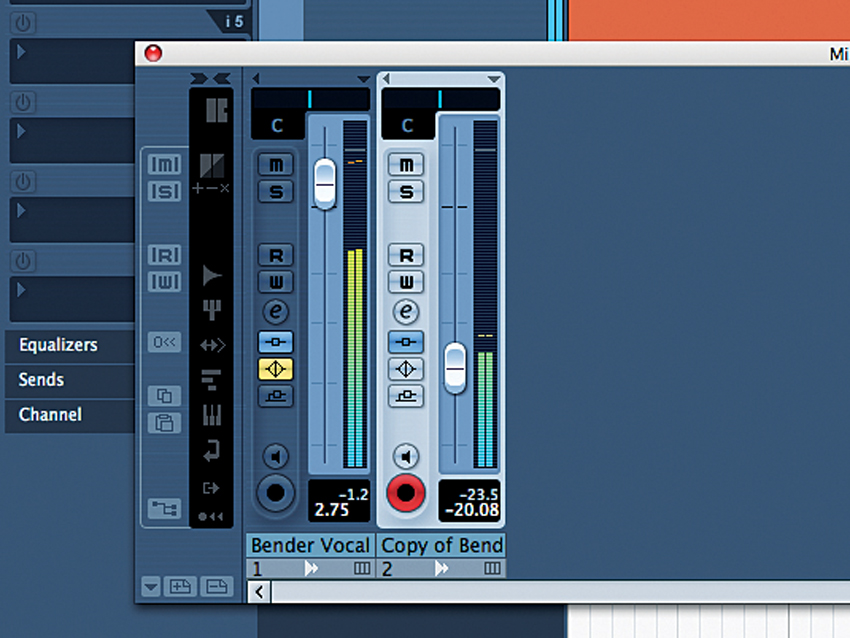
Step 4: Set the first vocal channel at a comfortable level, and slowly bring up the second. You should end up with a sound that’s bright, full and clear, and will cut through any mix of instrumentation you throw it at. Getting this to sound natural is quite easy: you’ll hear if you push the level too far.
Warm it all up
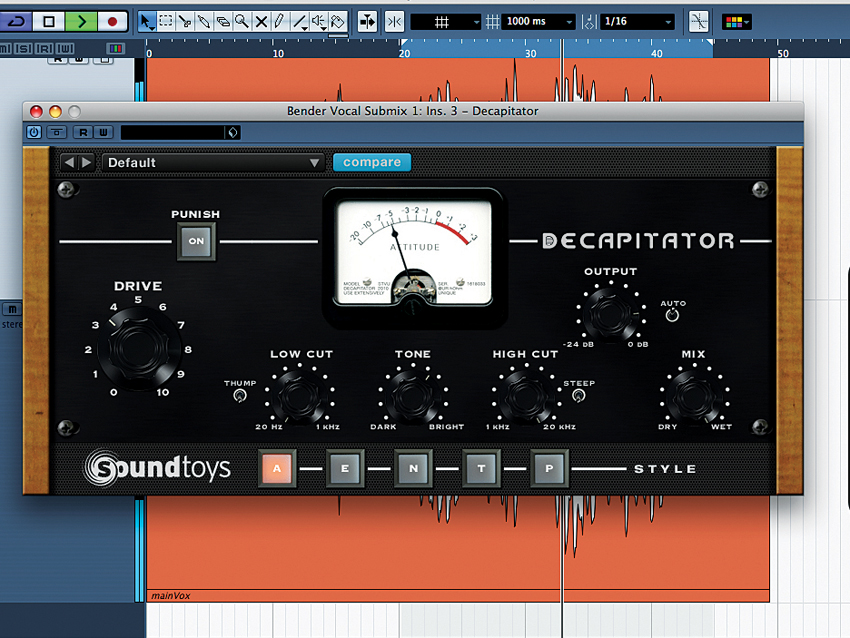
Step 5: It also helps to run your vocals through a saturation plug-in to colour the sound even more. We’ve gone for SoundToys’ Decapitator here because it has a setting (A) that models a tape drive used at both Stax Records and Chess Records’ studios. However, any similar saturation plug-in will do.
Computer Music magazine is the world’s best selling publication dedicated solely to making great music with your Mac or PC computer. Each issue it brings its lucky readers the best in cutting-edge tutorials, need-to-know, expert software reviews and even all the tools you actually need to make great music today, courtesy of our legendary CM Plugin Suite.
