How to record audio and MIDI in Steinberg Cubasis
We run through the basics of recording on iOS
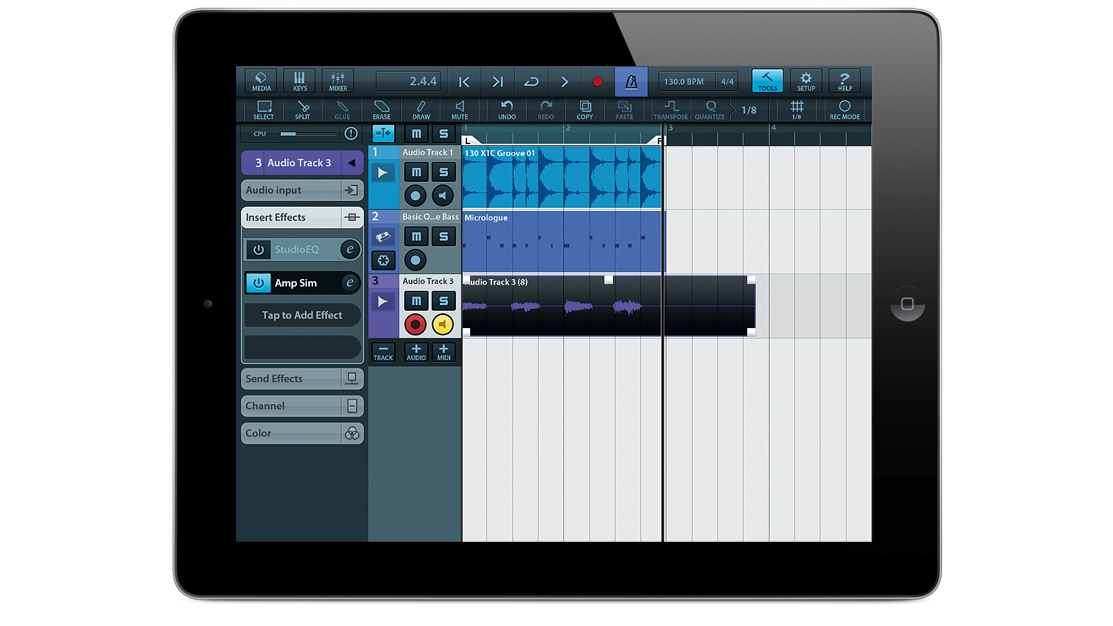
If you ever doubted that developers were taking iOS seriously as a music production platform, Steinberg's pared-back version of its flagship DAW ought to convince you that, yes, you can actually do it all on your iPad.
Sure, this iOS incarnation could be seen as relatively limited compared to the desktop version, but that would be missing the point. Loaded with a feature list that continues to grow with each regular update, Cubasis is certainly one of the most comprehensive DAWs available for iOS.
It's an ideal compositional sketchpad that can also serve as a perfect mobile recording studio, and Cubasis users can bring their projects into the latest desktop versions of Cubase to continue their work or finalise the mix. Or not - you could simply finish off a mix right on the iPad.
Here we show you how to get started with recording both MIDI and audio tracks within the app. For loads more on working with Cubasis, check out the Autumn issue of Computer Music (CM 196), which is on sale now.

Step 1: Here we have a simple drum loop that plays for two bars and a synth track instantiated. Let's do something with them. We've loaded a Micrologue sound and tweaked it to taste, but a factory patch will do fine. Tap the X in its top-right corner to close the synth's interface. Let's try recording a bar. First, tap the Loop button up by Cubasis' Play arrow.
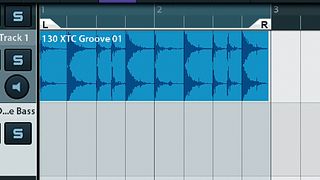
Step 2: You should now see a sort of greyed-out section between the L and R markers in the project's ruler. This is the section that Cubasis will play looped. Let's tap, hold and drag the R marker over to the beginning of Bar 3 so that our entire drum loop is included in the looped section.

Step 3: Tap the Play arrow in the main transport area up top. You will hear the drum part looping. Try playing around on the keyboard until you come up with a suitable bass riff to go along with the drums. When you have something you like, stop the playback and tap the back button in the transport to return the cursor to the start.
Get the MusicRadar Newsletter
Want all the hottest music and gear news, reviews, deals, features and more, direct to your inbox? Sign up here.

Step 4: Before you record on a track, you must arm it for recording. Cubasis will do this automatically when you select a track. However, you can arm unselected tracks too. See the little dotted red circle in your MIDI track? It means the track is "armed" for recording; tracks that aren't will be unaffected when we hit Record.
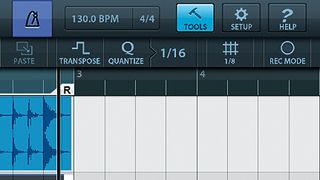
Step 5: Tap the Metronome button up top. Before you record, tap the Tools button to bring up the Toolbar. Tap the Rec Mode button and then touch Count. This activates your one-bar precount. Hit the transport bar's Record button (the one with the red dot). After the count-in (precount), you can play in your riff, and when you're done, hit Record again to end recording.
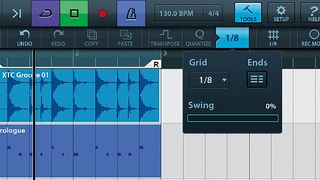
Step 6: If you make a mistake, you can Undo. MIDI tracks can even be undone when the project has been closed and re-opened. Close the keyboard. If your timing is off, tap the 1/16 button to the right of Quantize in the tool bar. Select an appropriate grid value for your performance (we've gone for 1/8) and tap the Quantize button.

Step 7: Now let's record a bit of audio. Tap the + Audio button in the track area to bring up a new audio track. Use the Audio input section of the track inspector to choose mono or stereo recording and select the input to which you will be connecting an instrument or mic. Remember to use headphones if the latter, otherwise the sound of the speakers will be picked up by the mic too.
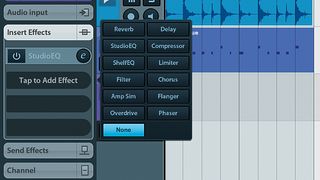
Step 8: We're going to record an electric guitar. To monitor your instrument through Cubasis, you'll need to tap the speaker button on your audio track (next to the record arm button). This will only work with an interface or headphones. Tap Insert Effects in the Inspector and then tap the topmost slot. Choose Amp Sim from the pop-up.

Step 9: Adjust your effects parameters to taste. Once you've got something you like, tap an area outside the effect GUI to exit it and record some audio using the same techniques used for the MIDI recording. Before you do, though, turn off loop recording. Here, we've added a bit of rhythm guitar. It's not too bad, but we'll need to edit it.
Computer Music magazine is the world’s best selling publication dedicated solely to making great music with your Mac or PC computer. Each issue it brings its lucky readers the best in cutting-edge tutorials, need-to-know, expert software reviews and even all the tools you actually need to make great music today, courtesy of our legendary CM Plugin Suite.

