How to prepare a track for use with FL Studio 11's Performance Mode
Get to grips with this revamped feature in Image-Line's DAW
The revamped Performance Mode in FL Studio 11 can now be considered a serious option for live performers. Clips and automation can now be triggered by many MIDI controllers, or even directly via a multitouch display.
Here, in the video above and step-by-step below, we show you how to prepare one of your projects for live use.
For loads more on using the new tools and features of FL Studio 11, pick up the October issue of Computer Music (CM 195), which is on sale now.

Step 1: Performance Mode gets expanded controller support in FL 11, so now we'll show you how to get a track ready for use with it. We've included a project in this Tutorial Files folder (right click and Save As to download) for you to follow along with. Open PerfModeTut.zip (FL Studio can open Zipped Loop (project) files as projects) and take a look at the Playlist to see how the track is arranged.

Step 2: Click the Tools menu and select Macros»Prepare for Performance Mode. A prompt tells you the project will be tweaked for live performance - click OK. You'll see the look of the track change, with a blank area appearing to the left of the denoted Start point. This is where we'll arrange our "playable" clips.

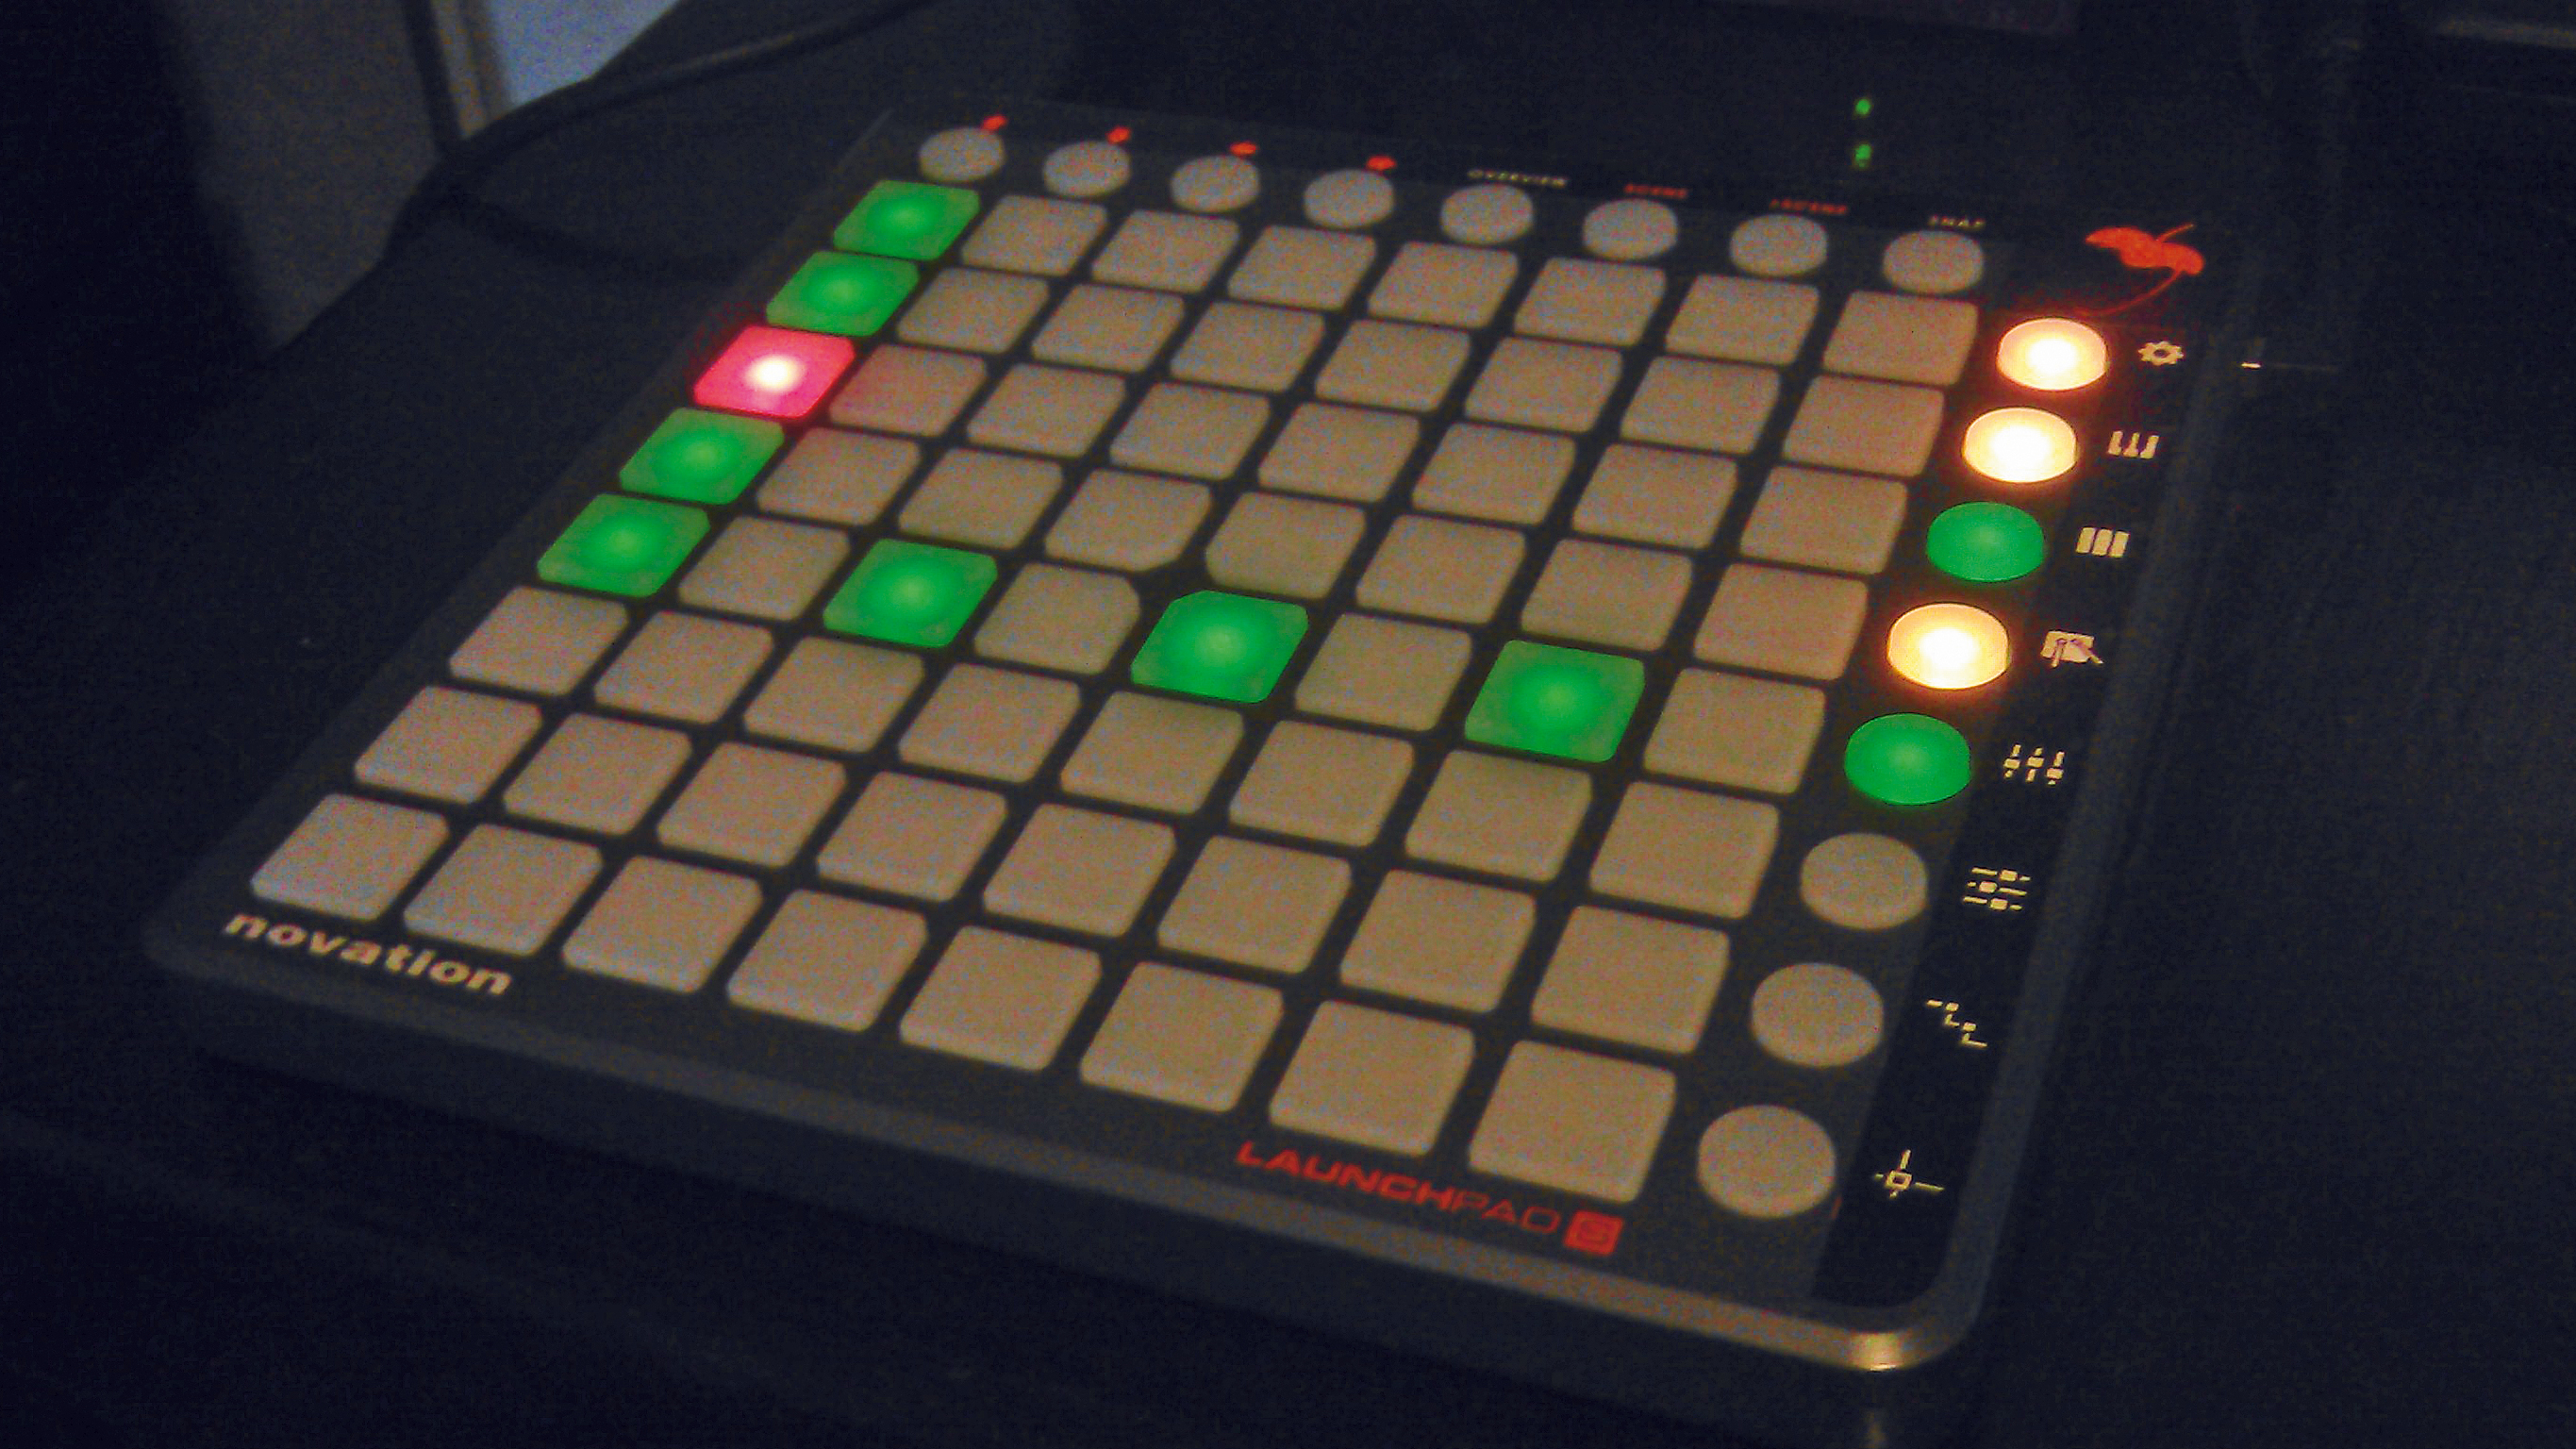
Step 3: We need to arrange the clips in a triggerable layout, so we start by pasting Pattern 2, the drum pattern, into Track 1 under Pad #1 at the top. If you're using a compatible pad controller (we're using a Novation Launchpad S), the placement of clips corresponds to the pads on your controller. We put our chords (Pattern 1) first in the Track 2 row, and our bassline first in Track 3.

Step 4: We continue laying out patterns (only placing one instance of each) in a logical order. We place the lead (Pattern 5) next on Track 4, but we have several melodies that we want to trigger our lead sound with, and they're of varying length. We put Patterns 6 to 11 end to end along Track 5 - they extend beyond the length of a single numbered pad marker.
Get the MusicRadar Newsletter
Want all the hottest music and gear news, reviews, deals, features and more, direct to your inbox? Sign up here.

Step 5: Although our clips above Track 5 also extend beyond the length of one pad, this isn't a problem as they are the only clips on this row. For Track 5 this is a problem, as we need the patterns to be next to each other on our controller's pad row. If your controller is on and has lit feedback of where triggerable clips are, take a look at it. There are unlit gaps between our triggerable clips.

Step 6: In our project we can address this by right clicking the Pad #2 marker at the top and selecting Delete. We do this for Pads #4, 6, 8, 10, 11, 12, 14, 15, 16. If your controller is lit, look again and it should now display the triggerable clips as sequential pads. Note: these refer to the numbers the pad markers have as their default numbering, as markers will be renumbered as they are deleted.

Step 7: We finish our placing of patterns by placing Auto Clip, an automation clip that creates a pumping sidechain compression style effect on our bass and chords, on Track 8. We place pattern 12 on Track 6 and our tambourine loop (from the Newtone tutorial on p43) on Track 7 to finish our layout.

Step 8: It's unclear which tracks represent which instruments, so we name and colour Tracks 1-7 by right-clicking their names and selecting Rename/Color... We name them appropriately and pick distinct colours to clearly differentiate them. For Track 5, we also right-click and select Performance settings»One shot, so that these parts play once rather than loop when triggered.

Step 9: We now delete everything past the [ Start marker except Auto Clip #3 envelope, a filter sweep for our chords that we want to play at the start without us triggering it. Now we can trigger the clips using the pads or by clicking them with the mouse - see us playing the song live in the video above folder. Follow this same process with your own tracks to get them ready for performance!
Computer Music magazine is the world’s best selling publication dedicated solely to making great music with your Mac or PC computer. Each issue it brings its lucky readers the best in cutting-edge tutorials, need-to-know, expert software reviews and even all the tools you actually need to make great music today, courtesy of our legendary CM Plugin Suite.


