How to plan your studio's layout
Buiding a great studio starts with a great design…

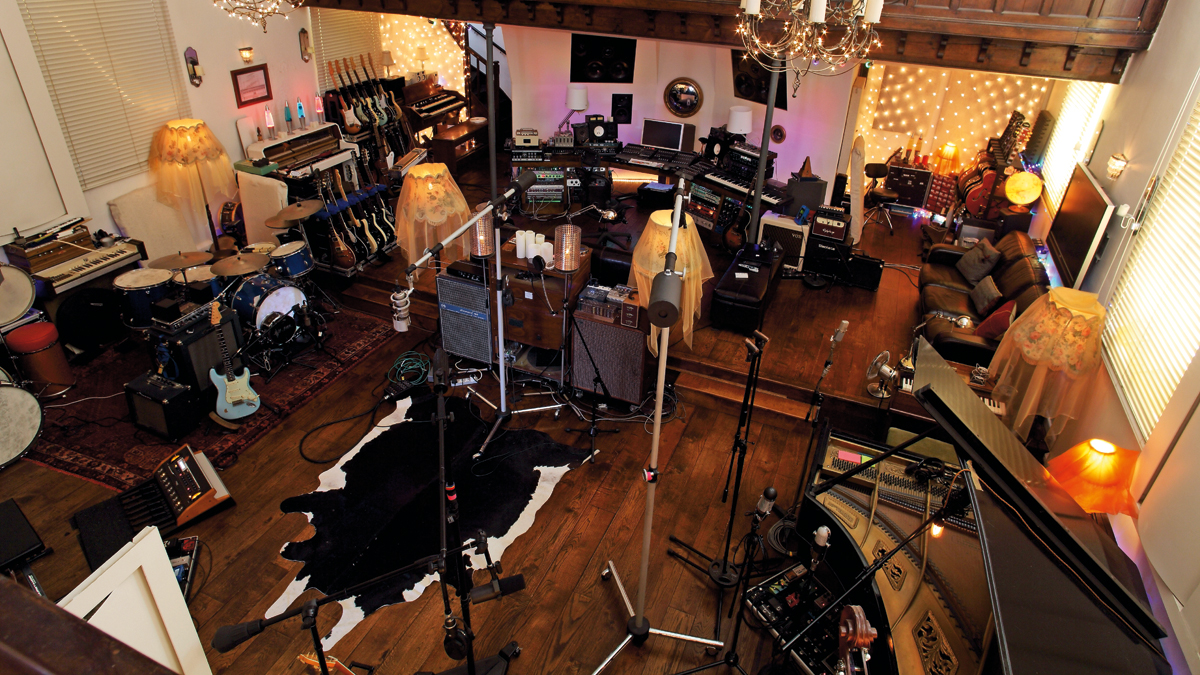
Planning the layout of your studio space can be a highly personal thing. It is the physical representation of your working practice; a response to your needs both current and future. Careful preparation is key, so don't skimp on this part - thinking is free, three tonnes of plasterboard isn't! Really think about how you work now and what changes you'd like to make to the processes involved. This could mean having all your synths spread out within arm's reach, or getting outboard gear properly racked. It could mean having a separate recording room or a dedicated vocal booth. If you are to have multiple spaces then consider how much use each will receive and make sure their space and construction cost reflects that.
Storage is often overlooked, so make sure there's plenty of provision for cases, piles of old pedals/cables/percussion, gear you don't use, and of course your collection of Future Music and Computer Music mags. Areas for making refreshments and relaxing will need consideration, but be sensible; there's no need for a full-on chill-out zone with sofas and an Xbox if you mostly work alone or with single clients. Minimise dead space.
Make a model
Modelling your space can be a great way to work it out. Mark out the open space with tape or chalk, move your equipment in to get a sense of proportion, even hang drapes up to see how dividing walls will affect the space. Armed with a tape measure, visit similar sized studios and take photos for inspiration.
Non-studio spaces can serve as inspiration, too, so keep your eyes/ears open during the planning process. Also be aware of any building work around you, noting materials, fittings and layers that seem appropriate; inspiration can come from seemingly unrelated and mundane structures.
Be sure to allow some room for expansion. This may be in the form of setting rack space for 50% more gear, having enough width for a mixing desk or keeping the ceiling high for future tracking use in a one-room setup.
The first thing to eat up your space will be the isolation layers. These are unavoidably thick and heavy (mass is your friend, albeit a rather cumbersome one), so plan the space to allow for them. Even with pre-existing blockwork walls, you'll need to lose at least another 150mm in wall depth for a mineral wool filled stud wall skinned with a double layer of acoustic/high-density plasterboard. Add to this the final control layer(s) needed to flatten the frequency response and even out the reverberation time, and suddenly your room starts to shrink.
On the floor
Ceilings are even more material hungry. If there's an occupied floor above, a full isolation layer will be necessary and, depending on how much noise you're expecting to make, this can be a complex sandwich easily over 250mm thick.
Get the MusicRadar Newsletter
Want all the hottest music and gear news, reviews, deals, features and more, direct to your inbox? Sign up here.
For a control room, hard wood floors are often desirable, as they provide some off-axis reflectivity to combat highly absorbent walls, making the room inhabitable (we use floor reflections to hear speech). This requires the ceiling acoustic control layer to be extra absorbent to counter the reflective floor, which means yet more depth. If the floor is to be floated to reduce transmissions from other rooms/the outside world, this will also eat up the available height. It's best to situate a studio where there is enough headroom to allow for this. The alternative is to use very dense materials to achieve the isolation performance of their higher volume equivalents, but at increased expense.
Mass is great at repelling acoustic energy but, like water, sound will find any weak spot and exploit it. To prevent this, the isolation 'shell' of your studio needs to be airtight - but this causes a slight problem for oxygen dependent humans! The ducting necessary to ensure a healthy air supply can be bulky, so this will also need to be factored into the basic allocation of space.
Light is a premium resource in studios, as glazing systems that exhibit equivalent isolation to studio walls are far more expensive per square metre. Outside light pays dividends in productivity, reducing the fatigue of spending long hours in a sealed box. In multi-room studios, windows make all the difference for visual communication; video-link setups are a very poor alternative.
For much more on building your own studio, pick up Future Music 294, which is on sale now.
Future Music is the number one magazine for today's producers. Packed with technique and technology we'll help you make great new music. All-access artist interviews, in-depth gear reviews, essential production tutorials and much more. Every marvellous monthly edition features reliable reviews of the latest and greatest hardware and software technology and techniques, unparalleled advice, in-depth interviews, sensational free samples and so much more to improve the experience and outcome of your music-making.


