How to perform MPC-style sampling tricks using Ableton Push 2
Mix up modern MPC-style techniques to jam out inspiring rhythmic chops and cuts on the fly
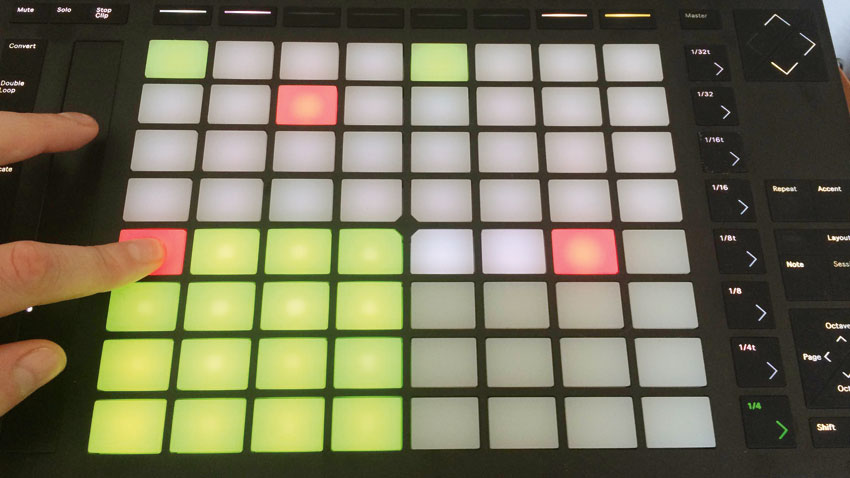
With its clever new features and high-res screen, working in conjunction with the recently expanded capabilities of Live's Simpler, Push 2 was built with real-time sampling in mind.
In this tutorial, we're going to show you how to bring a vocal sample to life, arranging it in sections across Push 2's pads, for playing, MPC-style, like an 'instrument'.
• For many more Ableton Live guides go to our massive learning hub: Learn Ableton Live and Ableton Push: music production tips and tutorials
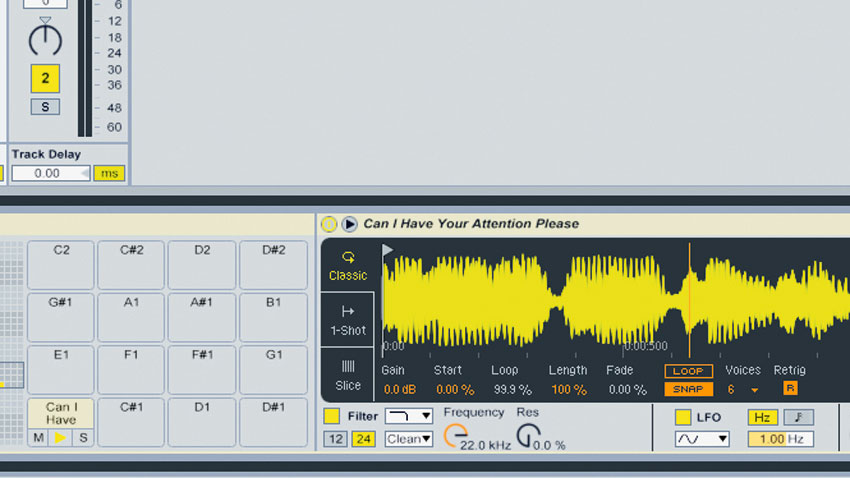
Step 1: Let's use the hardware/software combo of Push 2 and Live to generate inspiring rhythmic vocal chops. Load a spoken vocal in a new Simpler instance on the first pad of a Drum Rack. Assigning this Simpler's Transpose parameter to the Drum Rack's first Macro will give us global hands-on control over pitch. We apply EQ, compression, sidechaining and delay to give our sound vibe and character against our drums.
Entire processed vocal over beats
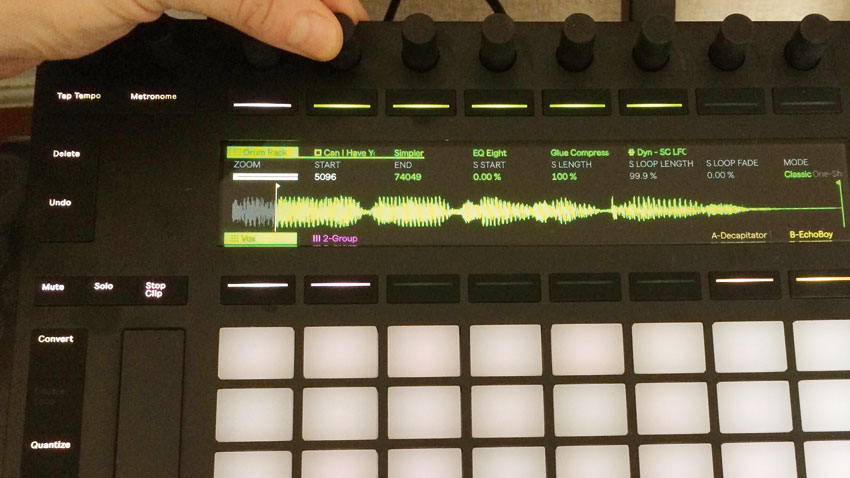
Step 2: Hold Duplicate, tap the first pad, then tap the adjacent pad to copy that Simpler instance to the next pad within the Drum Rack. On this second pad, we'll use Push 2's top encoders to alter the sample's Start position - increase the Sample Start parameter to remove unwanted clicks. Repeat the process to create 16 different vocal chops across the pads, all with slightly different start points.
16 different vocal cuts
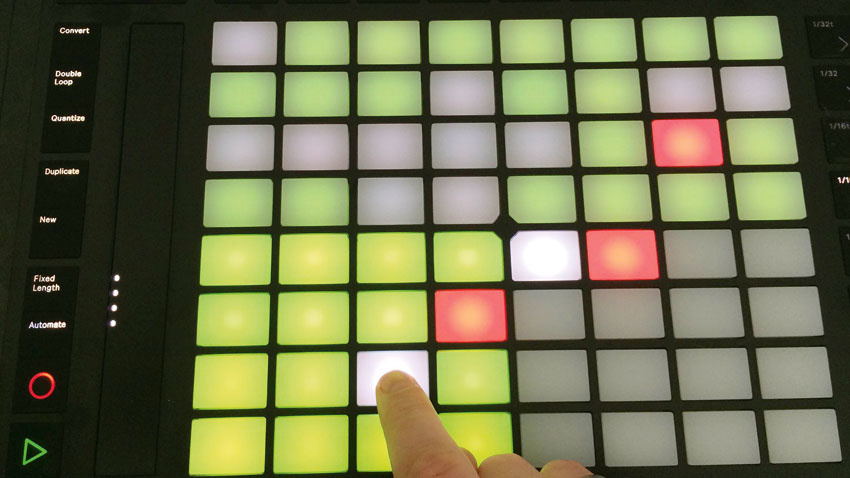
Step 3: It's time to perform! After hitting Push 2's Record button, we jam in short, rhythmic chops by tapping the Drum Rack pads. Pay attention to the duration of your taps to perfect note lengths. It's unlikely you'll hit gold on your first take, so spend time getting a feel for the various note combos that work together - you can always hit Undo or Delete to start again. Once done, hit Quantize to lock the notes to the grid.
Basic riff from vocal cuts
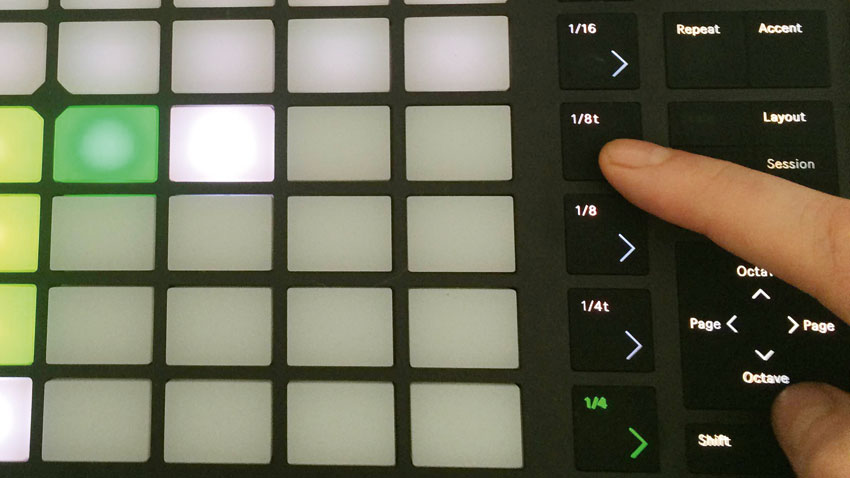
Step 4: Push 2's Note Repeat is a fantastic feature for improvisational performance. To activate it, toggle Repeat - now, when we hold down a Drum Rack pad, the sound is repeated at a rhythmical division set by the column of buttons to the right of the main pads. Turn Note Repeat on to repeat the currently-playing sample in ¼-note looping sections, then punch in different speeds for rhythmic variation and buzzy edits.
Want all the hottest music and gear news, reviews, deals, features and more, direct to your inbox? Sign up here.
Note Repeat
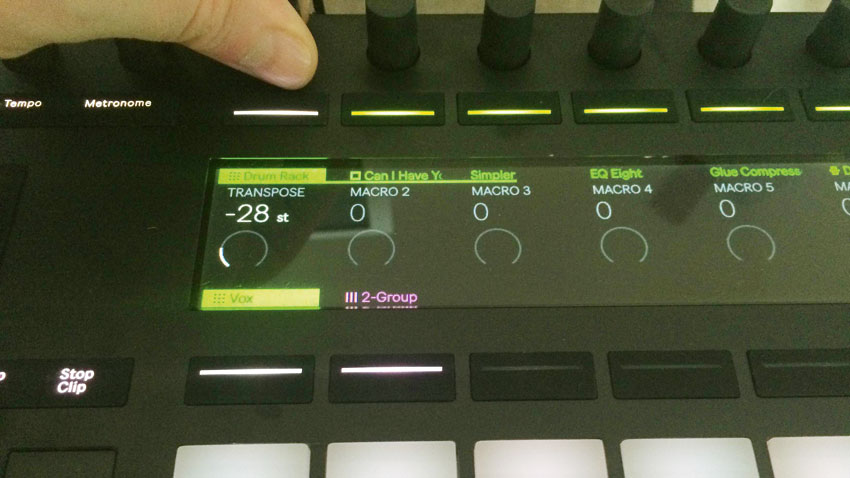
Step 5: Remember we assigned our first Simpler's Transpose amount to the Drum Rack's first macro control? We can tweak this to alter the pitch of all our vocal chops simultaneously. Live's default pitch range is +/- 48 semitones, so we can ramp pitch up/down across four octaves. Select the parent Drum Rack, hit Automate and Record, then overdub Transpose sweeps into the clip as automation for wild effects.
Crazy pitch sweeps

Step 6: Now let's combine techniques. To create one-off drifting FX and short pitching hits that interact with the beat, punch a single Drum Rack pad as you wildly sweep the Transpose macro. Pitch everything down to -48 semitones, then jam in ¼ Note Repeats to get weird rhythms and loops. Or try shortening individual hits (via the Sample Length macro) to create tiny clicks that can be used as repeating percussion.
Repeating FX rise
Future Music is the number one magazine for today's producers. Packed with technique and technology we'll help you make great new music. All-access artist interviews, in-depth gear reviews, essential production tutorials and much more. Every marvellous monthly edition features reliable reviews of the latest and greatest hardware and software technology and techniques, unparalleled advice, in-depth interviews, sensational free samples and so much more to improve the experience and outcome of your music-making.
