How to make the perfect loop
Getting started
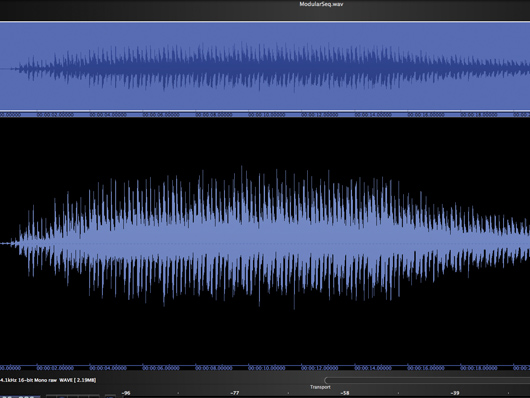
Step 1: Samples with rhythmic content are easier to loop than sustained, complex sounds. However, the rhythmic nature that makes them so appealing is also their Achilles heel. Get the timing wrong and the sound will be hopelessly compromised. Load the ModularSeq.wav file (right-click to download) into your audio editor and take a listen.
Start point
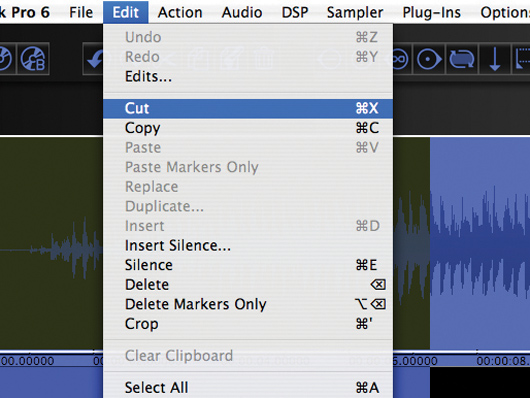
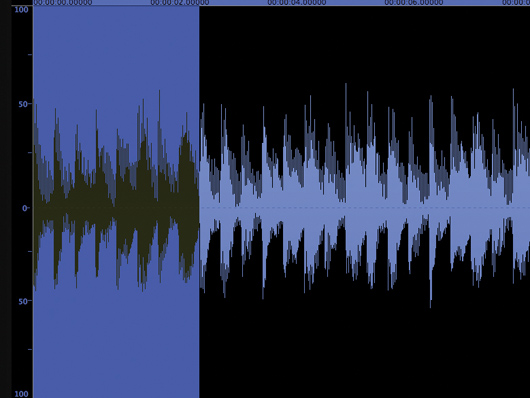
Step 2: How you edit this sound will depend on how you plan to use it. It fades in and out gradually, and that would be nice if you intended to play it chromatically from a keyboard. However, you’ll want to trim it if you’re going to use it in a program such as Acid or Live. Let’s do the latter. Trim the fade-in off at just over 00:00:07.24. Be sure to cut it at a zero crossing.
Fade-in
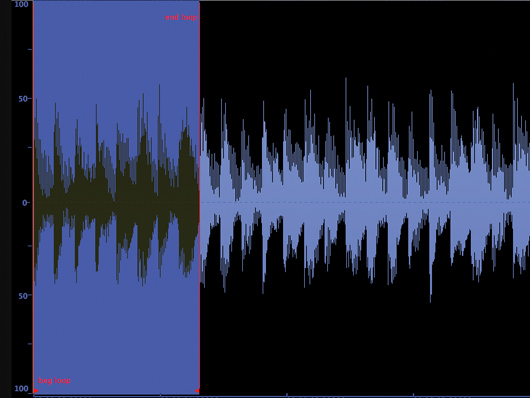
Step 3: Listen to the file after you’ve cut it. Now, we might be jumping the gun, but to our ears it sounds as if there’s quite a bit of filtering that fades in. It’s still fading at the point we cut it, so we may have to move further into the file for a smooth loop. Let’s go ahead and give it a shot, though. As you can see, the waveform spikes with each note of the sequence. Select the first eight notes.
Adding markers
Step 4: Any decent editor will provide a facility for dropping loop markers into your sample. In the one we’re using (BIAS Peak Pro), it’s as simple as selecting the area you want to loop and clicking the Loop button in the transport. However, your editor may work differently. You might be required to go to the Edit menu or click in the ruler.
Moving the markers
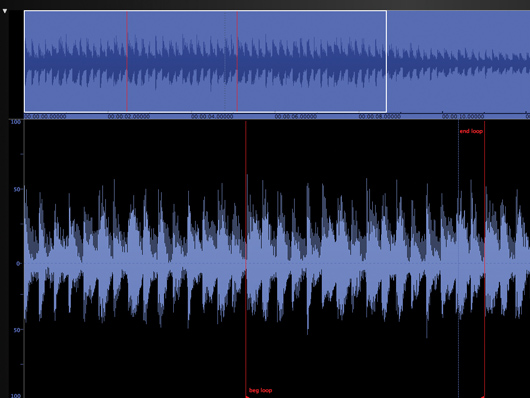
Step 5: Play the loop. Don’t worry if it clicks as it cycles – we’ll sort that out later on. Hmm… as we suspected, the filter action at the start is preventing our loop from cycling smoothly. Let’s count ahead 16 beats and have another go. This time, we’ll make our loop 16 beats long, too. Move your markers to similar positions to ours and have a listen.
Getting rid of pops
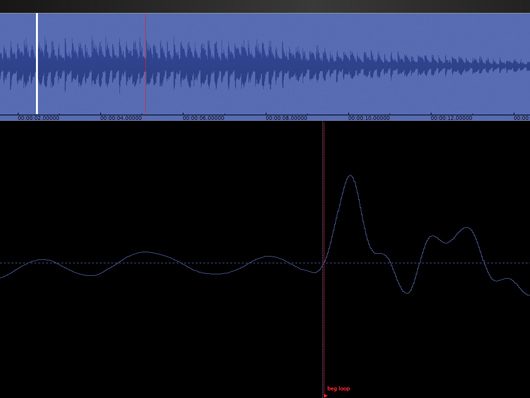
Step 6: That’s a better loop, no question about it. There are some pops as the playback cycles from loop end to loop start, though. We can fix that by zooming in on the loop start and ensuring that our marker is sitting on a zero crossing right at the beginning of the attack. The attack is quite clear as the big spike in energy. Move your marker as shown.
End point
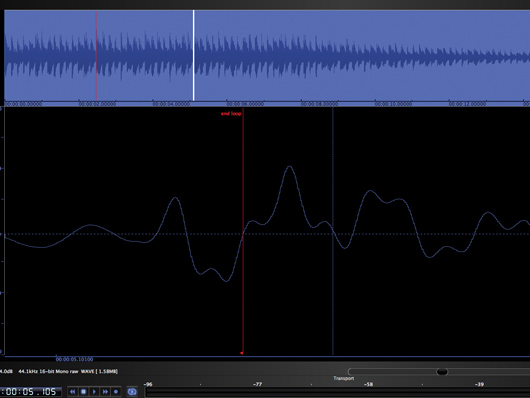
Step 7: Now we need to do the same to the loop end marker. Zoom in close enough to see the individual samples in the wave file, but not so close that you can’t judge the overall shape. Look for the peak of the attack transient and place the marker on the zero crossing just before it. Play the file. That doesn’t sound right. Let’s bump our marker to the next peak.
Cropping
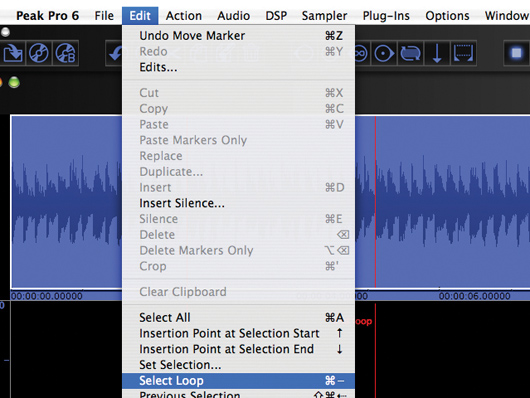
Step 8: That’s more like it! The loop plays pretty smoothly now, with no jarring effects or pops. It plays the proper rhythm (you could change the time signature by using an odd number of peaks in the loop). Now we need to select our loop and crop it. Your editor likely has some way to automatically select the looped portion.
Adding the info
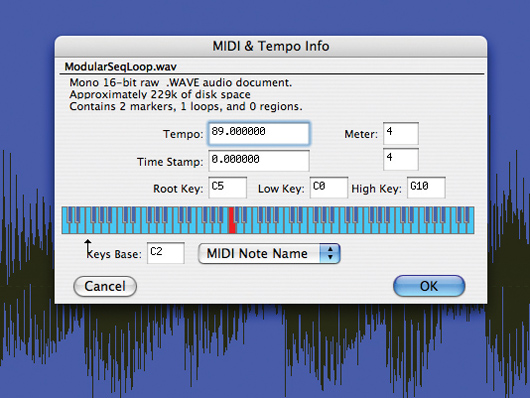
Step 9: Finally, you might want to embed the BPM into the file header. Some samplers can recognise this information. Your editor may have an automatic BPM detection function. If it does, use it and open the MIDI and Tempo Info (it might be called Sample Attributes or something like that in your editor) and enter the information. Save your file. (Right-click to download our final loop.)


