How to make fat compressed beats
Getting started
How come some records’ beats sound so much fatter than others? Well, it’s got a lot to do with the original sounds chosen for the backing tracks, but more crucially, it’s down to how they’re mixed.
Hip-hop producers have perhaps been the biggest pioneers in this area, although some pop producers have now learnt the required skills and are applying them to more mainstream tracks. Let’s find out how it’s done.
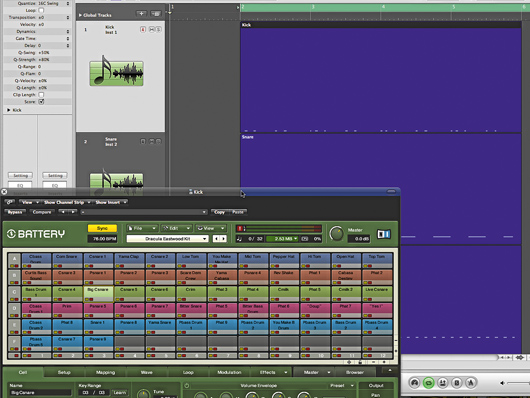
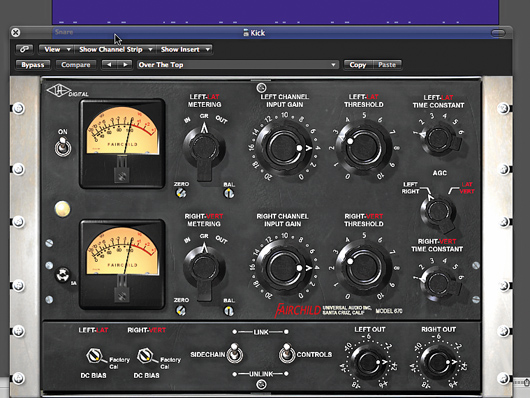
Step 1: First things first, grab the Fat beats.zip file (click here to download), which contains all the audio you’ll need for this tutorial (you’ll also be able to listen to audio demos as we progress). Load up the dry kick, snare and hats (Dry Kick.wav, Dry Snare.wav, Dry Hats.wav) onto three tracks in your DAW. We’re going to use the UAD Fairchild compressor first, although any compressor will do, so fire up your favourite one.
Compressing the kick
Step 2: Let’s look at the kick drum. We select a high Gain and low Threshold while experimenting with the Time Constant dial (in the Fairchild’s top right-hand corner) to select how the compressor sets attack and release times. If these are separate dials in your compressor, don’t panic - that means you’ve got even more control (Kick Compressed.wav).
Compressing the snare
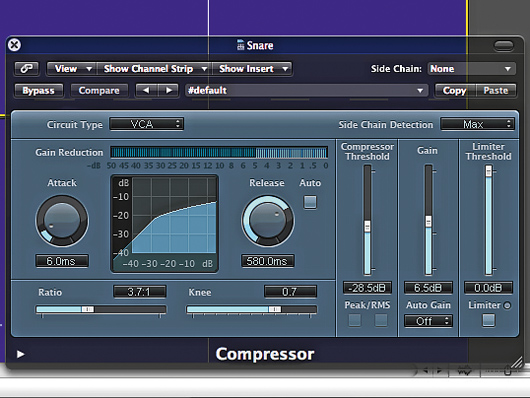
Step 3: Now let’s get some extra snap into the snare. This time we’re using Logic’s compressor set to the VCA algorithm to give us a slightly retro feel. If your compressor emulates different compression types, be sure to experiment with these. Set a fast Attack time so that the front of the sound gets compressed (Kick and Snare Compressed.wav).
Processing the hats
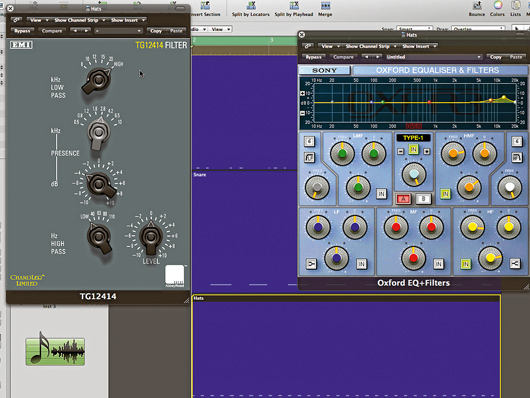
Step 4: Rather than compressing the hats, we’re just looking to add some sheen to them by losing a little of the harshness from the mid-range. We use Abbey Road’s TG14214 tone module and then add some extra brightness to the top end using the Sonnox EQ. The result is much brighter and complements the kick and snare very well (Dry Then Processed Beats.wav).
Adding a clap
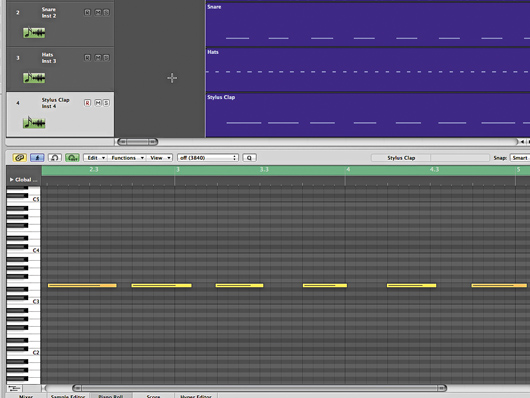
Step 5: There’s much more power there already, but we’re just getting started! Now it’s time to get some extra weight into the backbeat. The snare is a good foundation, but we want a greater sense of smudge on this beat. We’ve created a new part using Stylus RMX - add Dry Stylus Clap.wav to a new audio track.
Compressing the clap
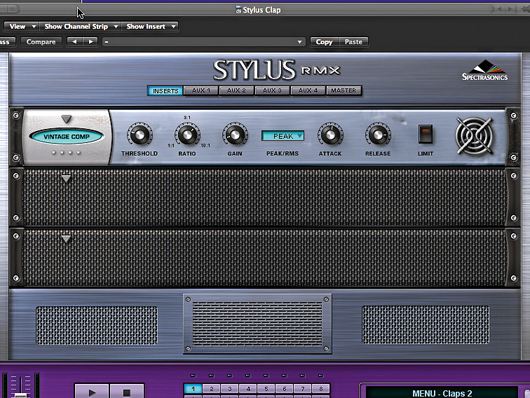
Step 6: We’re compressing this clap using Stylus’s own compressor, though you can use any one you like. We’re looking for sharpness here, so we set a low Threshold and a high Ratio, while setting the Attack and Release controls to have a dramatic effect on the decay of the sound. Longer attack times ignore the initial transient of a drum hit (Stylus Clap Compress.wav).
Adding a heavy snare
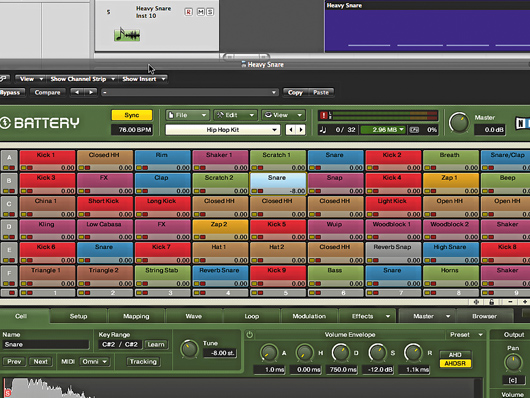
Step 7: This is smudging the backbeat nicely, though there’s room for more power. Let’s add a detuned heavy snare from Battery’s Hip Hop Kit (Heavy Snare Dry.wav). Each of these snares has been played live and quantised to between 80 and 90%, so that the hits ‘smudge’. This also adds power as the speakers aren’t having to respond to lots of overlapping frequencies at the exact same moment.
Compressing the heavy snare
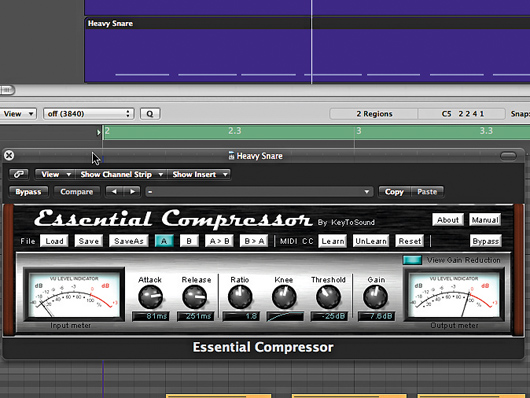
Step 8: Let’s compress this sound too. We’re using KeyToSound’s Essential Compressor here, partly because it sounds quite cheap! That’s not intended as an insult - quite the opposite, in fact. The grainy quality this compressor provides is exactly what we need to add some grit and pull up the volume of the release tail, which is much thicker as a result (Heavy Snare Compressed.wav).
Adding sound design hits
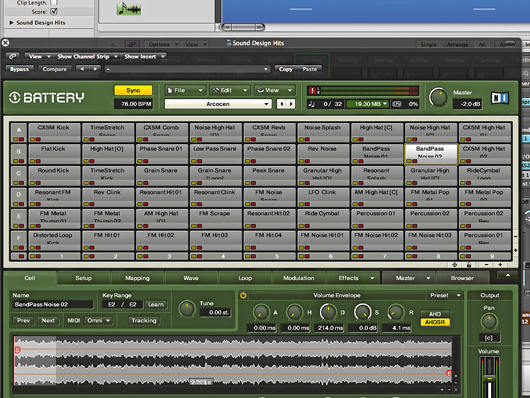
Step 9: There’s room for one more sound in the middle. Lots of hip-hop tracks make good use of sound design or unusual hits to complement the more traditional beats. We add a couple of these from a Battery 3 kit and compress them so they sit comfortably with the beats. There’s a lot of mid-range here, so we scoop a little out using the TG14214 again (Sound Design Hits.wav).
Adding a shaker
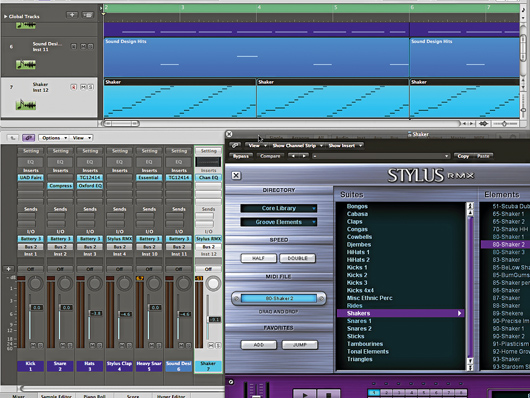
Step 10: You can only feel the depth and weight of a track if there’s lightness and sparkle in it too. Our arrangement already contains tons of bottom end and mid-range, so it’s time to enhance the treble end with a subtle shaker part. This actually helps enhance the fatness of the bottom end by lifting the ceiling of the top end, making the whole mix deeper. Load Shaker.wav (created with Stylus RMX) onto a new track if you don’t believe us!
Buss compression
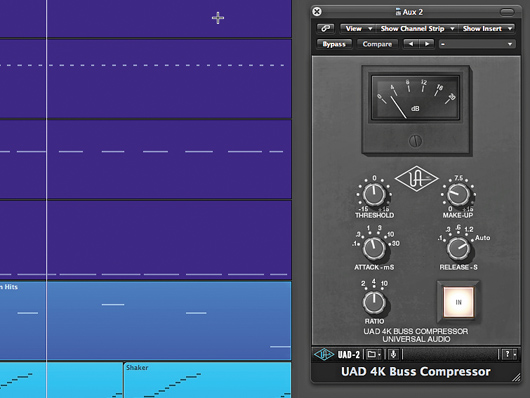
Step 11: The beats are all working nicely on their separate channels, but we want to give a feeling of cohesion so all of these tracks sound as if they belong together as a virtual kit. To achieve this, we reroute the outputs of all our tracks to a stereo auxiliary bus, over which we place the UAD 4K Buss Compressor. We use a fast Attack and the auto-release setting, with a generous 4:1 Ratio and plenty of make-up gain (Buss Compressed Beats.wav).
Adding the bass
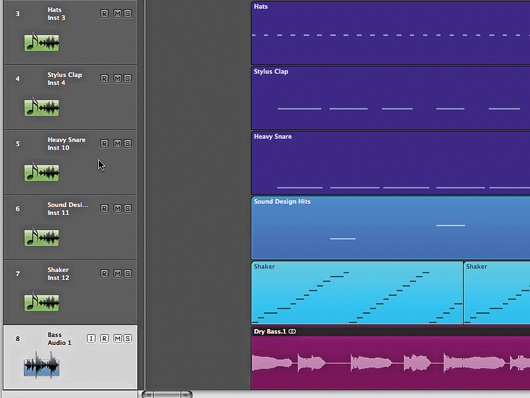
Step 12: Remember, the power of your beats will only become apparent when they’re mixed with other elements of the track. Their relationship to your bassline is perhaps the most crucial of all. Load Dry Bass.wav and place this on a new audio track under the beats. Like drums, bass sounds come alive with compression, and we’re looking to maximise this sound without it detracting from the power of the beats, which isn’t easy.
EQ and compression
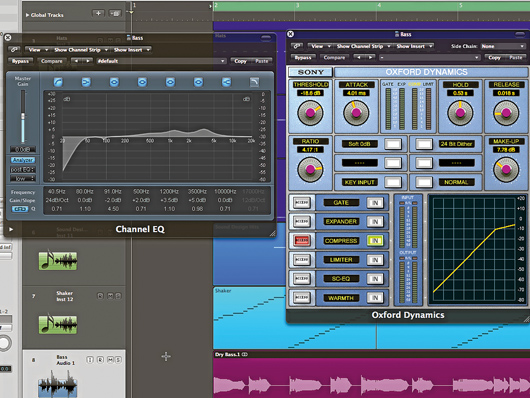
Step 13: We use Logic’s channel EQ’s high-pass filter to remove content below 40Hz. We then cut by 2dB at 91Hz, then boost at 500Hz, 1.2kHz and 3.5kHz by 2, 3.5 and 5dB respectively. Next, we use the compressor within the Sonnox Dynamics module to squeeze the dynamics harder, using a medium-low Threshold and a Ratio of 4:1 (Compressed Bass.wav).
More parts
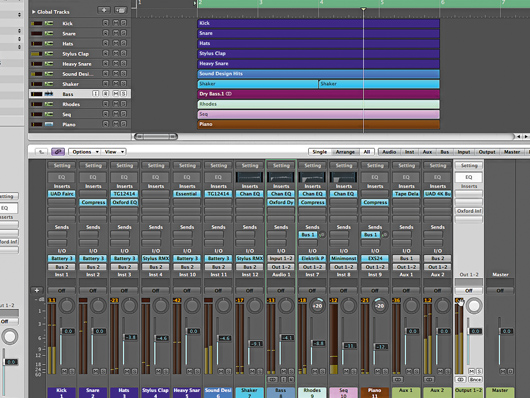
Step 14: Now load up Rhodes.wav, Piano.wav and Bass Sequence.wav onto new audio tracks. We’ve compressed the pianos, with almost identical settings - low Threshold, a Ratio of 5:1, and fast Attack and Release times. There’s no compression on the bass sequence, but we’ve used a high-pass filter on it to scoop out unwanted frequencies below 150Hz.
The final mix
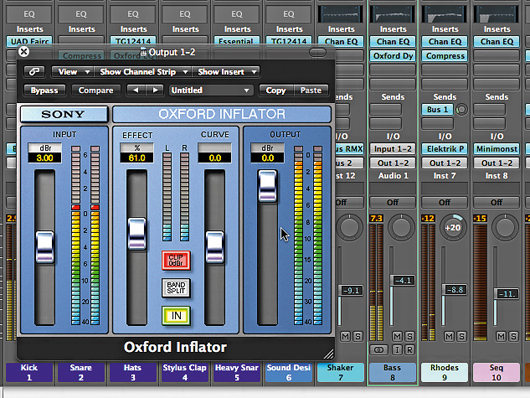
Step 15: Now we slam the whole track through the Sonnox Inflator plug-in by placing one of these in our master output channel strip (any native or third-party loudness maximiser can do the same job). As it works like a limiter, it responds in the main to the bottom end, to create an even bigger-sounding final mix. Check out Final Mix.wav and compare it to yours.