How to make beats with Logic Pro X's Drummer and Drum Kit Designer
Get to grips with the new feature in Apple's DAW
Drummer is perhaps Logic Pro X's most impressive new feature. It has 15 'session drummers', and each of these virtual players offers a set of tweakable MIDI grooves based on real performances, played on their own multisampled drum kit (from the new Drum Kit Designer instrument).
In the step-by-step below and the video above we show you how to get started with Drummer and explore some of its features.
For loads more on working with the new features of Logic Pro X pick up the Autumn issue of Computer Music (CM196), which is on sale now.
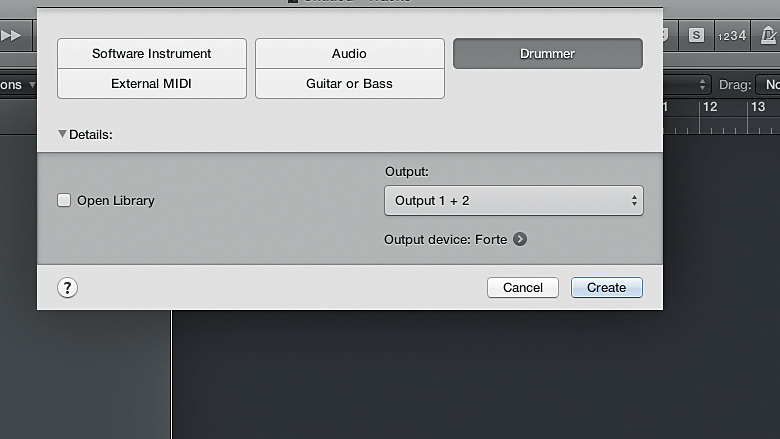
Step 1: Start a new project and create a Drummer track (of which you can only have one per project, oddly).
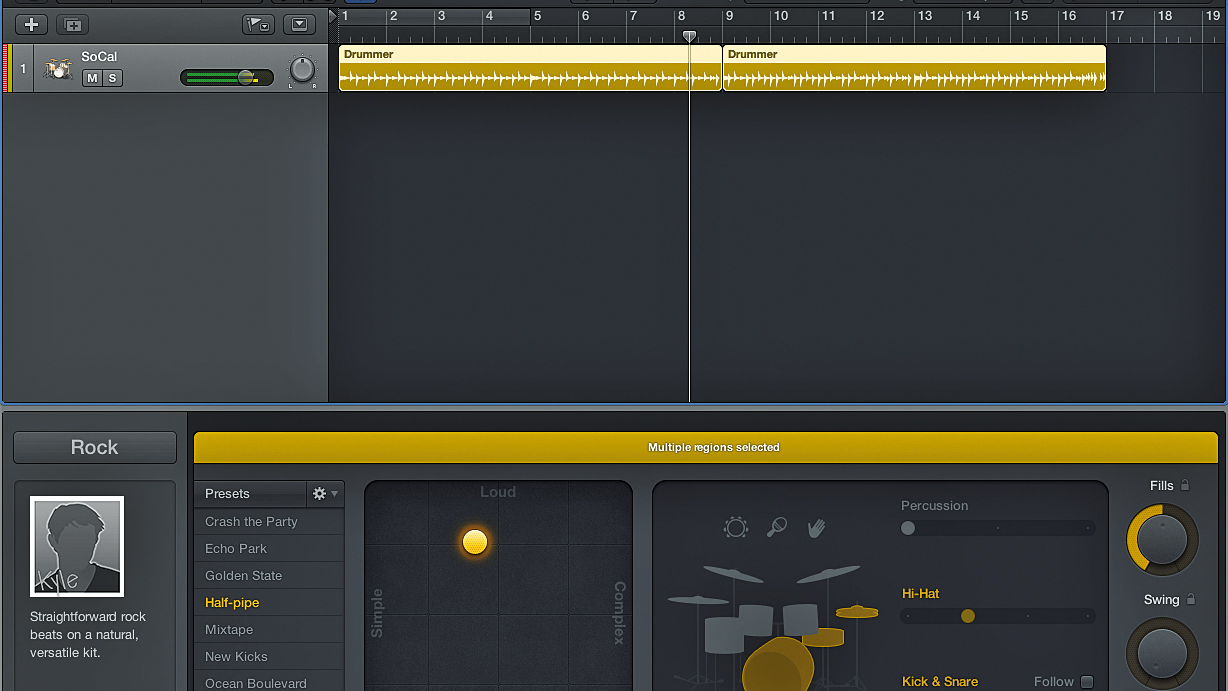
Step 2: A Drummer track containing two eight-bar regions is created in the Arrange page. If we'd had Pro X's new Arrangement markers in place, a region would have been helpfully created for each one. The default Drummer, Kyle, is loaded in the Drummer Editor, and Kyle's kit, SoCal, is loaded into the channel strip. Hit play and you'll hear a thoroughly convincing rock drummer doing his thing.
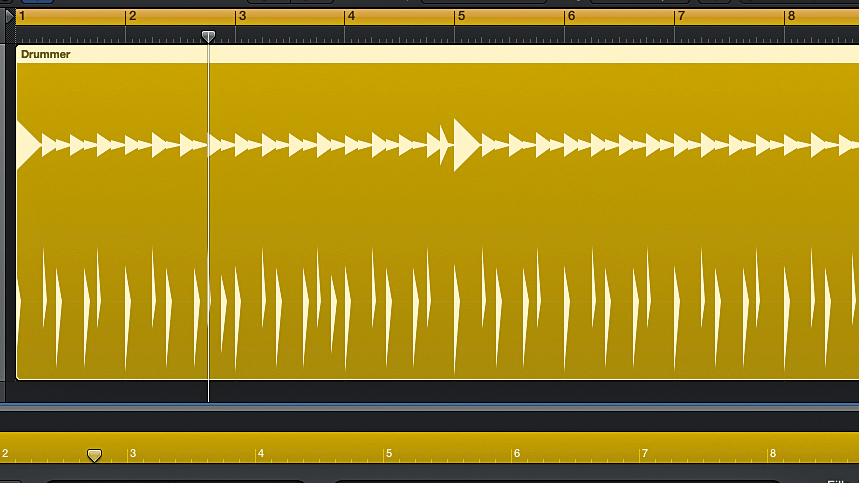
Step 3: Look closely at one of the regions and you'll see that it looks like a cross between an audio and a MIDI part. It is actually MIDI, but Apple have given it its own look, since it's not handled like a conventional MIDI clip. Editing Drummer clips is done using the controls in the Drummer Editor rather than by moving notes around in the Piano Roll, so turn your attention to the Drummer Editor.
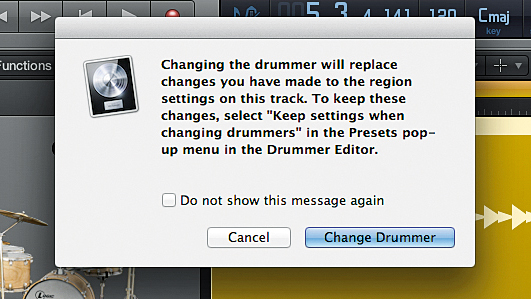
Step 4: Take a minute or two to check out the other drummers. You have a choice of four genres: Rock, Alternative, Songwriter and R&B, each with its own drummers, each of whom has their own distinct playing style. When you switch between them, you'll be offered the choice of keeping any edits you've made to the track - we haven't made any yet, so just click Change Drummer.
Want all the hottest music and gear news, reviews, deals, features and more, direct to your inbox? Sign up here.
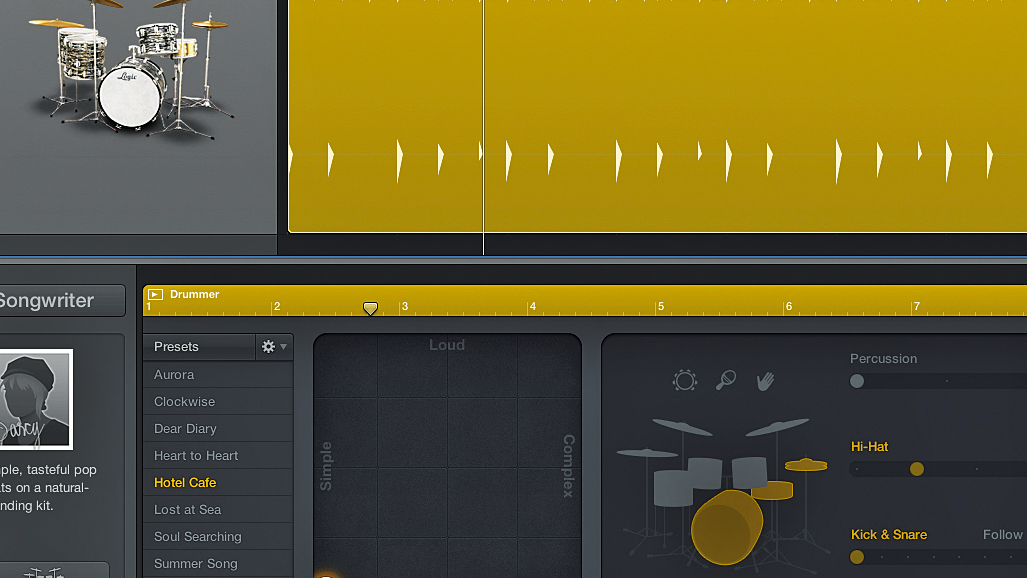
Step 5: Switch to Darcy in the Songwriter category - the regions on the track will change to reflect her style. When editing Drummer tracks, changing the settings of one region has no effect on any others. Your first editing port of call should be the X/Y pad, which enables you to set a balance between Loud/Soft and Simple/Complex patterns. Check out the clips below to hear the variety on offer.
Soft, simple
Softish, simplish
Dead centre
Loudish, complexish
Loud, complex
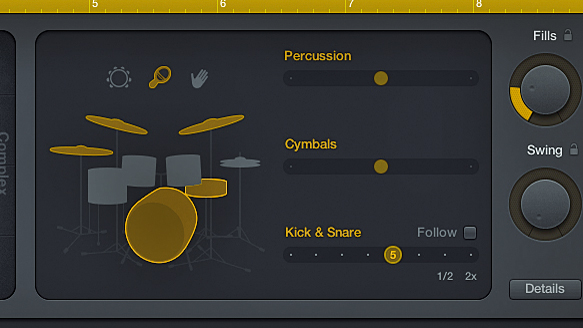
Step 6: Up to three primary kit elements can be active at once: kick, snare and a choice of hi-hats, cymbals or toms. Click the kick and snare to toggle them, and click one of the other three to make your selection. You can also pick one of three Percussion parts above: tambourine, shaker or handclaps. The sliders for each part dial in rhythmic variations like half- and double-time parts for Kick & Snare.
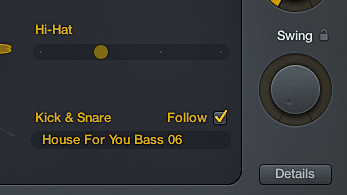
Step 7: Checking Follow for the Kick & Snare tells those two combined elements to follow the groove of another track of your choosing. We've loaded House For You Bass 06 from the Library onto an audio track. In the clips below, you can hear audio examples of the Drummer track together with the bassline, both with and without Follow activated as above.
Drummer track with bassline without Follow activated
Drummer and bassline with Follow activated
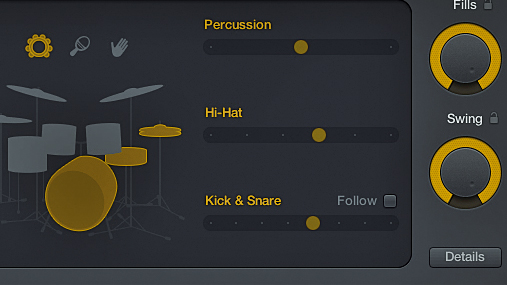
Step 8: The Fills dial determines the frequency and complexity of the drum fills worked into the groove, from no fills at all at its lowest setting to fills every two bars (alternating between simple and more complex) at maximum. The Swing knob, meanwhile, controls the amount of shuffle applied to the track. In the clips below, you can hear variations of the two, played by Curtis (R&B).
Fills and Swing at 0
Fills and Swing at 50
Fills and Swing at 100
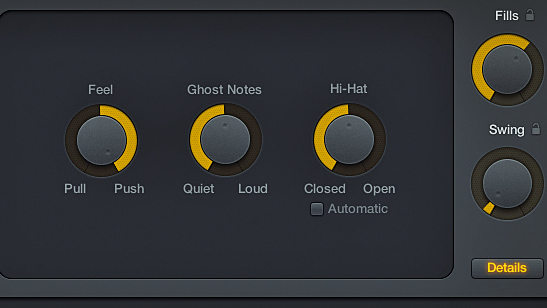
Step 9: Clicking the Details button reveals further parameters. Feel applies Pull/Push, where the hits fall early/late on the beat to make it more or less 'driving'. Ghost Notes sets the volume of the incidental strokes between the main hits, while Hi-Hat sets how open the hats are, with Automatic making the choice for you dependent on the pattern context.
Feel 100 push, Ghost 50, Hats 50
Feel 100 pull, Ghost 100, Hats 100
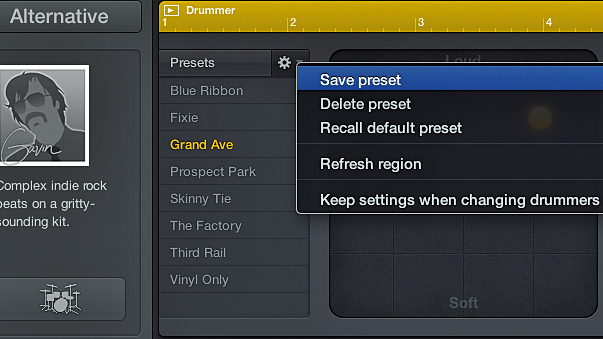
Step 10: If you're happy with the beat you've dialled in and would like to save it as a preset for later recall, use the cog menu next to the Presets header. You don't have to stop there, though. For starters, you can change the drum kit using the Drum Kit Designer. To launch it, click the drum kit button underneath the drummer photo.
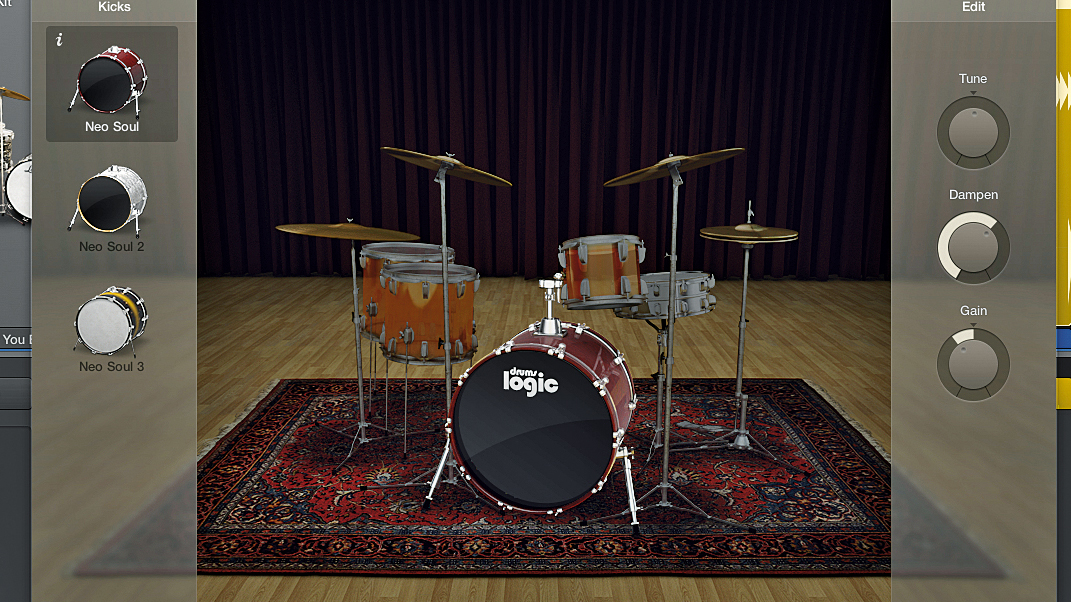
Step 11: The Drum Kit Designer lets you change certain drums and tweak the sound of each part of the kit. Switch between kits using the top-most menu, and click the kick or snare to choose between three variations for each kit. In the clips below, you can hear the same part on three different kits.
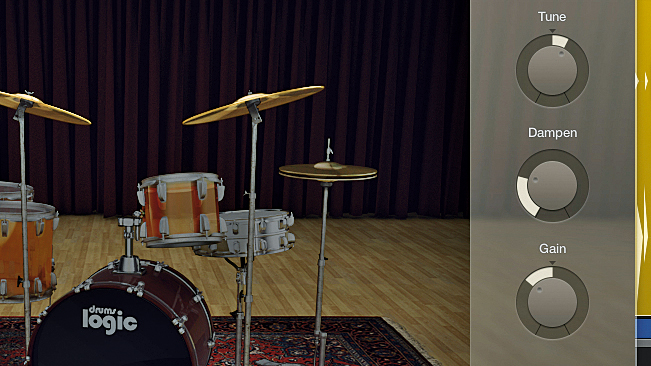
Step 12: The Drum Kit Designer also gives access to Tune, Dampen and Gain parameters for each element. For multi- part elements (toms and cymbals), you can either edit all of the parts at once or each one individually via the tabs in the Edit pane.
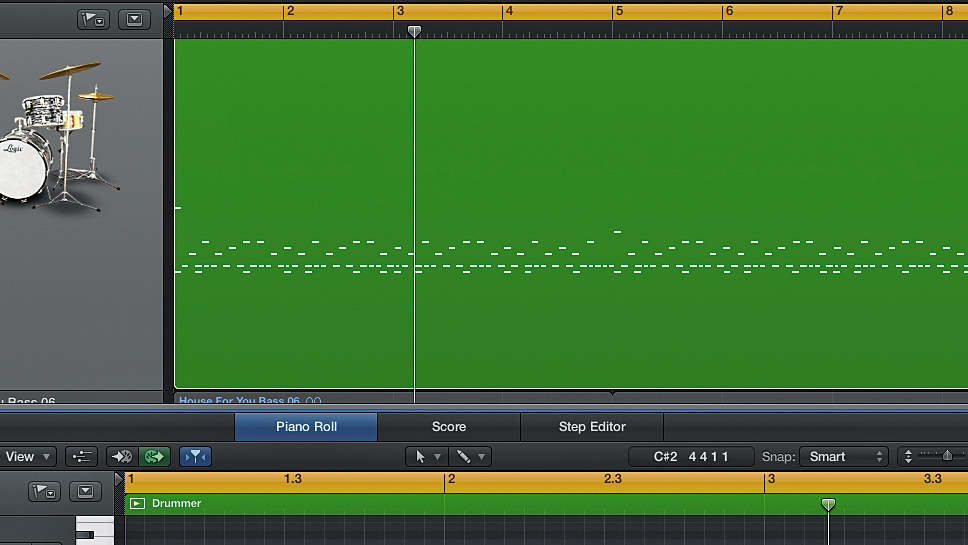
Step 13: Drummer regions can't be edited on a note-by-note basis, but what if you just want to add a crash cymbal, say, or take out an unwanted kick drum hit? Simply right-click the region and select Convert » Convert to MIDI region - now you can edit it as MIDI. Converting back the other way will revert it back to an uneditable Drummer region, losing any changes you may have made.
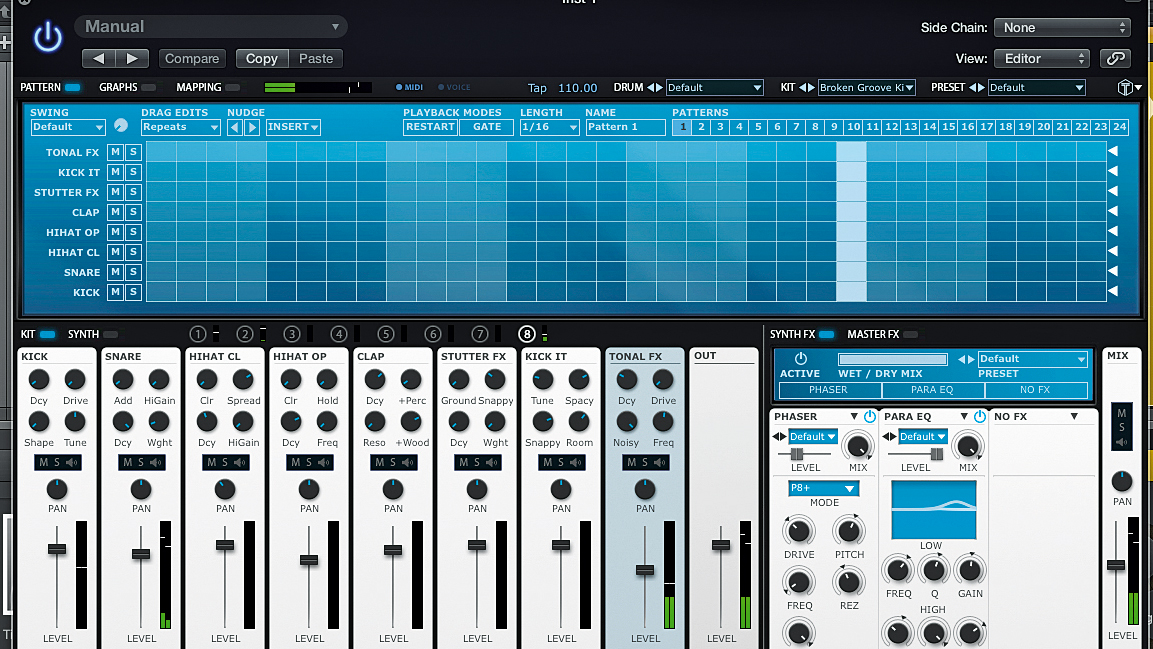
Step 14: Electronic musicians might be wondering what Drummer has to offer them, given the decidedly acoustic nature of its 15 kits. Well, a Drummer track doesn't have to host a Drummer drum kit - you can load any instrument you like, such as a drum machine plugin. In the clips below you can hear two examples of Drummer hosting FXpansion Tremor.
Computer Music magazine is the world’s best selling publication dedicated solely to making great music with your Mac or PC computer. Each issue it brings its lucky readers the best in cutting-edge tutorials, need-to-know, expert software reviews and even all the tools you actually need to make great music today, courtesy of our legendary CM Plugin Suite.
