How to make a trance bass sound
Getting started
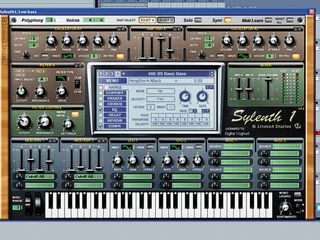
Step 1: A lot of rolling-style trance basslines comprise a low bass with a mid-range bass layer over the top, and this is what we’re after. We’ll need a low part to start with, so select a nice deep bass tone. We’re using BS Basic Bass from Sylenth1 (which you’ve just voted the best VST synth in the world today). Here's the sound:
Compression and EQ
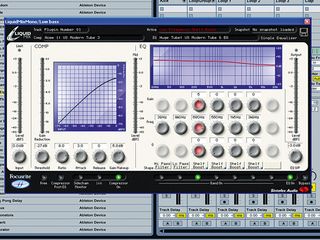
Step 2: We add a hefty dose of compression and a big EQ boost using a low shelf. Sometimes it’s best to really overdo this initially and then tame it a bit later on. You don’t want the bass to be too subby, otherwise it’ll swamp your kick, so you need to spend a lot of time listening to just those two elements together.
The mid-range layer
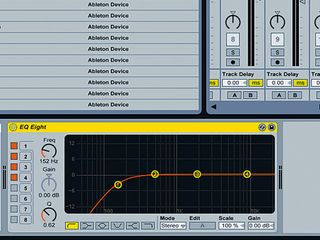
Step 3: Now it’s time to add a mid-range layer. Choose a plucky, twangy bass sound -we’re using BS Line Bass from Sylenth1. We remove its lower frequencies under about 150Hz with an EQ plug-in, as you can see above. This allows the low-end, rumbly bass to do its work while our twangy bass layer sits happily above.
The combined sound
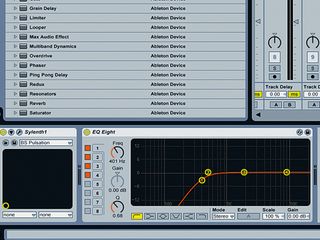
Step 4: We add a similar layer to our midrange bass, but this time choose a slightly warmer Sylenth1 sound: BS Pulsation. Keep your layers distinct from each other - each should contribute something a bit different to the mix. If they’re too different, though, it’ll make the sound too ‘bitty’ - it’s a balancing act. Here’s our combined sound:
Sidechaining
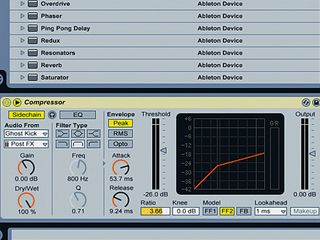
Step 5: Now we group these two layers together, and add some sidechaining. Using a compressor to sidechain the bass will have the effect of ducking the level of the bass every time the kick occurs.
To do this, we create a track with a sample that plays simultaneously with every kick (a ‘ghost kick’), then mute this track so we never hear its output. We then put a compressor on our bass channel and send the output of the ghost kick channel to the sidechain input of the compressor. This makes the compressor behave as if it’s being applied to the ghost kick, when in fact it’s being applied to the bass. We want the compressor to ‘suck down’ on the bass sound on every beat, making it quieter and keeping it out of the way of the kick.
We can afford not to duck this bass part as much, but it’s good to have some noticeable ducking in there, as this will help to glue the two bass sounds together.
More EQ
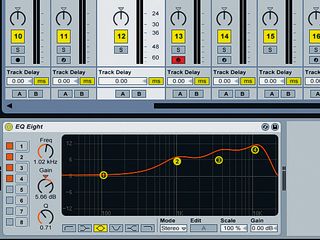
Step 6: Next up, we add some EQ at about 13kHz and 3kHz. Even though this is technically a bass part, it’s still going to poke through the mix on its own at certain points, so adding some mid and top will make it sound much fuller. You might find it slightly counter-intuitive to add those frequencies, but it really will make a difference during the sparser parts of the track.
Further tweaking
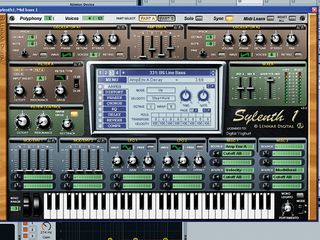
Step 7: To get the right amount of bite in this mid-bass layer, it’s important to tweak your synth sound, so adjust the attack stage on your amplitude envelope to taste. Once you’ve got everything running together, you can really work on those decay and release stages to get it sounding just right. Try playing with the filter envelope as well.
Ping-pong delay
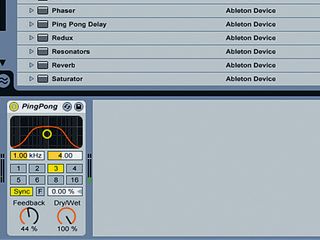
Step 8: Finally, we add a little ping-pong delay to the bass sound to get it moving around a bit. Try a relatively small amount of feedback, say 20–30%. Be quite subtle with these kinds of effects on the bass - they should blend nicely in, as you’ll want the big, spacey reverbs and delays on your lead sound, so leave a bit of room.
For more trance production tutorials, check out the latest Computer Music Special, Make Dance Music (CMS42), which is on sale now.
Liked this? Now read: 26 trance tips
Connect with MusicRadar: via Twitter, Facebook and YouTube
Get MusicRadar straight to your inbox: Sign up for the free weekly newsletter
"If I wasn't recording albums every month, multiple albums, and I wasn't playing on everyone's songs, I wouldn't need any of this”: Travis Barker reveals his production tricks and gear in a new studio tour

“My management and agent have always tried to cover my back on the road”: Neil Young just axed premium gig tickets following advice from The Cure’s Robert Smith

"If I wasn't recording albums every month, multiple albums, and I wasn't playing on everyone's songs, I wouldn't need any of this”: Travis Barker reveals his production tricks and gear in a new studio tour

“My management and agent have always tried to cover my back on the road”: Neil Young just axed premium gig tickets following advice from The Cure’s Robert Smith
