How to make a TARDIS-style FX sound


As well has having an iconic theme, Doctor Who is also full of instantly recognisable FX sounds (who hasn't shouted 'Exterminate' at what time or another?). We're going to show you how to recreate perhaps the most famous one of all, the sound of the Time Lord's TARDIS, in your audio editor. If you don't have one, click here to download Audacity for free.
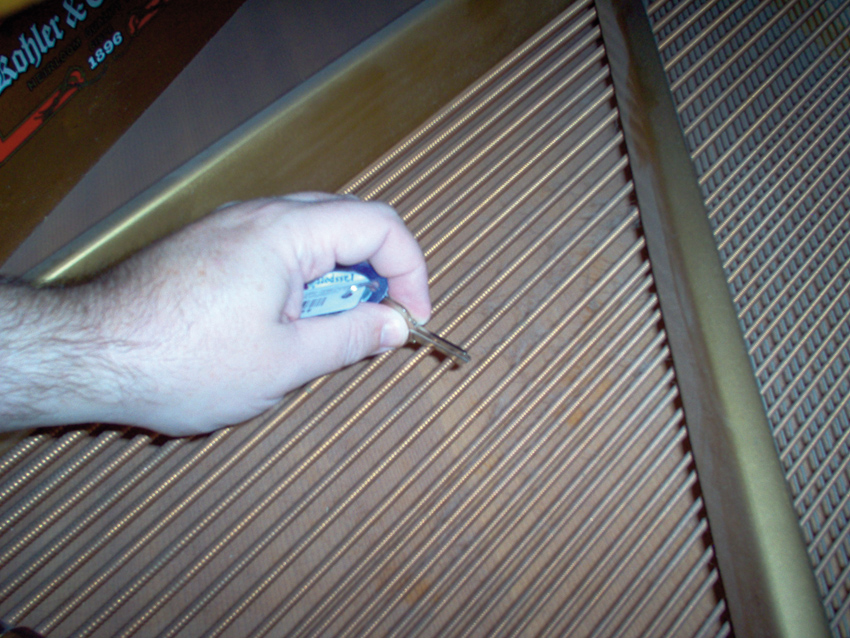
Step 1: The team at the BBC Radiophonic Workshop were ideally placed to create the sound effects for Doctor Who, and one of the very first noises that they produced was the instantly recognisable howl of the Doctor's TARDIS. It was made by scraping a key down the strings of a gutted piano. We've gone directly to the source, tracking down a very similar sound. If you don't have access to a piano, you can use our recording (right-click here to download)
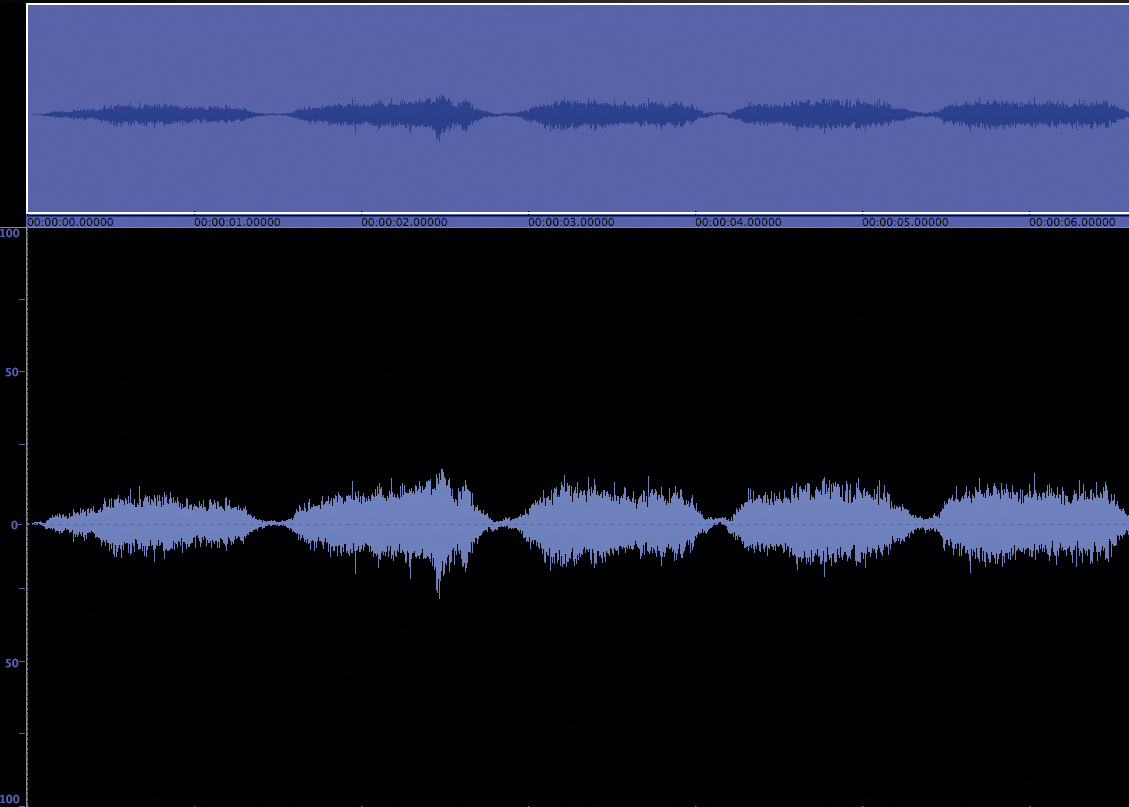
Step 2: Load the sound into your audio editor and give it a whirl. As you can hear, the sound is actually quite close already. However, we can spice it up a little with some processing, just as original sound designer Brian Hodgson did.
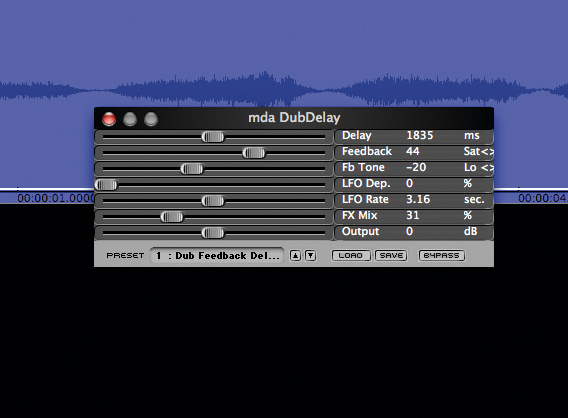
Step 3: Much of the alien aspect of the sound of the TARDIS comes from the reversed tape echoes that pepper the groaning, scraped strings, so let's open a simple delay effect. We're using mda's free DubDelay for the job. We're not too fussy about tweaking it, but you might want to adjust the FX Mix a little so that the effect doesn't overwhelm the sample.
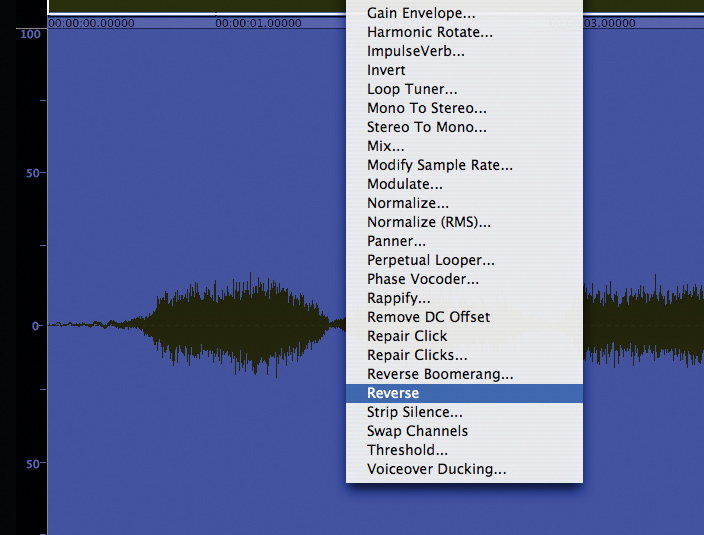
Step 4: Now, we did say reversed tape echoes. That's easy enough to do. There's doubtless a Reverse function in your audio editor's DSP toolbox, which you should use on this file now. Play the result back and you'll find it's a little better. Even though our sound is backwards, it's pumping through the echoes. You can add multiple delays if you like, for a fuller effect.
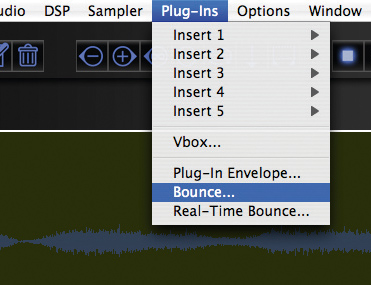
Step 5: Now, we need to print the effects onto our reversed wave file. Find your audio editor's Render or Bounce function. In BIAS Peak, it's in the Plug-ins window. You'll probably be given the option of deleting or muting the effects when the sound is rendered. Once you've done this, reverse it again. Our sample now plays forwards, but the echoes are reversed.
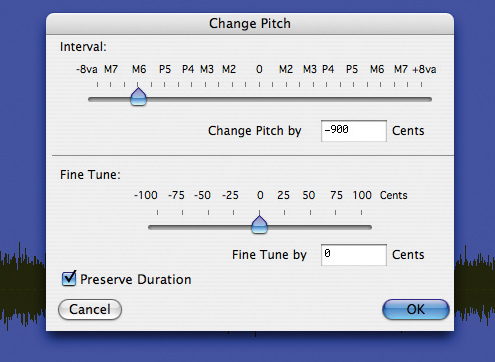
Step 6: Finally, we need to lower the pitch. Fortunately, most audio editors let you do this without affecting the timing, and that's what we need to do, since our rhythm is exactly right. It might take a couple of attempts to find the correct pitch. We lowered ours a total of 1400 cents. You can make it even more accurate by layering a filtered synth 'wobble' underneath it.
Get the MusicRadar Newsletter
Want all the hottest music and gear news, reviews, deals, features and more, direct to your inbox? Sign up here.
Computer Music magazine is the world’s best selling publication dedicated solely to making great music with your Mac or PC computer. Each issue it brings its lucky readers the best in cutting-edge tutorials, need-to-know, expert software reviews and even all the tools you actually need to make great music today, courtesy of our legendary CM Plugin Suite.

