How to make a massive synth bass sound
Create a monster with our step-by-step guide
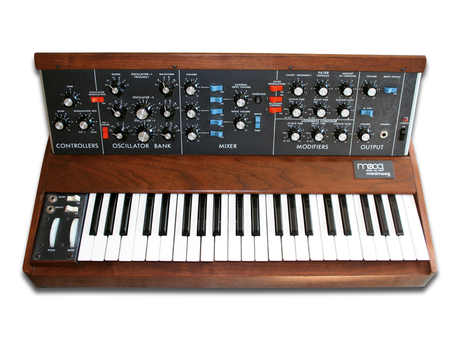
If you're making dance music, it's almost a given that you'll need a strong bass sound to underpin your track. However, getting the requisite 'beef' while also ensuring that the bass fits with the rest of your parts isn't always easy. Allow us, then, to show you how it's done.
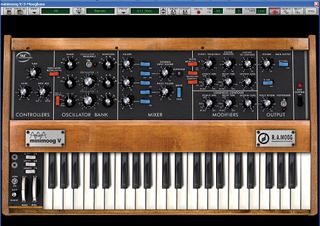
Step 1: We're going to make a 16th-note house/trance bassline, but these techniques are applicable to almost any dance style. First, select a tone to form the 'body' of the sound. We've picked a chunky preset from Arturia's minimoog V - again, any good analogue will do. You can never, ever go wrong with a Moog playing your bass part.
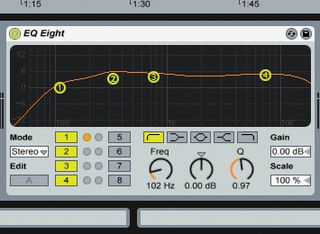
Step 2: This patch is definitely strong - we've added a touch of PSP VintageWarmer 2 for some analogue filth as well. To rein things in a little, we apply a bit of EQ to take out the sub, giving a tiny boost at around 350Hz (for a bit more warmth) and tweaking the top end very slightly.
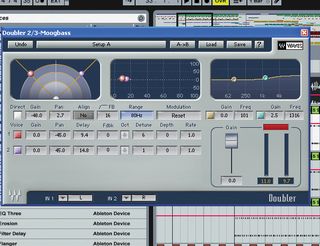
Step 3: Things are a little too mono, even with the ping-pong delay we're using, so we add a Waves Doubler to de-phase the sound and create a stereo spread effect. We could use an echo for this, but Doubler has built-in EQ and a few other handy features.
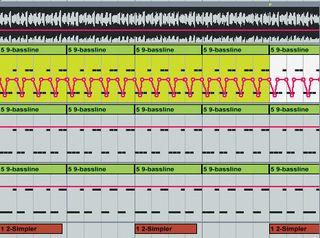
Step 4: We automate the gain to create a pumping effect. If you don't want to bother with sidechaining and sorting out a compressor, this is the cheat's way of getting that big, throbbing bass sound! Sometimes it really is better to use a compressor, though, as it'll generally achieve a smoother sound: pick the right tool for the job.
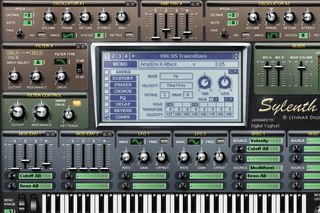
Step 5: We repeat almost the same process using another Sylenth 1 patch, making sure there's not too much sub. Because our Moog tone is quite warm, we've gone for a sharper, virtual analogue tone here. If you're making drum 'n' bass or breaks, you'll likely want a harsher, harder tone for your top end than this. If that's the case, pick a different kind of patch.
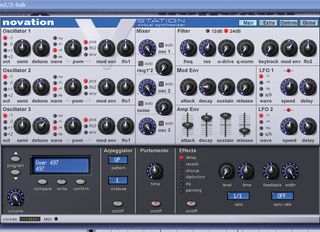
Step 6: Now for our deeper bass. We've created our own Novation V-Station patch to cover this, as there aren't many fantastic sub presets to be found - they're generally a bit boring for synth programming! This is a simple, detuned sawtooth wave with a filter on it to add some resonance and bulk.
Get the MusicRadar Newsletter
Want all the hottest music and gear news, reviews, deals, features and more, direct to your inbox? Sign up here.
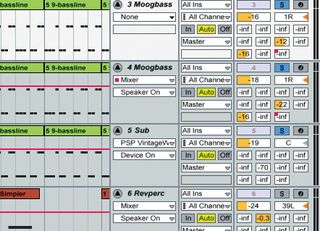
Step 7: After adding some EQ and gain automation to the sub, we're ready to slap everything together. It can be worth sending your completed bass sound to a mix bus (or just another audio channel), before processing it together: we've used gain automation on each channel individually, but you could just put a single effect onto a group bus instead.
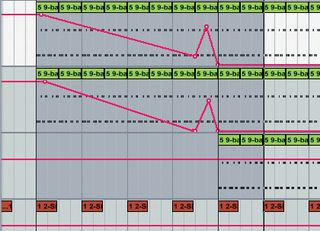
Step 8: Our bass part is complete, so now it's time to come up with a way of introducing its massiveness into our tune. We use a high-pass filter gradually over eight bars. You can hear that we keep the sub part out of the way initially - this, coupled with the little tweak to the filter at the end of the intro section, means that the bass really 'drops' when required.
Computer Music magazine is the world’s best selling publication dedicated solely to making great music with your Mac or PC computer. Each issue it brings its lucky readers the best in cutting-edge tutorials, need-to-know, expert software reviews and even all the tools you actually need to make great music today, courtesy of our legendary CM Plugin Suite.

"If I wasn't recording albums every month, multiple albums, and I wasn't playing on everyone's songs, I wouldn't need any of this”: Travis Barker reveals his production tricks and gear in a new studio tour

“My management and agent have always tried to cover my back on the road”: Neil Young just axed premium gig tickets following advice from The Cure’s Robert Smith

