How to make a filtered dance music transition
Getting started
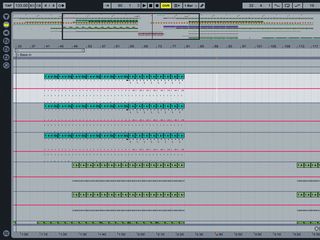
Step 1: We’ve set up a lead part comprising three layers, which runs across eight bars. In any dance track, you should use longer transitions to give your tune a smoother flow, gradually introducing each element. So, let’s slowly add some extra interest over the entire length of the part.
Grouping
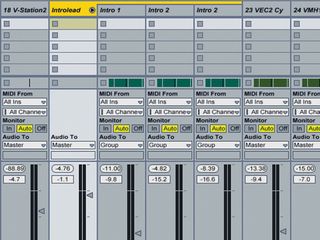
Step 2: To enable us to process the three layers together, we select them and use Live’s Edit»Group Tracks function. If your sequencer doesn’t have a grouping feature, work on effects and automation for one of the tracks, then copy everything across to the others once you’re satisfied. If you need to make further changes, solo the first track, do what you need to do and copy the settings across again.
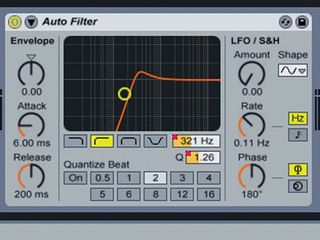
Choosing a filter
Step 3: We use a high-pass filter to help introduce our lead sound. You could simply fade the sound in or use a low-pass filter, depending on what works best for you, but for something with so much high-frequency content, the high-pass tends to be the most effective.
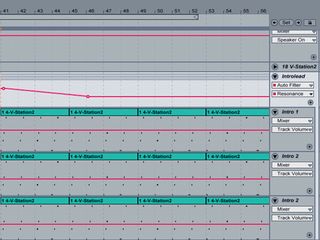
Resonance
Step 4: Another proven technique involves adapting the filter’s resonance along with the cutoff: accentuate certain frequencies that sound good as the filter opens or closes, then dip the resonance to avoid suddenly boosting any parts you don’t like. If you pay attention to the level of the sound during the filter sweep, you can create subtler transitions.
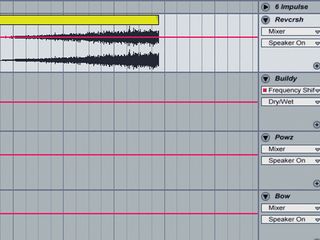
Reversed crash
Step 5: To accompany this transition, we add a reversed crash cymbal that cuts off just before the end of the bar. This gives our final long note some space and also accentuates the first beat of the next bar. Don’t be afraid to experiment with this kind of sound – a reversed crash is the standard, but anything with rapidly rising amplitude will do just as well.
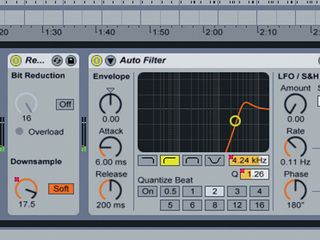
Bit reduction
Step 6: It’s not just filters that can be automated during a transition: bit reduction or overdrive work equally well when combined with a filter. You can also use quite extreme settings throughout the quietest parts of the fade, which will often produce grainier textures and add more interest to very simple transitions.
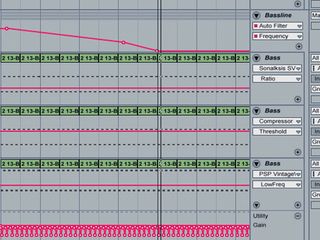
The bass
Step 7: When plotting automation for your transitions, it’s often worth avoiding completely straight lines. Here, we’re filtering in our bassline just as we did with our lead. However, this time, we’ve increased the rate of change at the end of the phrase, so that the sub frequencies have more impact.
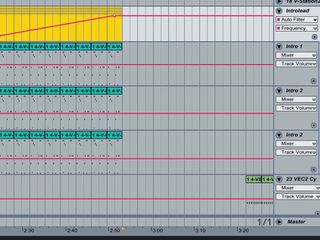
Put it in reverse
Step 8: If you’ve programmed a transition to bring a part in, you can always use it in reverse to remove the very same part at the end of a section! This is a great timesaving measure, best used on sounds like pads and basslines, which need to be ousted in an almost ‘subconscious’ way for a smooth transition.

Computer Music magazine is the world’s best selling publication dedicated solely to making great music with your Mac or PC computer. Each issue it brings its lucky readers the best in cutting-edge tutorials, need-to-know, expert software reviews and even all the tools you actually need to make great music today, courtesy of our legendary CM Plugin Suite.

"If I wasn't recording albums every month, multiple albums, and I wasn't playing on everyone's songs, I wouldn't need any of this”: Travis Barker reveals his production tricks and gear in a new studio tour
“My management and agent have always tried to cover my back on the road”: Neil Young just axed premium gig tickets following advice from The Cure’s Robert Smith

"If I wasn't recording albums every month, multiple albums, and I wasn't playing on everyone's songs, I wouldn't need any of this”: Travis Barker reveals his production tricks and gear in a new studio tour

“My management and agent have always tried to cover my back on the road”: Neil Young just axed premium gig tickets following advice from The Cure’s Robert Smith
