How to make a dubstep track with Subscape
Getting started
Subscape, also known as Anthony Peters, is one of the dubstep scene’s fastest-rising stars. With his first release on Caspa’s Dub Police label in 2008, he’s quickly garnered a reputation for creating deep, dark tracks with sky-high production values. Computer Music recently tracked him down at his Woking studio, where he showed them how he created his track Nothing’s Wrong.
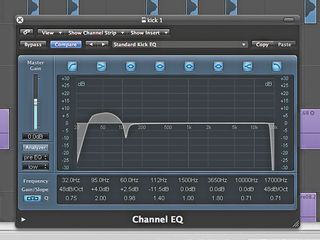
Step 1: The first element to be entered into the project is the kick drum. The main kick sample plays on every beat, and is EQed with Logic’s Channel EQ to boost the 50Hz region and cut at 100Hz. Anthony also cuts the extreme highs and lows on many of his sounds to ensure that no unwanted frequencies are making their way into the final mix.
Another kick
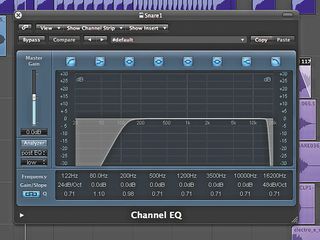
Step 2: The first kick drum does a good job of filling out the low end, but something is missing, so Anthony adds another kick drum to the mix. “This kick has a lot of high-end to it - I’ve got it there to add a click to the kick drums,” he explains.
Snare reverb
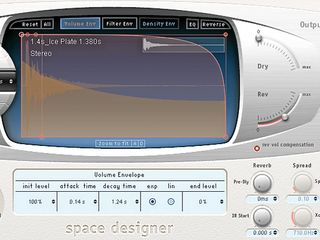
Step 3: The track’s snare sound actually comprises several samples. “I’ve got two crunchy snares, one of which has some reverb from bus 1, provided by Space Designer [convolution reverb]. I drop the dry level right down, so that the only thing coming through the bus is the reverb.”
More snare work
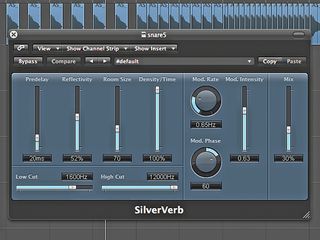
Step 4: “The third snare is quite clicky, but it has a nice bit of low-end on it as well. Then there’s a crunchy clap sound, followed by the main snare that will come out the most in the mix. In dubstep, it’s important to have a fat snare with a big reverb on there to fill it out,” advises Anthony. Logic’s SilverVerb is used to add a high-passed reverb to the main snare.
Percussion
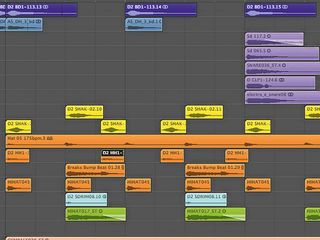
Step 5: With the kicks and snares sorted, percussion sounds are next on the agenda. Two shaker samples are used to create a natural-sounding rhythm, which is layered up with a hi-hat loop from a DnB sample library, as well as some additional one-shot hats. These all have a lot of their low frequencies removed.
Bassline
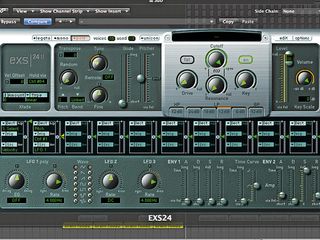
Step 6: The bassline for Nothing’s Wrong consists of three separate elements. The fundamental sub-bass tone comes courtesy of the EXS24 sampler’s basic sine wave. To smooth the sound out, the amplitude envelope attack time is turned up slightly, getting rid of the click at the start of each note.
Second bass layer
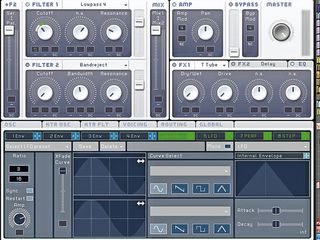
Step 7: The second layer of the bass sound is a patch created in Native Instruments’ Massive. The Sine Shaper insert is used to rough up the sound, and the patch’s low-pass filter Cutoff is modulated with a sine-wave LFO synced to 3/16 notes and set to retrigger at the start of each note.
Third bass layer
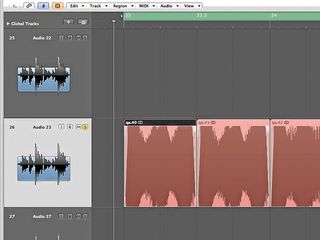
Step 8: The third and final layer of the bass sound is based on the same Massive patch as the second, but this time it’s bounced as audio and run through some distortion effects to give it a crunchier top-end. EQ is used to boost the 1kHz range and cut out all frequencies below 240Hz.
Melodic hook
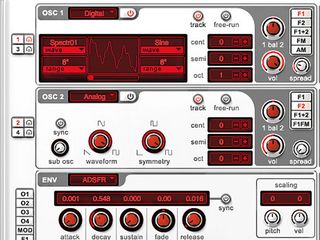
Step 9: With the drums and bass working together nicely, the next step is to start working on a melodic hook. Anthony cycles playback of the drums and bass in Logic and creates a riff using a tweaked preset in Rob Papen’s Albino 3 synth. This is a simple percussive pluck sound made with a single oscillator that uses the Digital Spectr01 waveform.
Delay on the hook
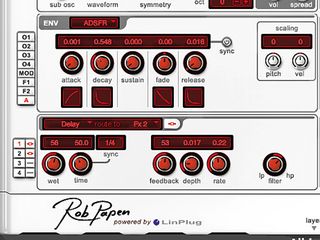
Step 10: Albino’s delay is applied to the sound, too, which is synced to 1/4 notes to create a tasty rhythmic effect. The built-in reverb is also used to give the sound a more spacious quality. As this riff has been created alongside the beats and bass, Anthony knows it will work in context, so he copies it to the start of the tune to create a musical intro.
Extra low-end content
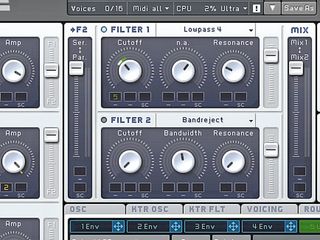
Step 11: A more restrained version of the Massive bass sound is used to supply some low-end content in the intro. The main difference between this version and the one used later in the track is that the filter cutoff frequency modulation depth is reduced, giving a more subdued sound.

Strings and hi-hats
Step 12: The strings in the intro are created with the EXS24 EXS Strings 1 patch. This part compliments the bassline and also works with the Albino riff. The hi-hats also play during this section to add a layer of rhythm, which also helps make the track a bit more DJ-friendly.
More parts
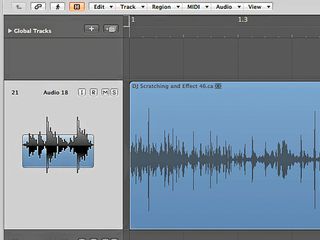
Step 13: The staccato string-style sound is actually a tweaked preset from Rob Papen’s Blue, which is routed to bus 1 for its reverb. The rising synth loop is taken from the default Logic Apple Loops, with some vinyl crackles from Anthony’s sample collection added to give it a vintage feel.
Ear candy
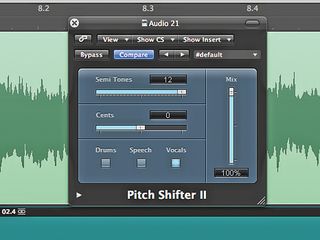
Step 14: A crash cymbal marks out the start of each section, and to create a sucking effect that leads into it, a reversed shaker sample is used. An orchestral brass and wind flourish also crops up in the intro, and this is pitch-shifted up an octave to impart a weird, processed, digital quality.
Vocal
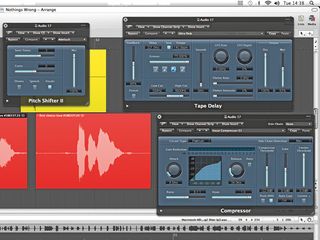
Step 15: The eerie vocal that gives the track its name is taken from an a cappella vinyl sample. To keep the gritty original flavour of the sound, Anthony leaves in the vinyl noises that occur between the vocal snippets. The vocal is high-passed, pitched up into the key of the track, compressed, excited and, finally, delayed.

Computer Music magazine is the world’s best selling publication dedicated solely to making great music with your Mac or PC computer. Each issue it brings its lucky readers the best in cutting-edge tutorials, need-to-know, expert software reviews and even all the tools you actually need to make great music today, courtesy of our legendary CM Plugin Suite.

"If I wasn't recording albums every month, multiple albums, and I wasn't playing on everyone's songs, I wouldn't need any of this”: Travis Barker reveals his production tricks and gear in a new studio tour

“My management and agent have always tried to cover my back on the road”: Neil Young just axed premium gig tickets following advice from The Cure’s Robert Smith

"If I wasn't recording albums every month, multiple albums, and I wasn't playing on everyone's songs, I wouldn't need any of this”: Travis Barker reveals his production tricks and gear in a new studio tour

“My management and agent have always tried to cover my back on the road”: Neil Young just axed premium gig tickets following advice from The Cure’s Robert Smith
