How to make a Chemical Brothers Elektrobank-style 'spinner' sound
In a spin
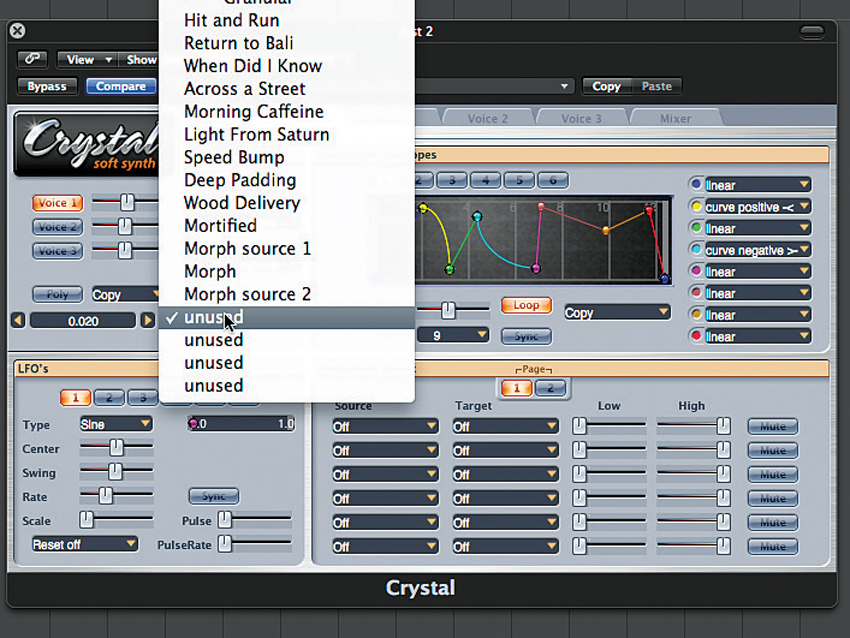
Step 1: At a guess, we’d say that this sound from The Chemical Brothers’ Elektrobank, a single from 1997, started life as a sample subjected to some serious processing (listen to it panning around your head from about 1:47 here). It’s a complex sound and we don’t have the space to create a perfect clone, but we can cobble together a quick facsimile using Green Oak’s free Crystal synth. Fire it up and select one of the Unused patches.
Voice 1
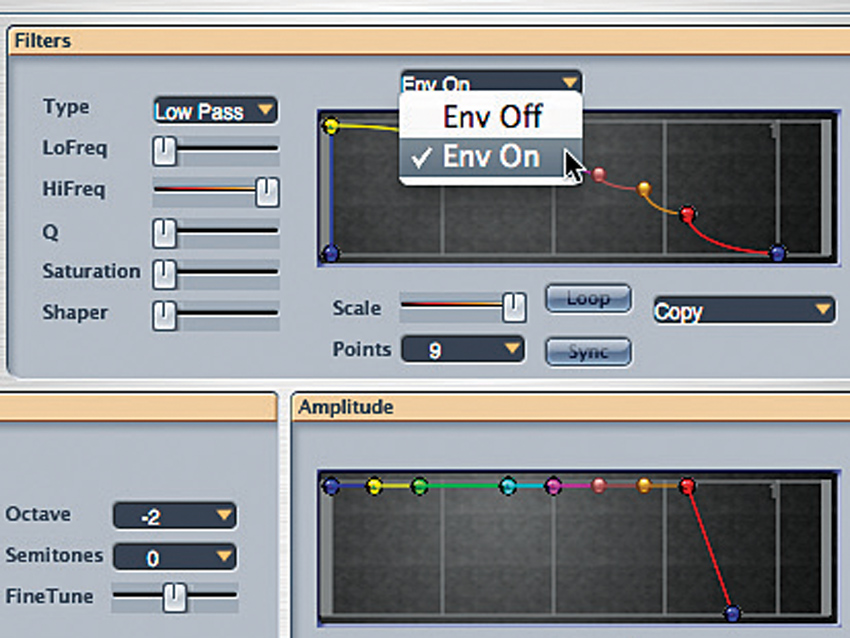
Step 2: Click the Voice 1 tab to open the editor for that voice. There’s a decidedly metallic undercurrent to the sound in question, so let’s use the Cymbal wave - select it in the oscillator’s Type box. Reduce the Octave for this voice to -2. Try playing a note near the low end of the keyboard. Next, select the LowPass filter Type and hit Env On.
Filter and envelope
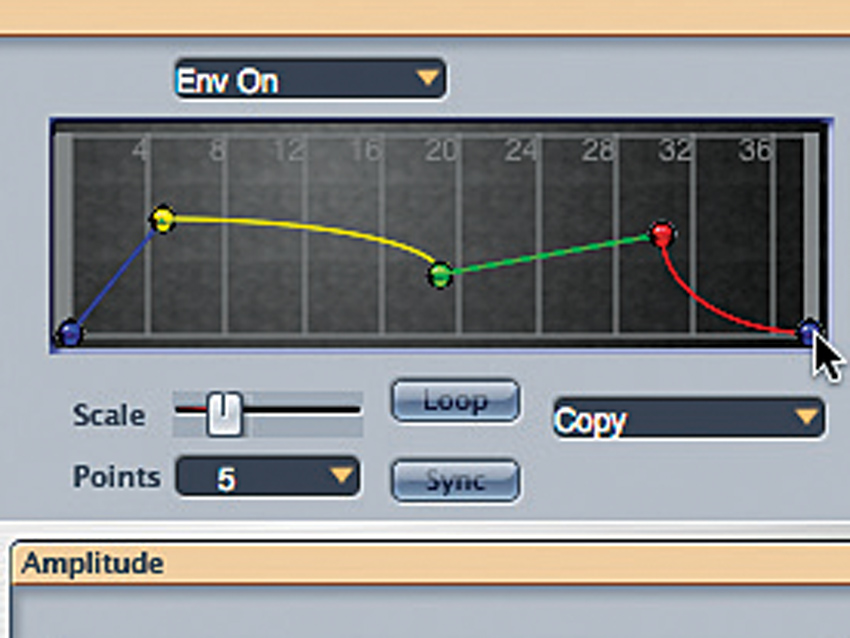
Step 3: Now move the LoFreq slider to about 266Hz. Nudge the HiFreq slider to the right a bit, too, then crank up the Q to about .850. Let’s get the envelope in on the action. Reduce the Points to 5. Zoom out using the Scale slider and create an envelope shape that fades in gradually, peaks, falls, peaks again and then fades out. Use your imagination or copy ours.
Voice 2
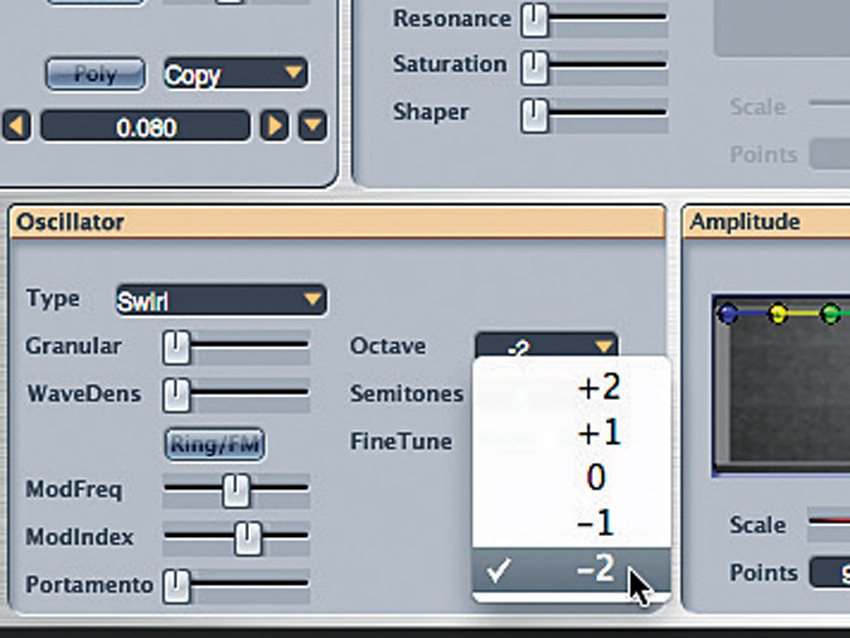
Step 4: Play and hold your low note again. This is starting to take shape, but it’s still not anything like the sound we want. We need to add more voices. Tab over to Voice 2 and activate it. Again, we want to use a sampled waveform, and there’s one called Swirl that’ll do nicely. Load it into the Type slot and reduce the Octave down to -2.
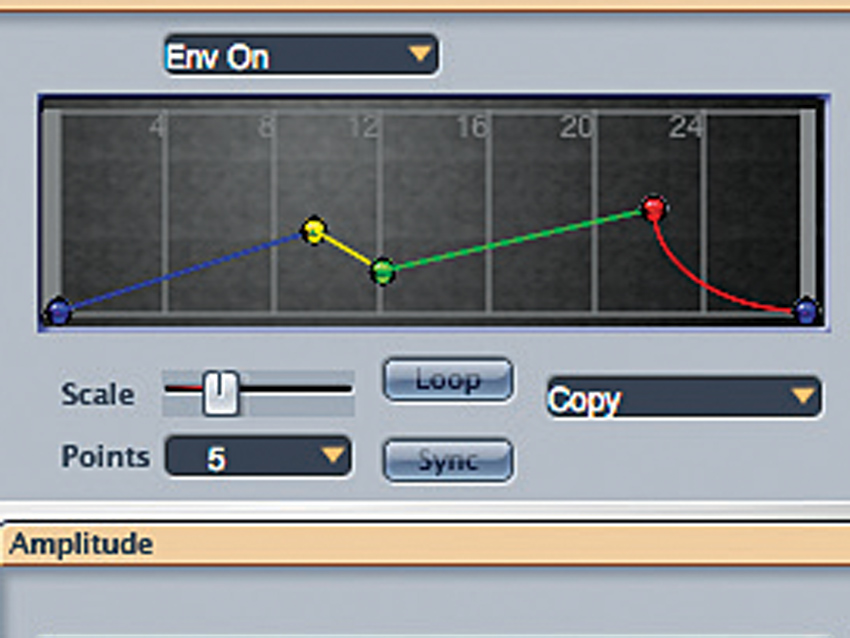
Filter and envelope (voice 2)
Step 5: Let’s leave the filter Type as it is. Set the LoFreq slider to 285Hz, and the HiFreq to 8700Hz. The Resonance should be reasonably high, since there is some res action in our target sound; 750 or so is good. Activate the filter envelope and reduce the Point count to 5. Next, zoom out and create another envelope shape with slow fades, peaks and valleys.
Voice 3
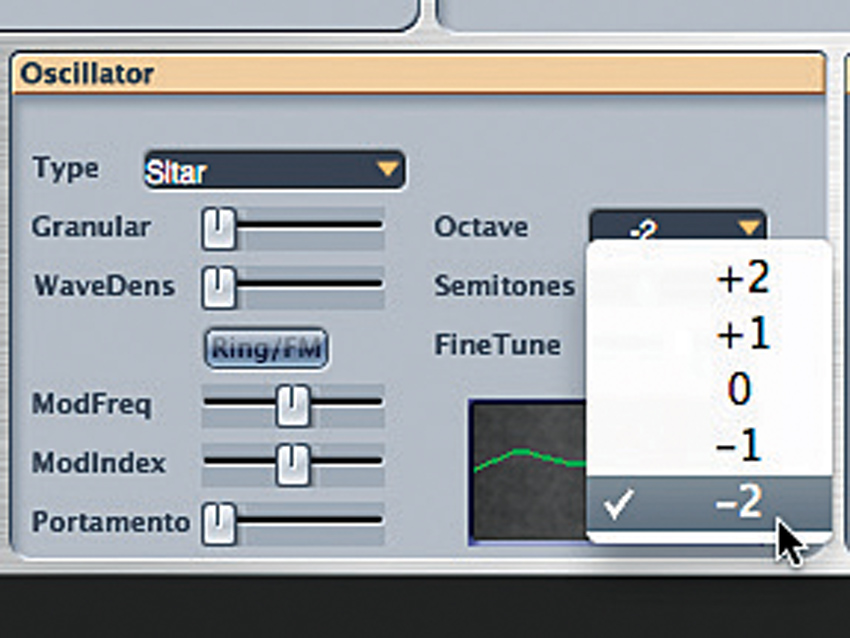
Step 6: Try playing your sound again. What we’re trying to achieve is an interesting layered sound that can be subjected to the crazy panning heard in Elektrobank. Tab over to Voice 3 and activate it, then head to the oscillator. Let’s try something a little unusual and go for the Sitar wave Type. Reduce the Octave to -2 just as we did with the others.
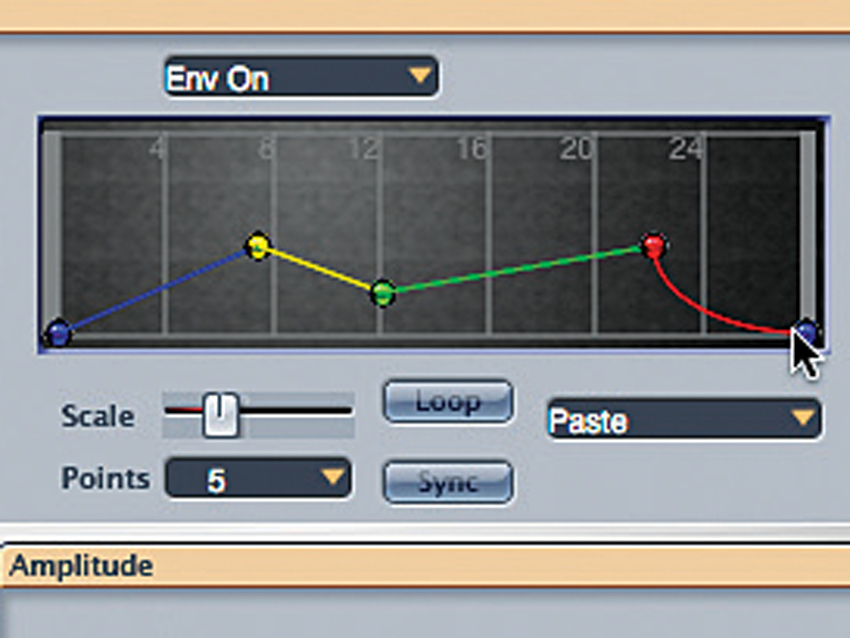
Filter and envelope (voice 3)
Step 7: Next, let’s move on to the filter. The default Type of ResLoPass is fine here. Set the Freq slider to about 2000Hz and the Resonance to around 800. Next, hit Env On and create another envelope shape similar to those you made for the other voices.
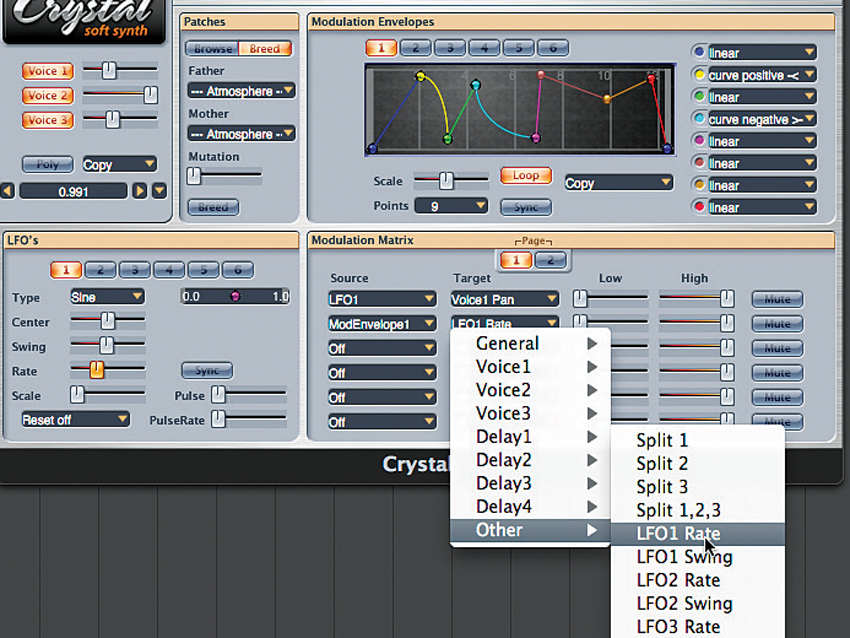
Modulation
Step 8: Let’s move over to the Modulation page and set up the panning that’s the hallmark of the target sound. In the Mod Matrix, set Source 1 to LFO1 and choose Voice1 Pan as its Target. If you play the sound now, you’ll hear that it’s too regular. So, set Source 2 to ModEnvelope1 and its Target as LFO1 Rate.
Finishing off
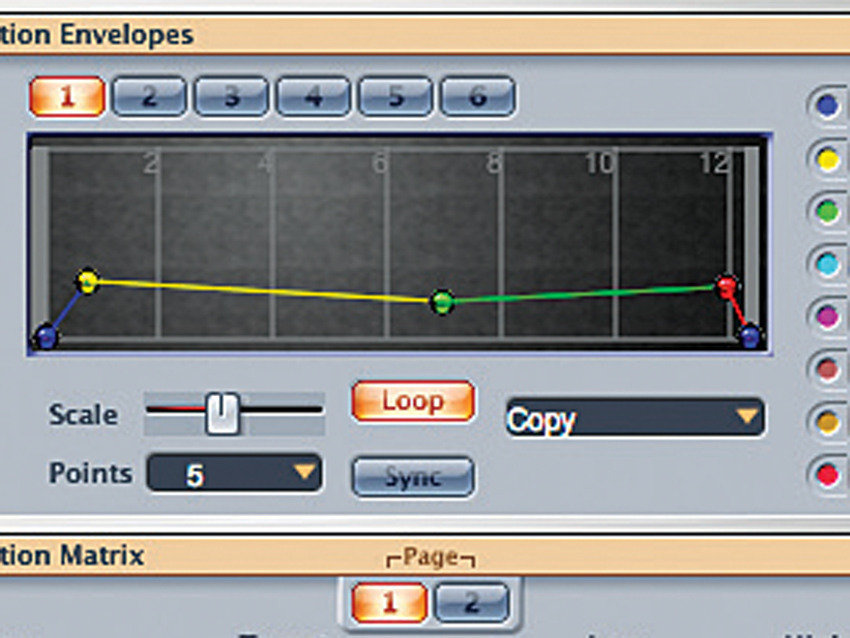
Step 9: Next, set Mod Envelope 1’s Point count to 5 and create a shape like ours above. Move LFO1’s Rate slider down until you get a good speed. Assign the LFO to modulate the Pan of the second and third voices. Experiment with more LFOs and envelopes to add more of the crazy modulation heard in the song.
Liked this? Now read: How to sound like a pro artist in your DAW

Computer Music magazine is the world’s best selling publication dedicated solely to making great music with your Mac or PC computer. Each issue it brings its lucky readers the best in cutting-edge tutorials, need-to-know, expert software reviews and even all the tools you actually need to make great music today, courtesy of our legendary CM Plugin Suite.


