How to make a 303-style acid bassline in Ableton Live
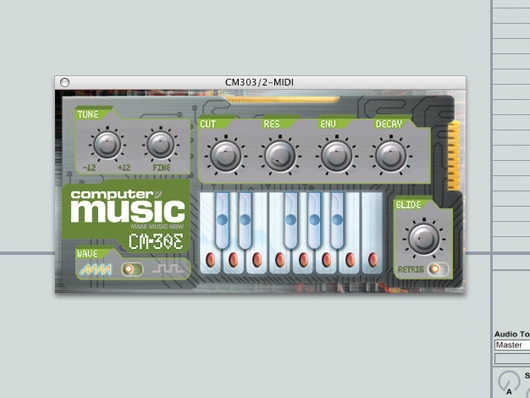
The synth
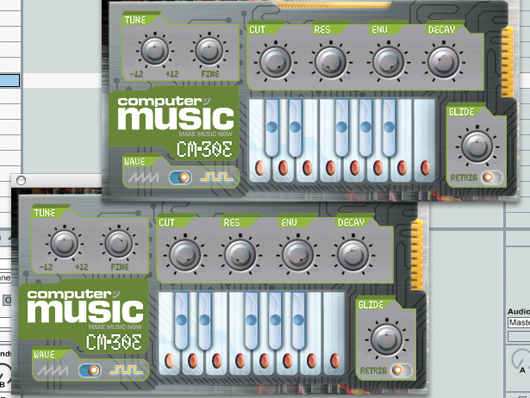
Step 1: One of the easiest ways to get a 303-style acid bassline in Ableton Live is to use Computer Music magazine’s very own CM-303 synth, which you’ll find on the cover DVD every month as part of the CM Studio (you could also try D16’s Phosycon or Togu Audio Line’s freeware TAL-BassLine). Drag your synth from the plug-in list onto one of Live’s MIDI tracks.
• For many more Ableton Live guides go to our massive learning hub: Learn Ableton Live and Ableton Push: music production tips and tutorials
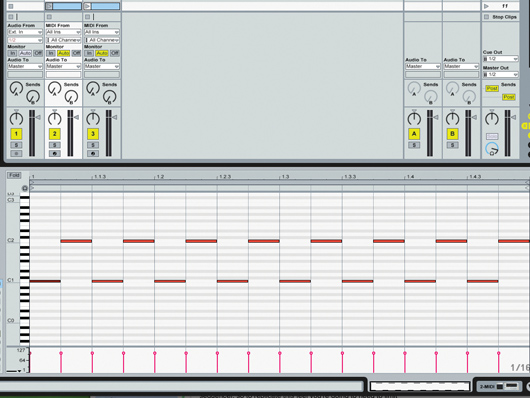
Sequencing
Step 2: Roland TB-303 synths are triggered using an internal step sequencer, so to replicate this feel, you’re going to need to limit yourself to using straight 1/16th notes. Create a single-bar MIDI part in Live and create a simple pattern like the one we’ve used here.
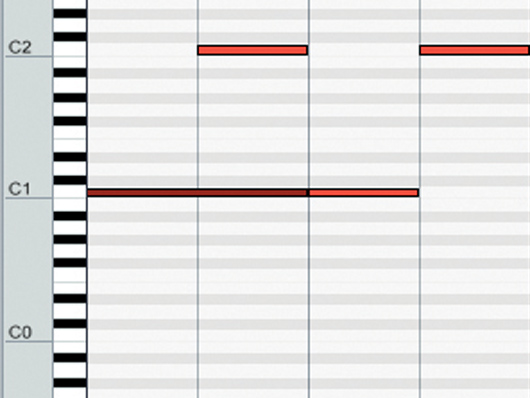
Adding the glide
Step 3: To get the characteristic 303 glide, lengthen one of the notes so that it overlaps with the successive note, as we have here. Note the portamento effect that is introduced when we do this. The amount of time between notes is controlled with CM-303’s Glide knob.
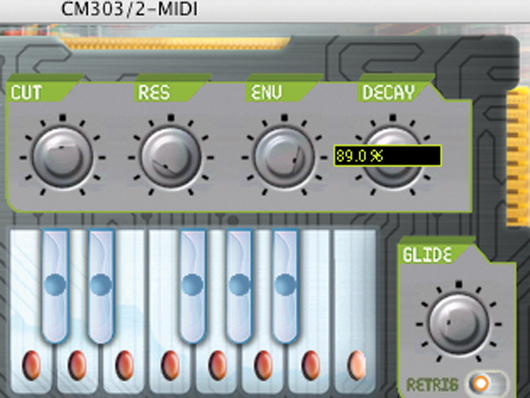
Brightening the sound
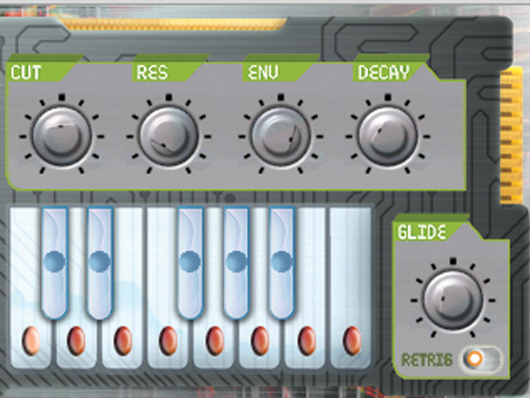
Step 4: Currently, the sound is quite dull. Turning up the Cut knob will make the riff sound brighter, but let’s use the Env knob instead. This controls the amplitude of the filter cutoff envelope. Turning it up to full makes the effect much more pronounced.
Decay
Step 5: The filter cutoff envelope is extremely simple, and features a single decay control that either tightens or loosens its effect. Sweep the Decay knob to get a feel for how it changes the sound. When you’re done, leave it on 36%, as we have here.
Resonance
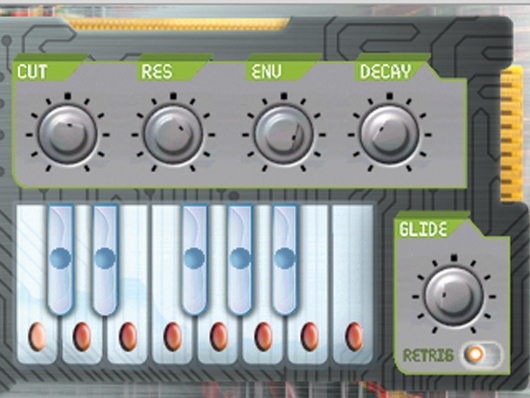
Step 6: To get that characteristic high-end acid squelch, simply turn up the Res (resonance) knob. This boosts the frequencies around the cutoff point, making the movement of the filter even more apparent. Set the resonance to 70% and sweep the cutoff up and down – now that’s acid!
Saturation
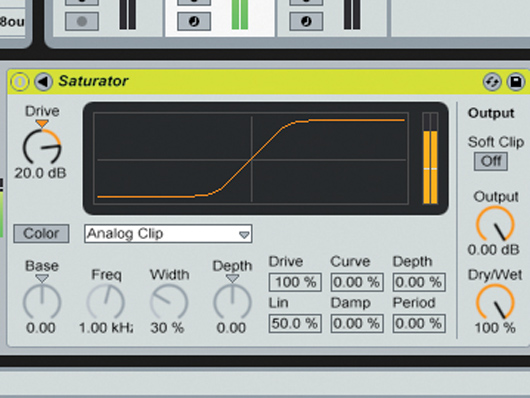
Step 7: To make a rawer, dirtier riff, drag Live’s Saturator effect onto the MIDI track and turn up the Drive knob to 20dB. With the Cut set to full and the Res at zero, this will give you a satisfying, nasty, aggressive distorted, sawtooth sound. Once you’ve had enough, bypass the effect.
Square wave
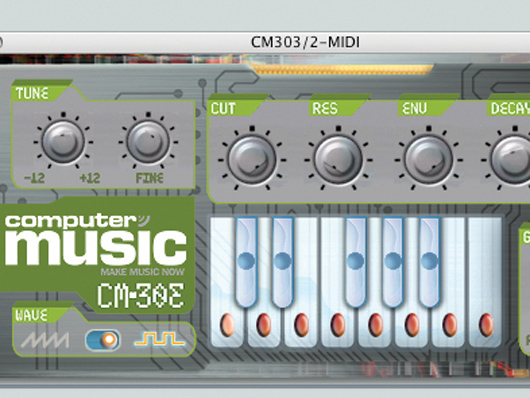
Step 8: To get a bouncy acid bass, turn the Res and Cut all the way down and change the Wave (shape) from sawtooth to square in the bottom left-hand corner of the interface. The square shape isn’t as cutting as the saw, but it has a fuller low-end, which is perfect for bouncy bass.
Tuning and doubling
Step 9: Note that it’s possible to change both the coarse and fine tuning of the instrument using the Tune panel in the top left-hand corner of the interface. To get a fatter sound, you could layer up two CM-303s playing the same part, one set to sawtooth, the other to square. Then, set the fine tune and relative levels to get the exact sound you’re after.

Computer Music magazine is the world’s best selling publication dedicated solely to making great music with your Mac or PC computer. Each issue it brings its lucky readers the best in cutting-edge tutorials, need-to-know, expert software reviews and even all the tools you actually need to make great music today, courtesy of our legendary CM Plugin Suite.


