How to load Korg Gadget projects into Ableton Live
With its broad range of fun virtual instruments, Gadget is a great 'sketchpad' for Live users
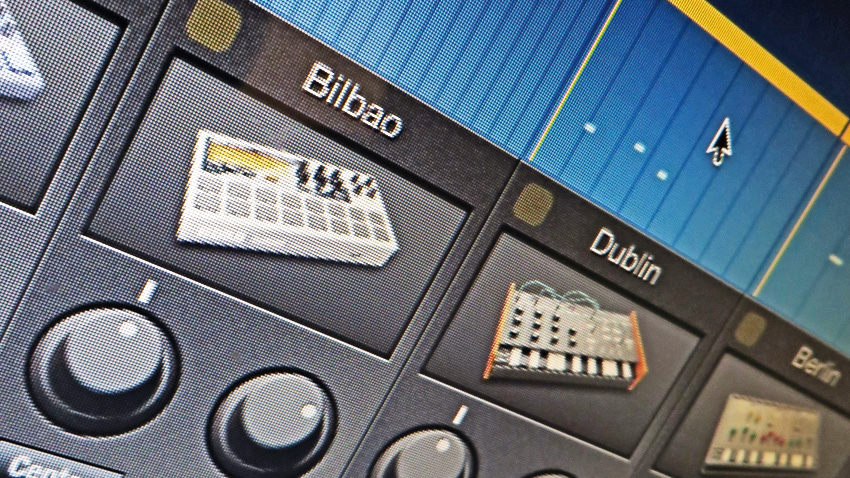
Korg's nifty iOS app, Gadget, makes for a fast and fun musical sketchpad for the producer on the go, but what do you do when you want to transfer those rough production concepts from your iPad to your Mac or PC?
Fortunately, Korg has given us a solid range of export options to work with in Gadget, including - remarkably - the ability to beam projects directly to Ableton Live in its native file format. Here we're going to show you how to do just that.
• For many more Ableton Live guides go to our massive learning hub: Learn Ableton Live and Ableton Push: music production tips and tutorials
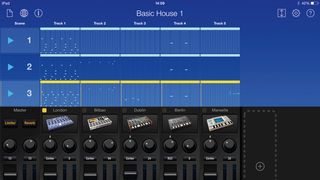
Step 1: With Gadget's .als export option, it's really easy to sketch out quick ideas on the go and then take them further in Ableton Live. Here we've made a very rough, basic house groove using Gadget's drum machine, samplers and a few virtual synths. Let's look at some very simple workflow tricks we can use to smoothly transform our iPad sketch into something ready to be fleshed out.

Step 2: Firstly, we duplicate our drum machine Gadget three times. In the first instance, we remove everything other than the kick; in the second, we remove all but the snares, claps and rimshots; and in the third, we leave only the hats. Gadget exports each instrument as an audio file, so it's handy to separate the parts of each that you may wish to process differently in Live. This way we have more flexibility over how we treat our low, high and mid drum sounds later on.
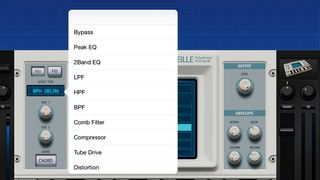
Step 3: Next we turn off Gadget's global reverb and limiter; we also turn off the device effects in some of our Gadgets. Since we'll no doubt want to turn to our favourite effect plugins in Live later, it's best to export our sounds as dry as possible at this stage. That said, for some rhythmic effects, like delay or modulation, it can sometimes be interesting to render them to audio early and then reprocess them later.
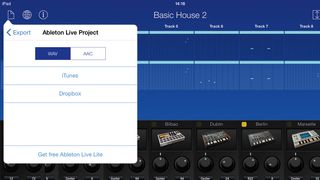
Step 4: Now it's time to export. Hit Gadget's file menu (top left), then Export>Ableton Live Project, then choose either iTunes (drag and drop via the app file sharing) or Dropbox (for wireless export). Gadget will create a folder containing the Live project file (.als), along with rendered audio for each Gadget clip. Open the project in Live and the rendered files will appear in Clip View corresponding to their positions in your Gadget project.
Get the MusicRadar Newsletter
Want all the hottest music and gear news, reviews, deals, features and more, direct to your inbox? Sign up here.
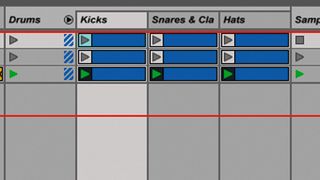
Step 5: With a few simple moves we can quickly get our project into a better shape. Since we've split our drum parts, we can EQ boost and filter frequencies as appropriate. We can then group them back together to gel them with compression and saturation. Since we've used swing and velocity tweaks in Gadget, we create a quick render from our drum buss and use Extract Groove to generate a groove template that we can apply to other elements further down the road.

Step 6: Should we want to replace or duplicate our Gadget sounds with other plugins or hardware instruments, Live 9's Audio To MIDI functionality is great. Here, we use it to double up our bass riff with a Juno-style sound. Finally, we set up reverb and delay sends to replace Gadget's global effects, offering more customisable options.
Future Music is the number one magazine for today's producers. Packed with technique and technology we'll help you make great new music. All-access artist interviews, in-depth gear reviews, essential production tutorials and much more. Every marvellous monthly edition features reliable reviews of the latest and greatest hardware and software technology and techniques, unparalleled advice, in-depth interviews, sensational free samples and so much more to improve the experience and outcome of your music-making.

"If I wasn't recording albums every month, multiple albums, and I wasn't playing on everyone's songs, I wouldn't need any of this”: Travis Barker reveals his production tricks and gear in a new studio tour

“My management and agent have always tried to cover my back on the road”: Neil Young just axed premium gig tickets following advice from The Cure’s Robert Smith

