How to get the most out of Cubase's MixConsole
Cubase's mixer offers plenty of cosmetic adjustments plus many ways of speeding up your workflow. Let's take a look…
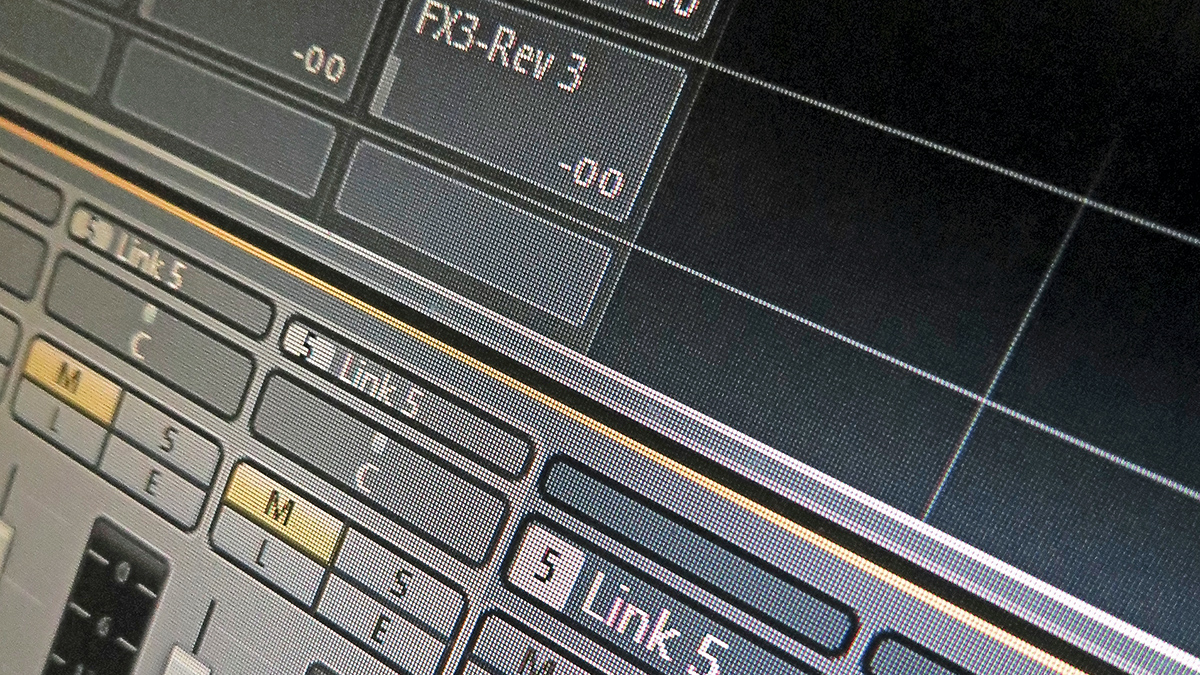
Cubase's MixConsole is one of the most powerful mixers to be found in any DAW. Here, we'll show you some foolproof ways to optimise it to your workflow.
For more pro tips for a range of DAWs, get the December 2016 edition of Future Music.
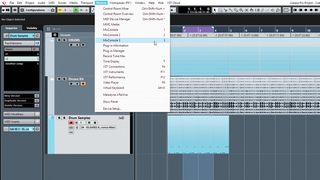
Step 1: MixConsole scaling does have its frustrations, such as the way icons sometimes go missing, and even the highest resolution screen might be hard-pushed to display everything in the channel Rack at once; but a bit of patience pays off. Cubase has three mixer windows that can each be adjusted separately. By default, only one gets a key command, but adding keys to the other two enables you to move between them with ease.
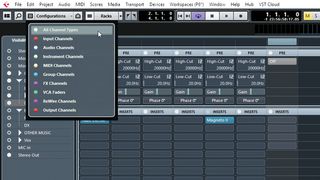
Step 2: Like the Project windows, MixConsole features Visibility Agents (and the two can be synchronised). Using the Filter Channel Types button in the MixConsole toolbar lets you set up each of the mixers differently - perhaps one for Audio Tracks, one for Instruments and MIDI, and one for Groups and Effects. Don't forget to streamline what appears in the Racks. For example, if you use only third-party plugins, you can lose the Channel Strip and EQ racks.
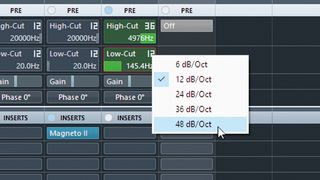
Step 3: The Pre Rack features two of the most useful (and simple) mixing tools: the low and high-cut filters. Both have five selectable filter slopes (from the polite 6dB/octave to the almost brickwall extremes of 48dB/octave). Before diving for more complex parametric EQs, explore how basic filters can help shape your mix. Use the high-pass to clear space for the main bass elements, and the low-pass to push things further away. It's all about balance, though.
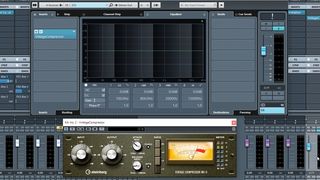
Step 4: Group Channels are another time-saver. Route similar elements to a common group to make level-setting in big mixes easier, or apply processing in one go to save time. While there is a place for the individual processing of tracks and separate application of compression and EQ, there are times when processing things together can lead to better results. Try routing all your drums to a Group Channel and applying compression here before doing anything else.
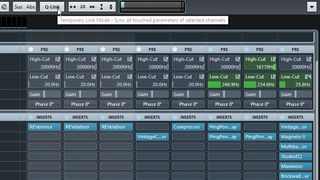
Step 5: Another MixConsole time-saver is the Linking feature. Linking mirrors changes to one channel in another. This might be Volume and Mute/Solo status, although sharing extends to many aspects of mixing and control, including the selection and editing of plugin Insert effects. For a more stealthy approach, use the Q-Link button to temporarily link all parameters on selected channels. Hold Alt/Option to make unlinked edits.
Get the MusicRadar Newsletter
Want all the hottest music and gear news, reviews, deals, features and more, direct to your inbox? Sign up here.
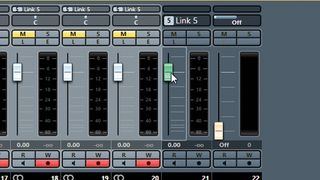
Step 6: VCA Faders are a relatively new addition and sit somewhere between Group Channels and Linking. In essence, they provide a master control fader for a set of channels. Though initially you wonder why they might be useful, they really come into their own as a great way of automating a channel, or group of channels, while still allowing you to tweak the original levels or relative balance. In fact, you can even have one VCA fader control another.
Future Music is the number one magazine for today's producers. Packed with technique and technology we'll help you make great new music. All-access artist interviews, in-depth gear reviews, essential production tutorials and much more. Every marvellous monthly edition features reliable reviews of the latest and greatest hardware and software technology and techniques, unparalleled advice, in-depth interviews, sensational free samples and so much more to improve the experience and outcome of your music-making.

