How to edit MIDI notes in GarageBand for iOS
Getting started
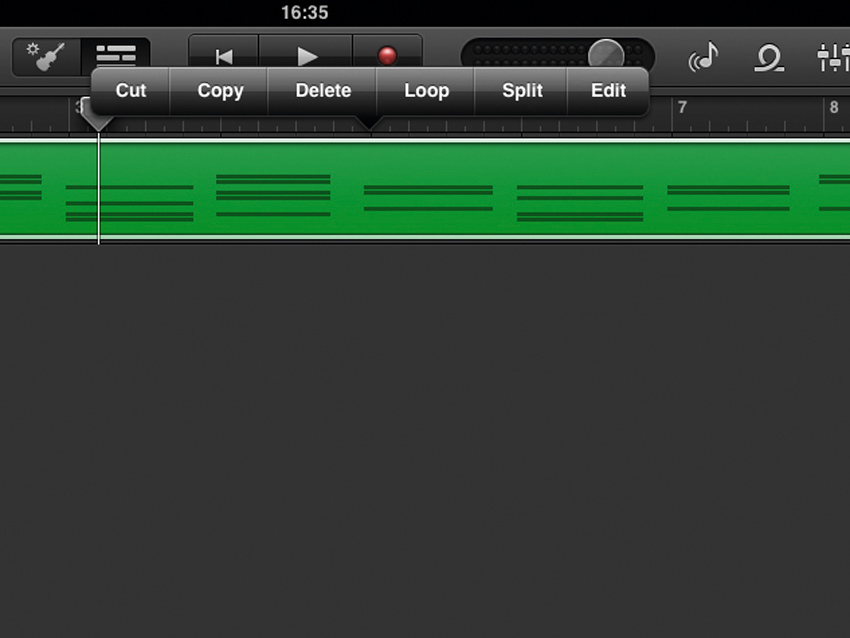
Step 1: One of the big new features in GarageBand for iOS 1.2 is MIDI editing, so let’s find out how it all works. Start by recording anything you like using one of the instruments - you can even record using the Smart Instruments’ preset MIDI parts. Now tap the track editor icon near the top left to bring up the track list. Double-tap a clip to see the Split, Loop, Delete and other track-level options. To get into the details, select Edit.
Zooming
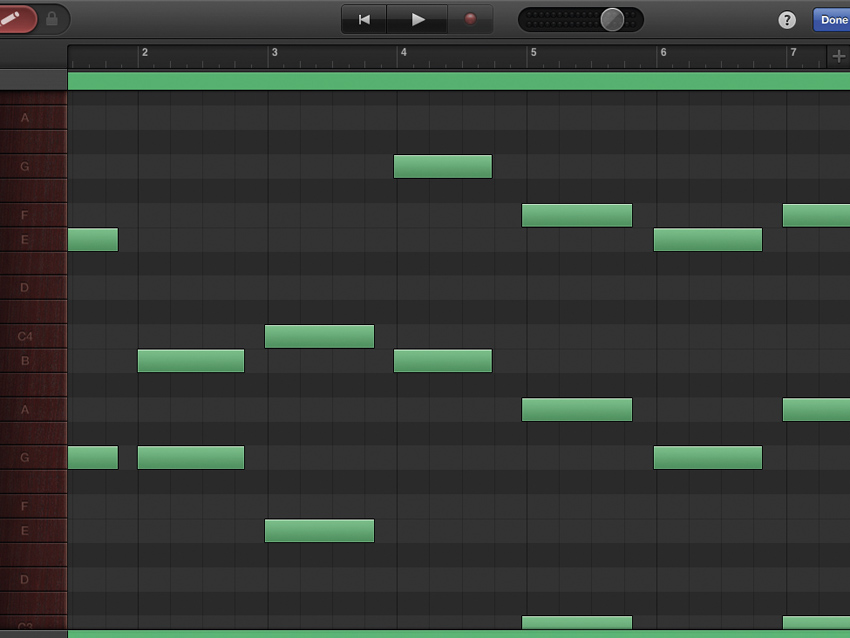
Step 2: Pinch horizontally and vertically to set the zoom level, and drag with one finger to navigate the piano roll. The display also auto-zooms before and after certain operations (which can be a little disconcerting at first).
Moving notes
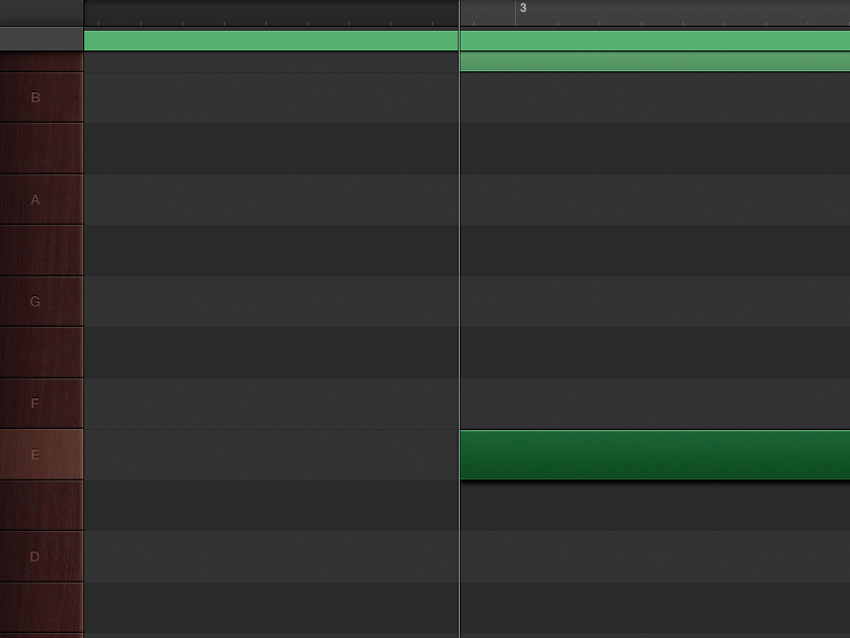
Step 3: To move a note, tap and hold it. When it’s highlighted, drag it vertically to change the pitch, and horizontally to change the position on the timeline. Pitch changes are auditioned as you move the note, and when a note is held, the timeline zooms in to facilitate easy snapping to the nearest beat division.
Changing note lengths
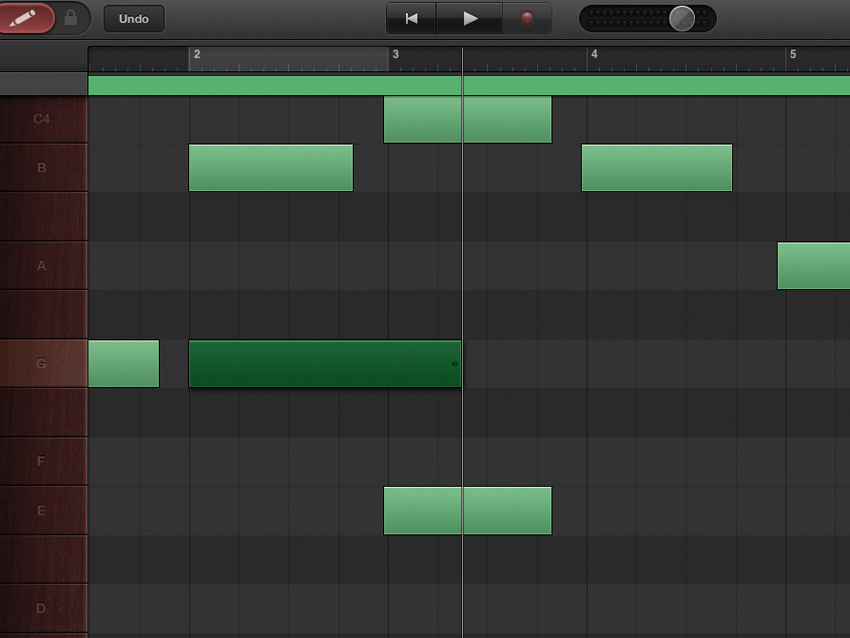
Step 4: To change the length of a note, select it, then drag the double arrows to stretch or shorten it. A vertical white line appears to give a visual cue as to where the note ends on the timeline.
Editing note velocities
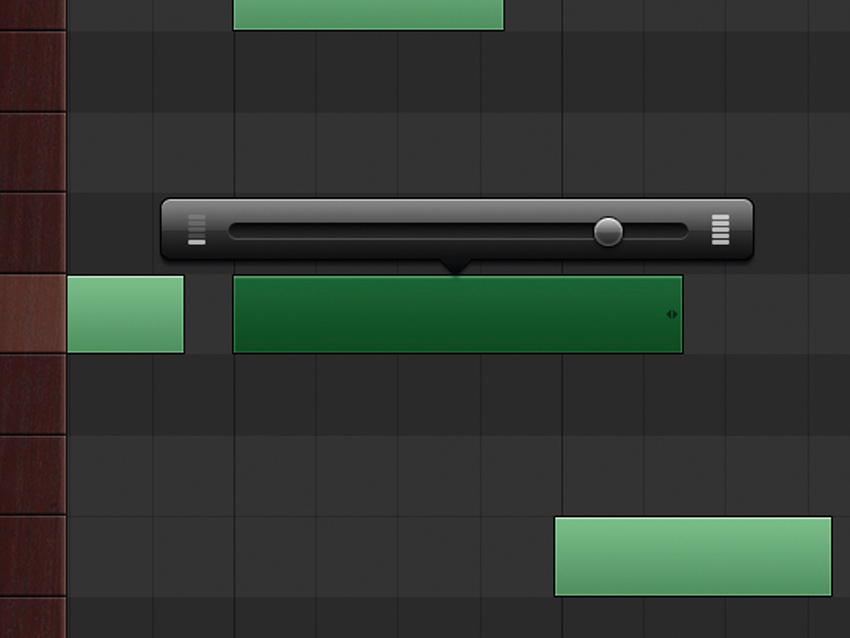
Step 5: Although it’s not obvious, you can also edit note velocity. Tap the note to bring up a floating menu, then Velocity to bring up a floating slider, and drag the slider left or right to set the velocity. For bonus points, tap the More menu item that appears for certain instruments (such as the new Smart Strings) to change their sound and articulation per note.
Deleting notes
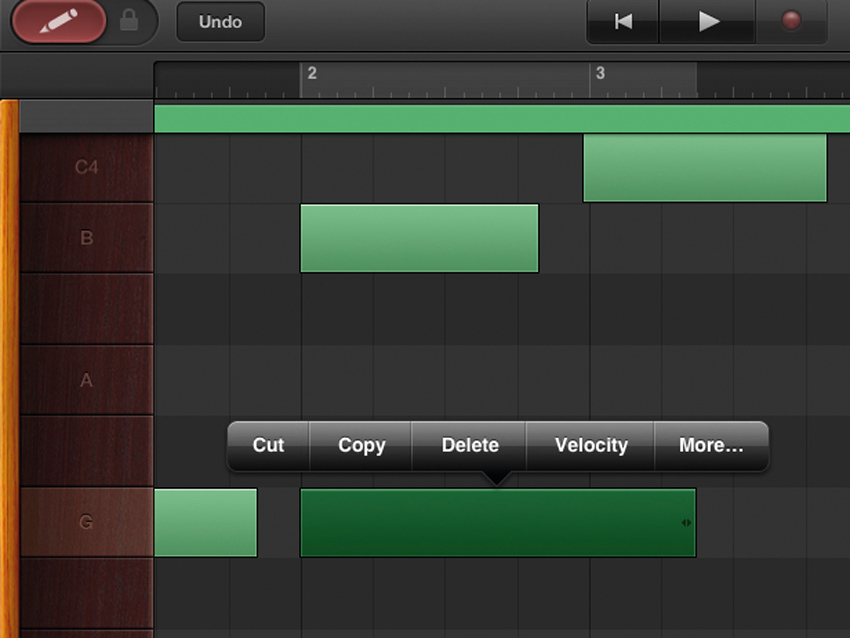
Step 6: To delete a note, tap it to select it and call up the floating menu. You can use either Cut or Delete - Cut copies the note to a buffer, Delete doesn’t. See the next step for another way of deleting notes. If you make a mistake, there’s an Undo button in the toolbar near the top left. To redo, tap and hold the Undo button.
Adding notes
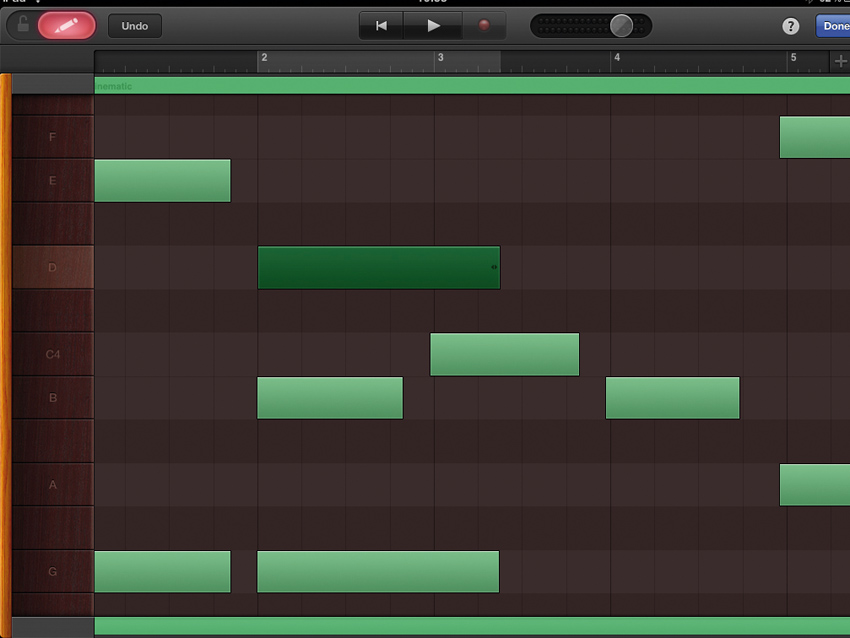
Step 7: Use the red pen button at the top left to add notes. It can either be held manually or locked by sliding it to the right. When it’s active, tapping in the piano roll adds notes, and tapping on existing notes deletes them.
Selecting multiple notes
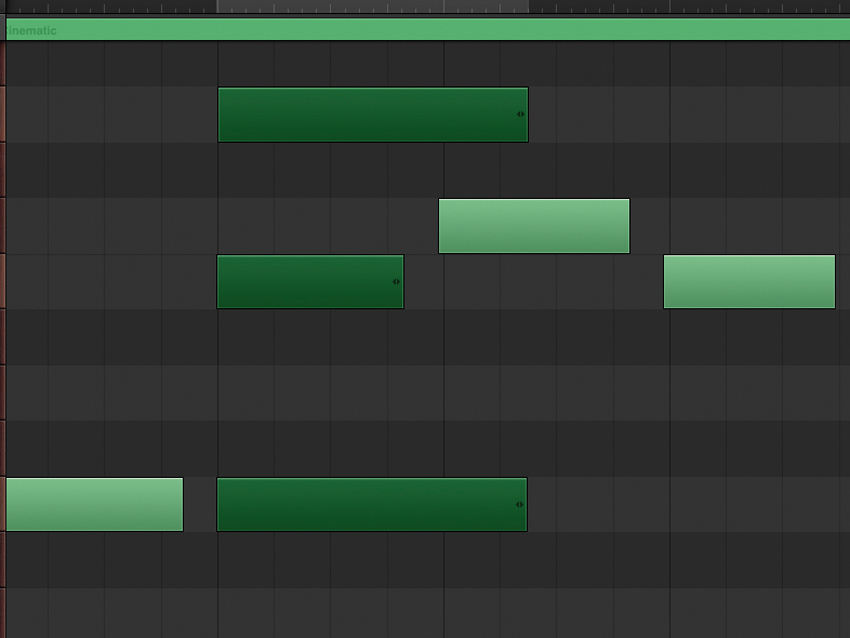
Step 8: To select multiple notes, with the pen tool turned off, tap and hold one, then tap the others one by one. When a note is held, the slightly annoying auto-zoom effect mentioned in Step 2 kicks in. To un-auto-zoom, just let go of the note. (Another way to multi-select is to hold your finger in a ‘blank’ area of the note editor until a lasso appears around your finger, then drag round the desired notes.)
Editing multiple notes
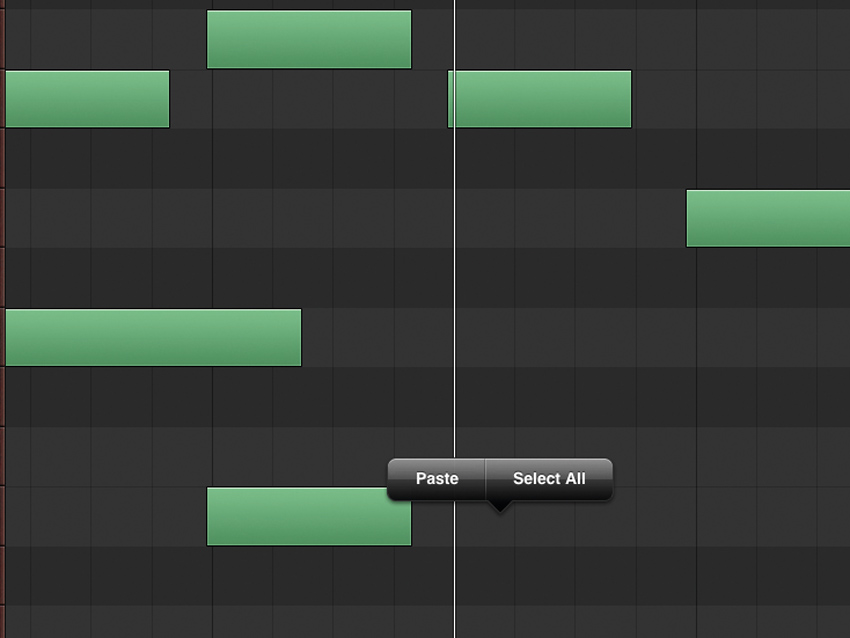
Step 9: Tap the first note again to show the edit menu. Use the Cut/Copy/Delete options to edit your block of notes. To paste a cut/copied block, drag the playback market to the desired position on the timeline, then tap in the edit window and select Paste.
Liked this? Now read: The best iPhone/iPad music making apps in the world today

Computer Music magazine is the world’s best selling publication dedicated solely to making great music with your Mac or PC computer. Each issue it brings its lucky readers the best in cutting-edge tutorials, need-to-know, expert software reviews and even all the tools you actually need to make great music today, courtesy of our legendary CM Plugin Suite.


