How to create a Berlin school sequence using Moog Model 15 for iPad
Program sequenced Moog lines on your iOS devic with our guide
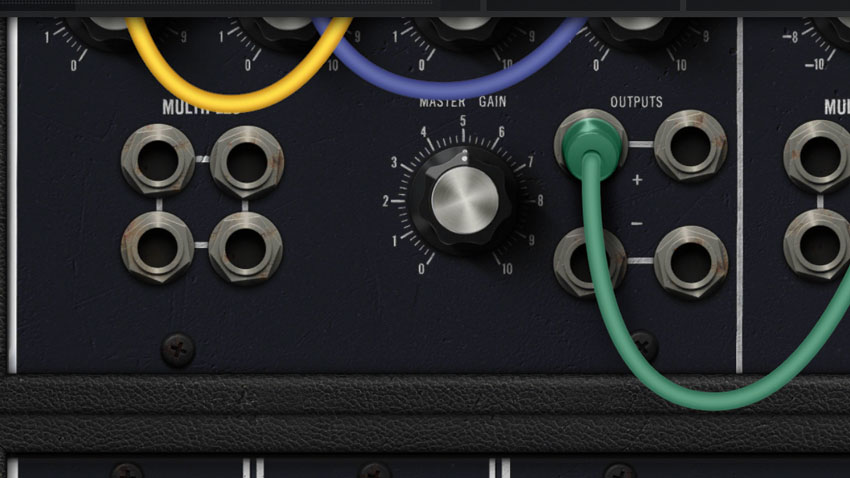
The 'Berlin school' of sequencer-based music began with Tangerine Dream's Moog-heavy Phaedra LP back in 1974 and has once again become popular thanks to modular synth-based acts like Redshift and Node.
Now, with Moog's own Model 15 app, you can create authentic Berlin School sequences on your iPhone or iPad. Here, we'll show you how.
Read much more about emulating Moog synths in software in the October edition of Computer Music (CM234).
Step 1: Open Model 15's browser (in the top-left), and create a new, empty preset.
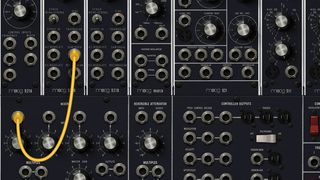
Step 2: If the Arp, Keys, Ribbon or Animoog controllers are visible, click the buttons on the right to hide them.Tap and drag a cable from the left-most Oscillator module's sawtooth output down to an input on the Mixer.
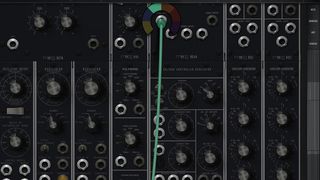
Step 3: Similarly, tap and drag a cable from the second Oscillator module's Rectangular (pulse) output to the Mixer. Now, tap and drag a cable from one of the Mixer's + Outputs all the way up to the Signal Input jack on the 904A Voltage Controlled Low Pass Filter module in the very top row of modules. You can drag the cable with one finger while scrolling up the interface with another.
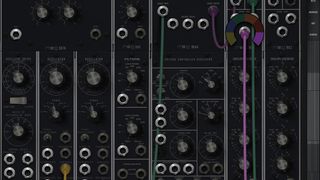
Step 4: Now, tap and drag a cable from the 904A Filter's Signal Output into one of the Signal Inputs on the 902 Voltage Controlled Amplifier module just to the right of the filter. Route a cable from one of the 902's Signal Outputs down to one of the Trunk Lines. Next, route the output of one of the 911 Envelope Generators to a Control Input on the 902 Voltage Controlled Amplifier.
Get the MusicRadar Newsletter
Want all the hottest music and gear news, reviews, deals, features and more, direct to your inbox? Sign up here.
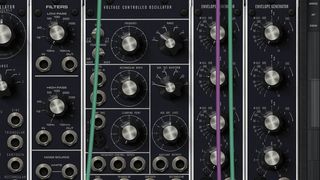
Step 5: Now, if you open the Keys, you can trigger some notes, though what you'll hear isn't very exciting! We'll get to that. Go to the 911 Envelope Generator you just patched to the 902 VCA. Set the Decay (second knob from the top) to 50, the Release (third from the top) to 20 and crank the Sustain (bottom knob) all the way down. Try triggering some notes from the keyboard.
Basic 2Osc
With ADSR
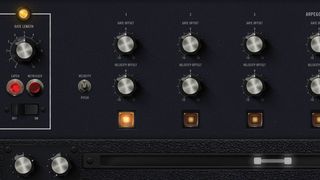
Step 6: Unhide both Keys and Arp. Activate the Arp's Latch mode. This will cause the arpeggiator to play continually once triggered. Now, turn the Arp itself on with the rocker switch on the left. Tap a key on the keyboard to get things going. You should hear that note repeating indefinitely. Tap the + in the top-right of the Arp and set the Pattern Length to 8.
ARP Latched
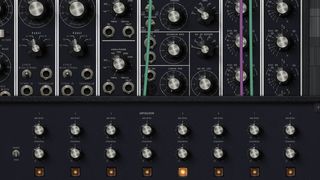
Step 7: You should now see the Arp stepping through the pattern. We're not going to use keyboard chords to trigger arpeggios, so hide the Keys. Toggle the Velocity/Pitch switch in the Arp to the Pitch position. Now the bottom row of knobs can be used to offset the pitch from the note you initially triggered. Let's turn the knobs to create an interesting pattern of pitched notes.
Pitched ARP
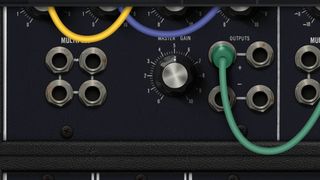
Step 8: Hide your Arp and let it run. Now, go down to the Delay Effect module, activate Clock Sync and increase both Mix and Feedback. Set the Time to 6 Eighth Notes. These sorts of echoing sequences were a hallmark of the Berlin School of electronic music. Let the sequence run and have a play with the filter and envelope settings. This is only the start - don't be afraid to do more patching!
Berlin School
Computer Music magazine is the world’s best selling publication dedicated solely to making great music with your Mac or PC computer. Each issue it brings its lucky readers the best in cutting-edge tutorials, need-to-know, expert software reviews and even all the tools you actually need to make great music today, courtesy of our legendary CM Plugin Suite.

