How to control mix elements with mid/side compression
Apply separate dynamics processing to the centre and sides of your stereo signals with this powerful technique
Mid/side compression is a technique used by many pro engineers for increased flexibility when processing stereo material. By encoding a stereo signal from L/R to M/S, it's possible to compress the mono (mid) and stereo (side) elements of the signal independently. Why would we want to do this, though?
Typically, a full mix or dense stereo stem will carry most of its energy in the centre of the stereo field, meaning that when stereo compression is applied, the whole stereo image is affected as the compressor acts upon the loudest parts of the signal. Using a mid/side compressor enables us to apply differing amounts of compression to the mid and side channels - ideal for compressing an overly loud kick drum in the centre of the stereo field without overly affecting a far wider overheads track with crashes on it, for example.
We can also use mid/side compression to add density or control the level of stereo effects such as reverb or delay without overcooking the whole sound - this can be great for tweaking loops from sample packs, stems, or even a full mix! That said, while M/S compression is a superb tool to have in your processing arsenal, do remember that it's good practice to deal with stereo issues earlier in the process if possible, so don't rely on tricks like this to "fix" your mixes - it's always best to get it right at the source.
There are plenty of mid/side-ready compressors out there, from ultra-modern jobs like iZotope Ozone 6 to vintage stalwarts like the various Fairchild 670 emulations. However, you can make your own if needs must, by using a mid/side encoder/decoder - Voxengo's MSED is excellent and free - alongside an unlinked dual mono compressor such as Vladislav Goncharov's Molot, which is also free.
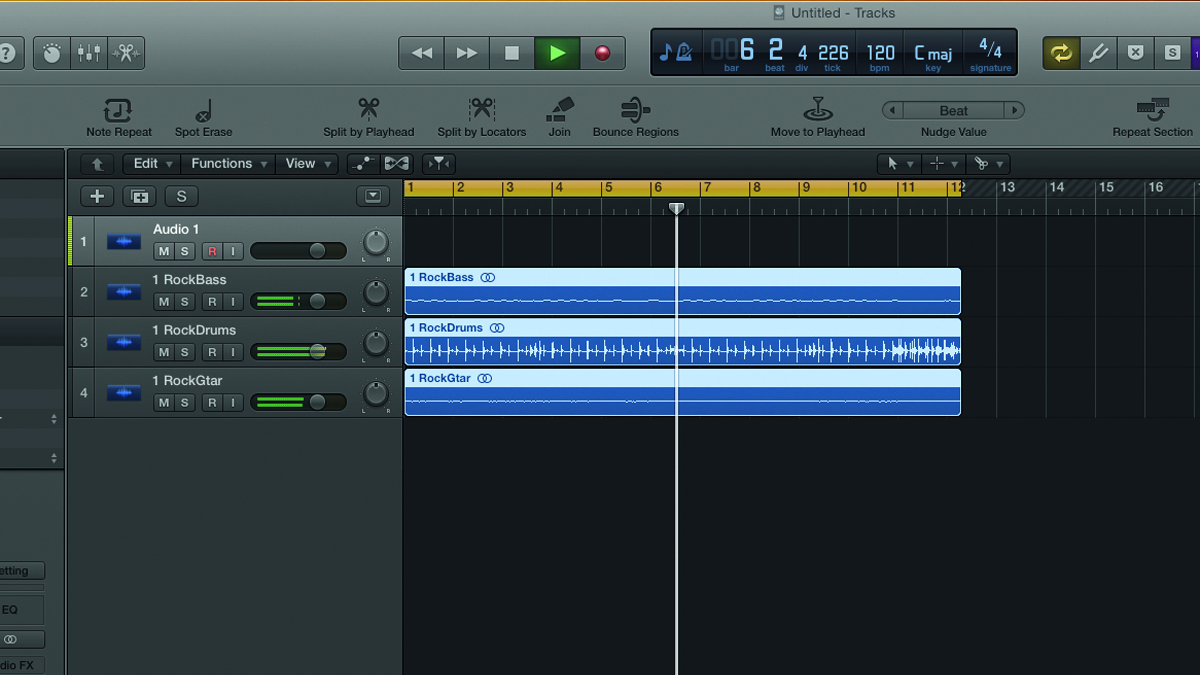
Step 1: Mid/side compression is a brilliant tool for transforming the dynamics of stems or a full mix, giving the producer the power to process the mono and stereo elements independently. Let's get things moving - open your DAW and import the files beginning "Rock".
Step 2: First, we'll compress the mid channel of the drum stem, as the snare is a little loud. We could use stereo compression to achieve similar gain reduction, but using focussed processing on the mid channel will give a cleaner end result with less adverse impact on stereo width and ambience. Load Ozone Dynamics onto the RockDrums channel and open the plugin.
Step 3: Let's also apply some of our multiband compression knowledge from the last tutorial. Remove Bands 3 and 4 by right clicking on them and selecting Remove Band. We'll dial in compression only on the upper of our two remaining bands, so we don't affect the kick drum's low-frequency punch. Switch to Mid/Side mode with the M + S button, before selecting the Mid channel.
Get the MusicRadar Newsletter
Want all the hottest music and gear news, reviews, deals, features and more, direct to your inbox? Sign up here.
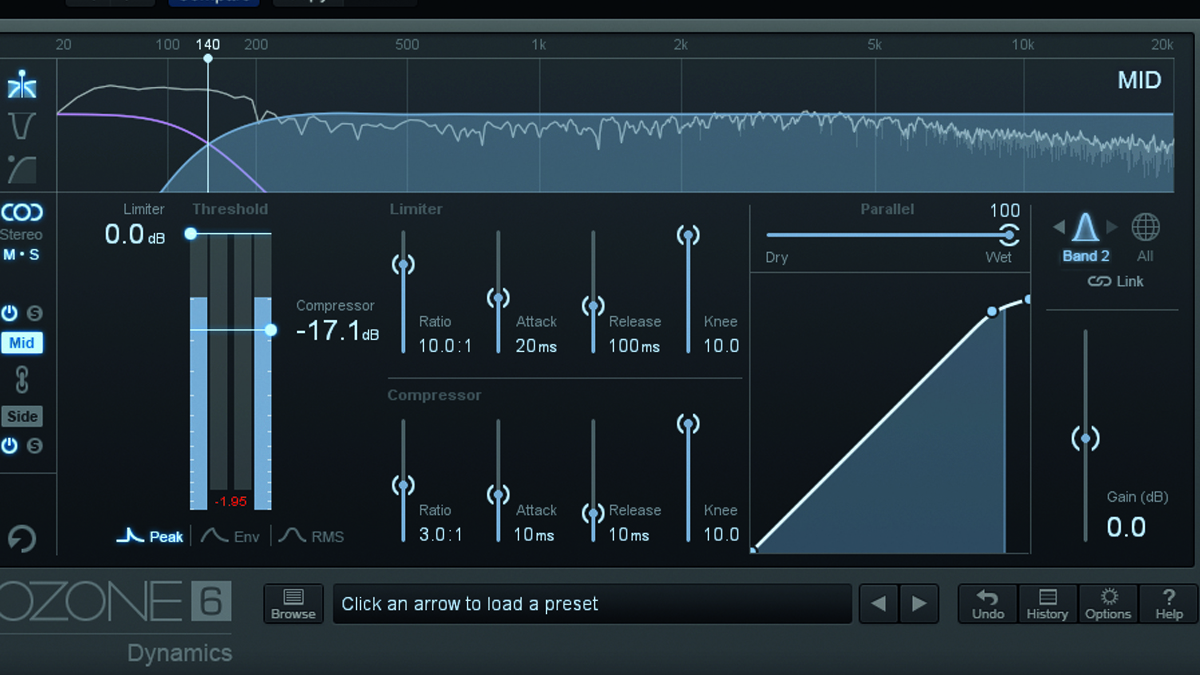
Step 4: Now we can sort out the problem snare. Select Band 2 and set up the compressor with a Ratio of 3:1, an Attack of 10ms and Release of 10ms - this'll make the compressor act quickly to match the pace of the drums. Next, pull the Threshold down until you can hear the snare being pulled back into the mix - we've gone for around -17dB.
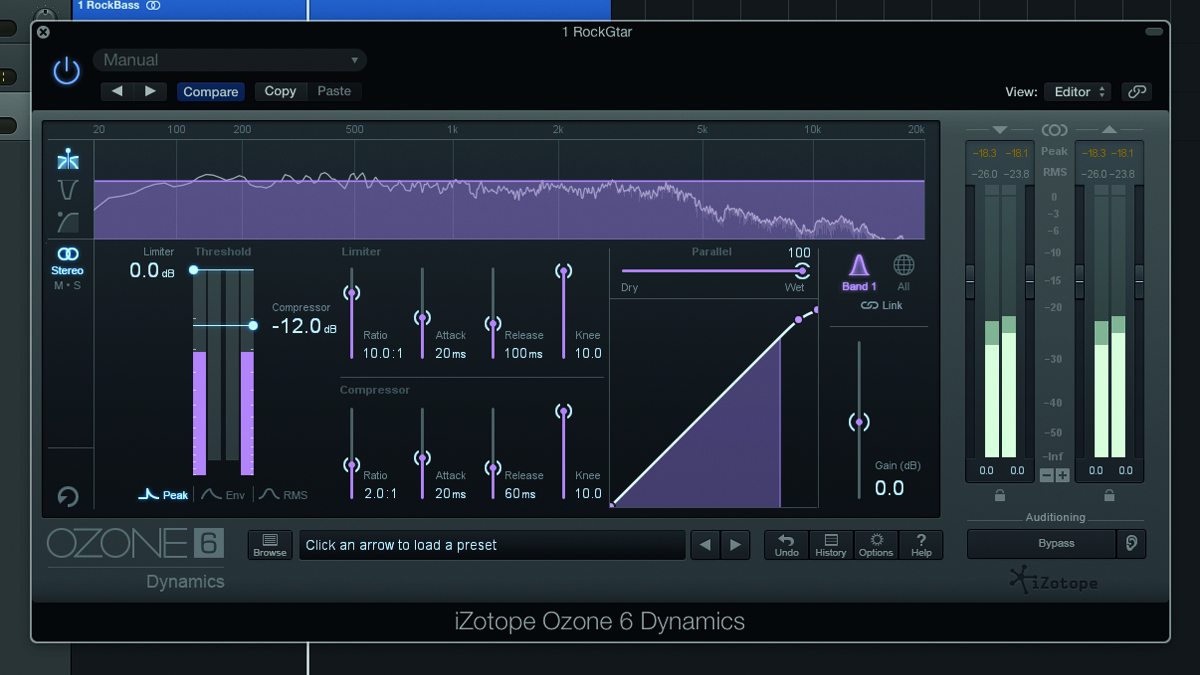
Step 5: Our snare is now much more level with the rest of the drums, but the guitars sound slightly weedy - they're distorted, but not in-your-face enough! Compressing the Side channel will bring the distortion out but retain space and clarity in the centre. Add another Ozone Dynamics to the RockGtar channel, and delete bands 2, 3 and 4 to leave us with plain-old single-band compression.

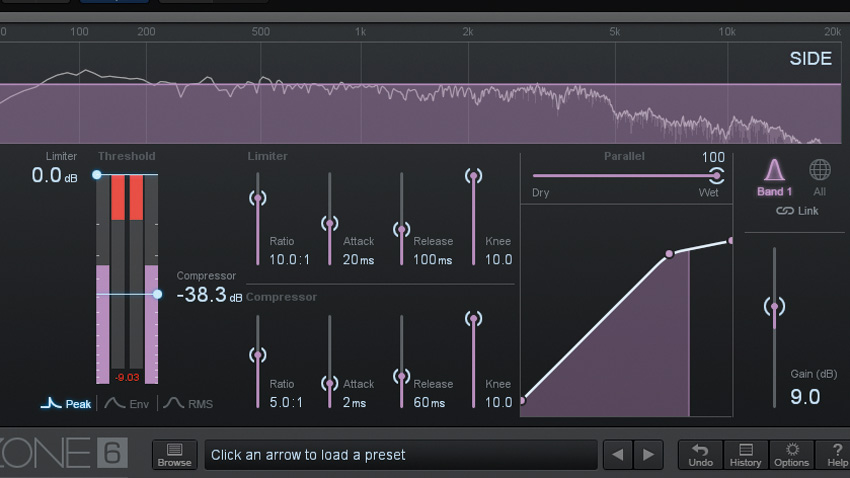
Step 6: Put Ozone Dynamics into M/S mode, then hit the Side button on the left. Now, set the Ratio to 5:1 and Attack to around 2ms before pulling the Threshold down until you get around 9dB of gain reduction. Finally, applying makeup gain will bring the overall loudness back to the right level - we've gone for 9dB to compensate.
Get schooled in a universe of compression - over 14 pages and in 17 videos - with issue 222 of Computer Music. Includes FREE VST/AU effects rack plugin, FX TimeTrip sample pack and more!
Computer Music magazine is the world’s best selling publication dedicated solely to making great music with your Mac or PC computer. Each issue it brings its lucky readers the best in cutting-edge tutorials, need-to-know, expert software reviews and even all the tools you actually need to make great music today, courtesy of our legendary CM Plugin Suite.


