How to build a classic '90s rave stab in Kontakt
Retro sounds with Native Instruments' uber-sampler
In this walkthrough, we're going to cook up a punchy minor chord hit inspired by the 'Landlord' stab - as it's known among hardcore rave nerds - and the one heard in Inner City's 1989 chart smasher, Good Life.
This is an easy-to-follow tutorial with no complicated synth programming wizardry - just good old-fashioned sampling. We're going to use some of the Kontakt factory library sounds to create a sort of sonic burger, piling on tasty yet complementary layers to create something greater than the sum of its parts, before topping it all off with a bit of relish.
There are quite a few of these classic old-school stab sounds, and most of them can be found lurking in various sample packs. They can bring a recognisable quality to a composition, and a good stab sound can form the focal centre point of any track; but once you've learned how to make your own, you can tailor them to a specific purpose depending on what sounds you use, and the chords you play to make them.
Step 1: We're going to be using multiple instances of Kontakt, each playing a C minor chord with different tonal variations, ending up with a retro, vinyl-sampled style. If you don't have Kontakt, don't worry, as you can use any sampler or sample library for this tutorial - it's all about layering complementary sounds together to create your own vibe!
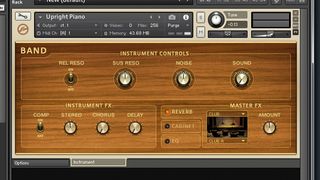
Step 2: Launch Kontakt and load Band>Acoustic Pianos>Upright Piano from the factory library. Program or play in a C minor chord (C-Eb-G) at C2 with another lower C note at C1. Shoot for a length of around 1 second, (two beats at 120bpm). Add brightness to this channel by boosting with an EQ at around 8kHz.
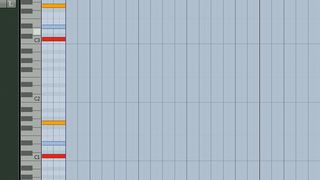
Step 3: The next layer is an electric piano sound with a pronounced midrange. In another Kontakt instance, browse to Band>Electric Pianos>Mark 1 Suitcase. Record two simultaneous C minor chords - one starting at C3 and another at C1. High-pass at 300Hz to make the sound less boxy, and boost with EQ at 10kHz to brighten it up.
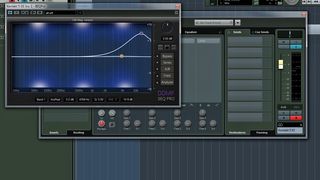
Step 4: For the third layer, let's go for something with a bright transient - a harpsichord is perfect and will add plenty of character. In a third Kontakt instance, choose Orchestral>Keyboard>Harpsichord. We'll use another C minor chord here at C3, with a single C1 bass note. Boost with EQ at around 13kHz to brighten up the top end again.
Get the MusicRadar Newsletter
Want all the hottest music and gear news, reviews, deals, features and more, direct to your inbox? Sign up here.
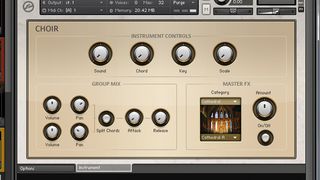
Step 5: For the fourth layer, we need a vocal sound - we're going to use a choir patch. Load in Choir>Choir>Choir (A) for an "Aah" sound. Record two C minor chords - starting at C3 and C4 - and add a bass note at C2. Turn off the reverb in the master FX, and bring the Release dial down to 0. You can add some air to the choir with a slight EQ boost at 9kHz.
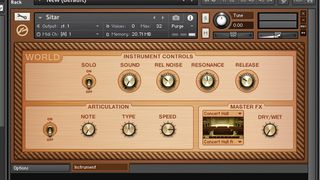
Step 6: For the final layer, something more unusual: a sitar! Choose World>Strings>Sitar. Set Dry/Wet to 0 to eliminate the reverb, and copy the MIDI notes from the fourth layer. That's all the layers created - they each sound pretty different, and that's going to help them stack up into what will be perceived by the listener as one big, phat, unique sound.
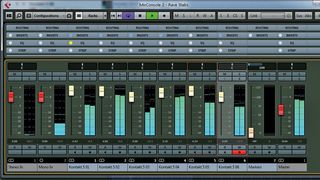
Step 7: Let's mix the volume levels of each layer. You can do this to preference until you think it sounds pleasing enough to your ear. Now bounce the master channel of your DAW with all the sounds playing together at once. This rendered file will be the backbone of your stab.
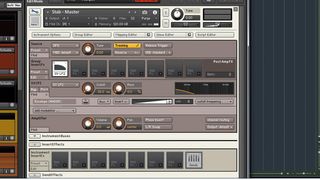
Step 8: Mute all the other instances of Kontakt and create a new one, then go to Files and browse to the stab sound we just exported, bringing the whole thing back into the new Kontakt. Record your monophonic, one-finger stab melody and click the spanner in Kontakt to open the Edit pages.
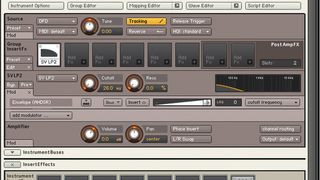
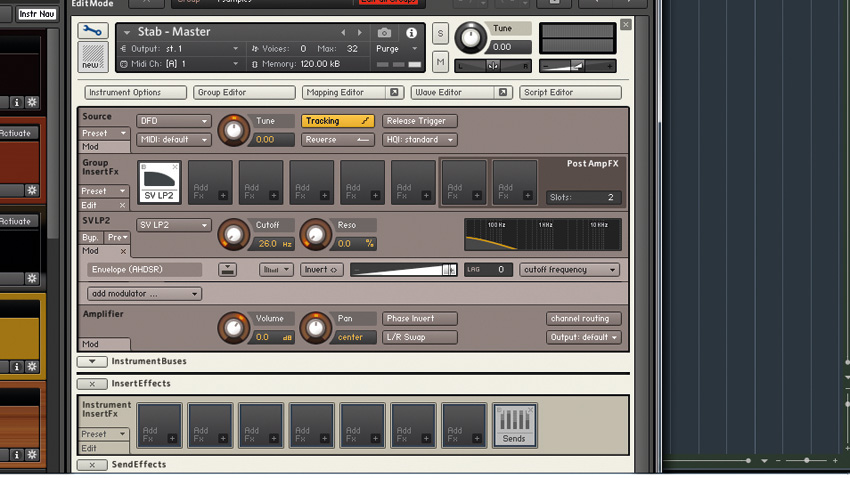
Step 9: Let's add a low-pass filter with an envelope to shape our patch. In group insert FX, add in a SVLP2 low-pass filter and bring its Cutoff knob all the way down to 26Hz. Now right-click the Cutoff knob and go to Envelopes>AHDSR to add an envelope to the filter.

Step 10: Scroll down to the added cutoff modulation envelope and set its Attack time to 0.00ms and the Decay time to around 540ms. You can also edit the Sustain level to preference - the lower the level, the shorter and snappier your stab will be. Now to put some sonic icing on the cake using slick effects.
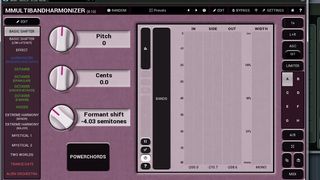
Step 11: Here, we've got MeldaProduction's MMultibandHarmonizer on Kontakt's instrument channel. Click Edit, and change the mode to Vocoder - High Quality. Set the Sharpness to -25% and move the Formant Shift to -4 semitones for a thickening effect.
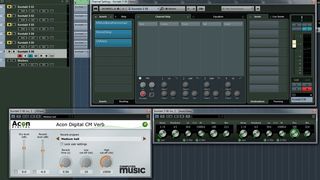
Step 12: For the final touches, we need a subtle delay to make our pattern less static. We're just using the standard Cubase Delay, tempo-synced with a Delay time of 1/8 and a very low Feedback. We're also adding Acon Digital's CM Verb with a short reverb time to give the sound some space. That's your old-school stab finished!
Computer Music magazine is the world’s best selling publication dedicated solely to making great music with your Mac or PC computer. Each issue it brings its lucky readers the best in cutting-edge tutorials, need-to-know, expert software reviews and even all the tools you actually need to make great music today, courtesy of our legendary CM Plugin Suite.


