How Kansas's Carry On Wayward Son went 8-bit

The challenge
Last week, MusicRadar asked you to pick a theme tune for Games Week - a song that our friend The Disco King could cover and turn into a power-pop chiptune classic!
After browsing your suggestions, the King decided to tackle Carry On Wayward Son by Kansas, a 1976 prog rock epic that presented our retro-loving monarch with quite a challenge.
We think we can confidently say that he rose to it, though: now read the inside story of how The Disco King gave Carry On Wayward Son an 8-bit makeover.
NEXT: setting up the gear

Setting up
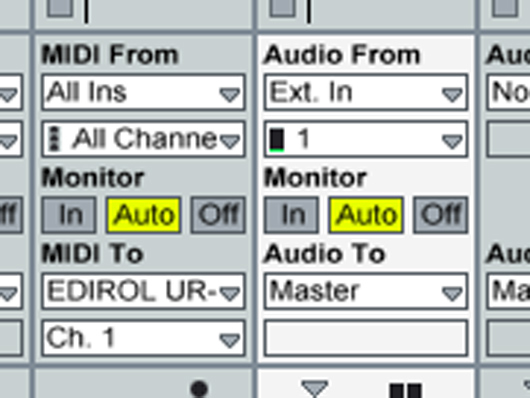
Step 1: “I start by getting together and connecting up all the gear I will be using. I usually use a mixture of authentic hardware and software emulations. I do all of my MIDI programming and audio recording within Ableton Live. For this track I will be focussing on the sounds of the Commodore 64 and the NES/Game Boy.”
Beginning the bass
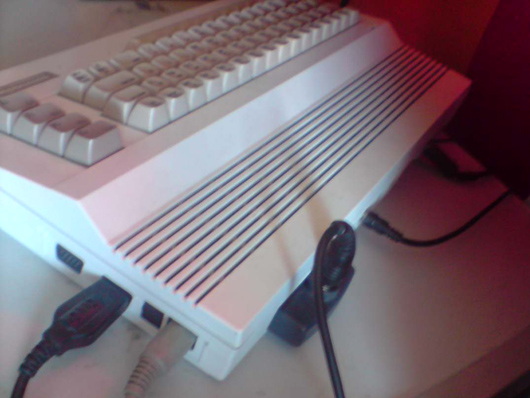
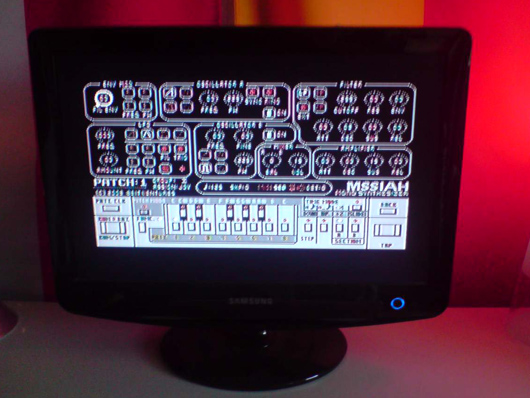
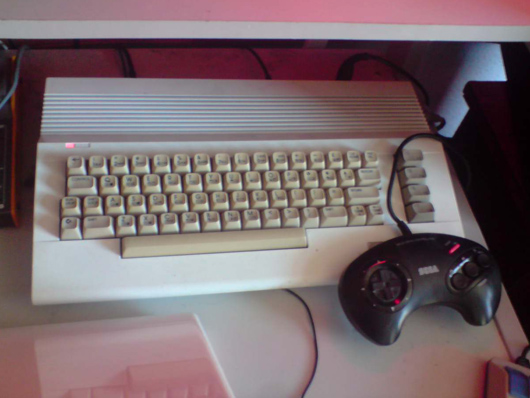
Step 2: “I decide to start with the bass first, so turn to my Commodore 64C and its beautiful SID 8580 chip. I've painted mine white to match my MacBook. It's important to make your hardware look good so that people are impressed when you take photos for step-by-step guides. The Mega Drive pad is used to control parameters on the software and is often more accurate than the mouse."
Drums
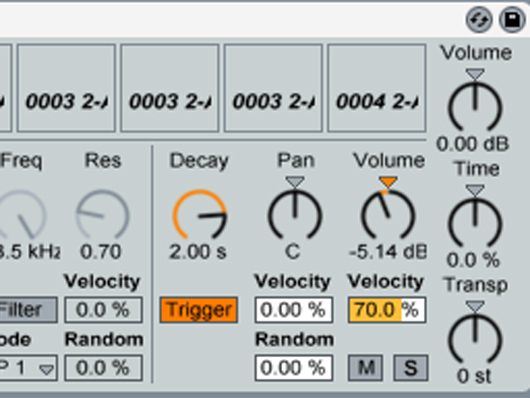
Step 7: “For the drums I will be using the C64 again. I use MSSIAH again but instead of running a MIDI pattern through directly, I tweak the sounds in the Drummer program then sample them into an Ableton Live Impulse module. I'm careful not to mess with them too much once they are in the software apart from some slight volume balancing and some panning to give the track stereo width.”
Vocal
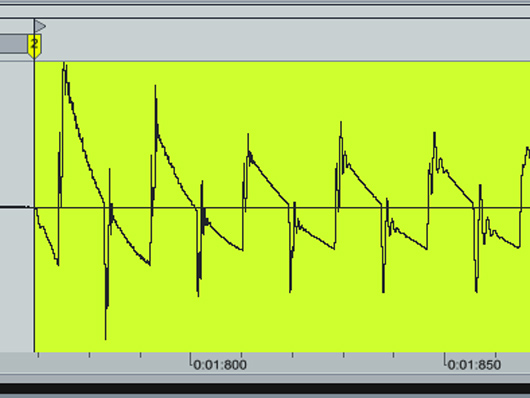
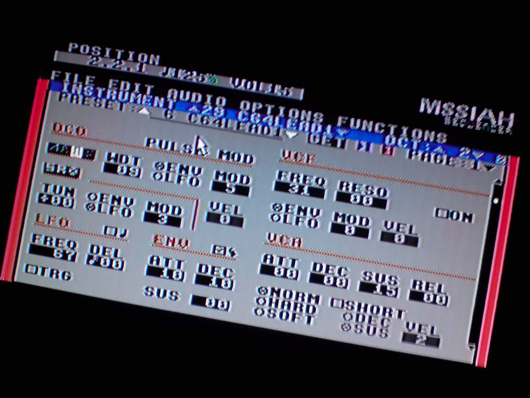
Step 8: “Now that I have the basic rhythm down for the whole track I add in the vocal line. After some experiments I decide to go back to the C64 for a classic lead sound. I tweak the sound in the MSSIAH sequencer software and record it in the same way as the bass. The sound has a glide to it which I can play with to give some expression to the tune. At this point I also add in the piano part using a NES triangle wave from the 2A03 chip in Plogue Chipsounds.”

Guitars
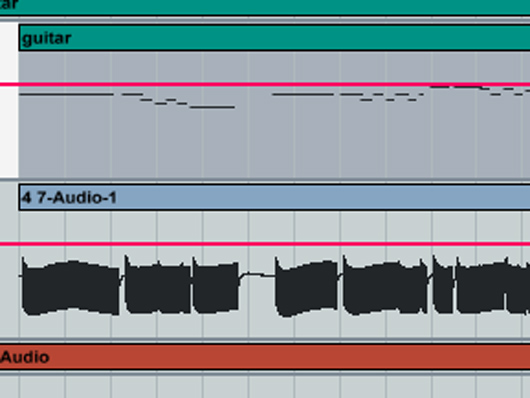
Step 9: “Next we need some powerful guitars to put some punch in the track. For this I use Magical 8bit Plug to give me a classic NES pulse wave. A technique I often use is to have two instances panned left and right, one an octave above the other, so that's what I've done here. When programming MIDI for 8-bit sounds, subtle things can make a big difference so don't be afraid to add in lots of ornaments and pitch bend to the notes. These are classic chiptune techniques which can really improve your tracks.”
Percussion
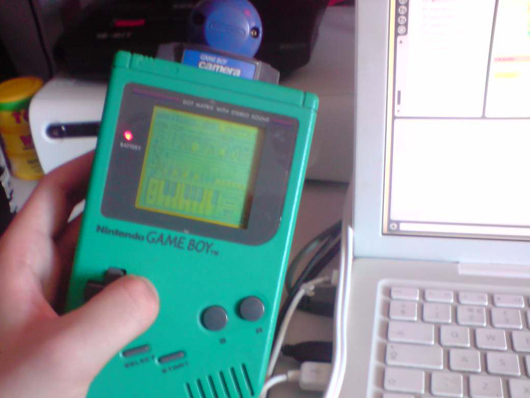
Step 10: “The track is beginning to come together but is lacking rhythmically so I decide to add some percussion and cymbal hits from my Game Boy. I use the simple but effective DJ software hidden in the Game Boy Camera to generate some classic lo-fi noise waveforms. These are again sampled and put into a Live Impulse module and added to the existing drum track.”
Solos
Step 11: “I've saved the best until last and now it's time for some face melting Commodore solos! This is the sort of place you can really go to town on all of the chiptune programming techniques. Plenty of pitch bend and fast arpeggios sound great when fed into the SID chip. Lazy note programming is the cause of many a bad chiptune, especially cover versions so a lot of time is spent getting this right. Recording is done in the same way as before.”
Finishing off
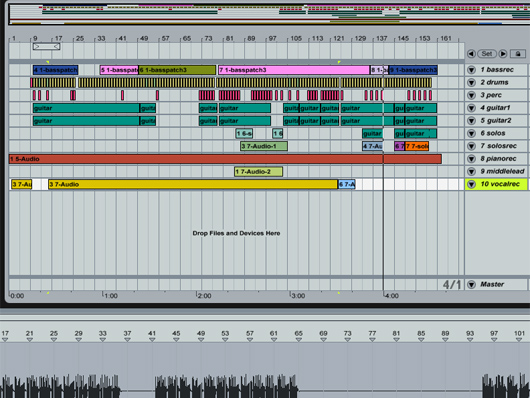
Step 12: "The track is pretty much done. I've used no plug-in effects, no reverb, no delay etc. Although the track could not technically be created on any one console, I like to keep it raw and authentic sounding. I just add a bit of compression/limiting to the master channel before exporting and we're done!"
The Disco King - Carry On Wayward Son
Follow The Disco King on Twitter and Facebook
Liked this? Now read: The ultimate chiptune producers’ gear guide
Connect with MusicRadar: via Twitter, Facebook and YouTube
Get MusicRadar straight to your inbox: Sign up for the free weekly newsletter
