Get the sound of Soul II Soul's Back To Life
Discover the Jazzie sound

Intro
Soul II Soul's Back To Life (taken from the album Club Classics Volume 1) was a huge hit in 1989, staying at Number 1 in the UK singles chart for four weeks.
Jazzie B's London-based project nailed a fresh and uniquely British Electronic Soul sound. The basic formula seems simple enough: layering sampled and tweaked drum and percussion breaks from classic Funk records – in this case, Graham Central Station'sThe Jam– along with piano sounds (perhaps from the Korg M1, which was new at the time); drums from the Roland TR-series drum machines (the 909 or 808); and sine wave bass, which can be as simple as a detuned and sampled 808 or 909 kick, or just a sampled wave from a synth. Let's get started.
Time for a break
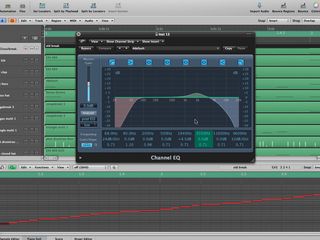
Look for an old sounding drum break in your breaks collection and, while listening to the original track, try and copy the placement of the kick snare and hats.
Having an old break is central to the groove of this track working. Once you have the break in place, add a pitchshifter if necessary so that the break sits nicely in the mid-range of the track. Use Logic’s ‘convert regions to new sampler track’ to cut any new breaks up that you fancy trying out.
This will create an EXS instrument and allow you to have MIDI control over each transient within the break. Here we’ve also tightened up the break using a 16B quantise.
Kick it
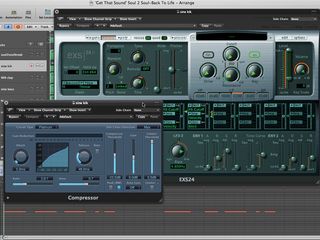
Load up an instance of Logic’s EXS and use the default sine wave as a starting point to make your kick.
Alternatively, if you don’t use Logic, use a sine wave sampled into your DAW’s sampler, or use a soft synth set to a single sine wave. Then add a punchy envelope setting with quick decay/release short sustain and snappy attack. Listen carefully to the original and try tuning the pitch of the kick to it. it’s very important to get the pitch of your drums close to the original to get the right vibe.
We’ve detuned the sine slightly and used a 12dB filter. We’ve also added a compressor to even out the kick and help it cut through the track so it can be heard on smaller speakers. Use a low ratio with fast attack and slow release. Compensate for any gain drop caused by the compressor circuit with the gain slider.
The clap
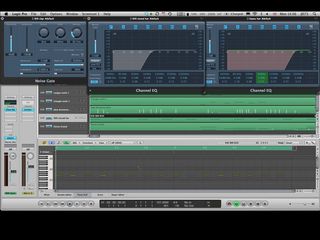
Next up we’ve added a TR-909 clap to the beat on the 2 and 4 beats of each bar. We’ve also detuned it and switched in EXS’ ‘phat’ mode to thicken the sound. Use a gate on the clap to get it to snap a little more if necessary.
Also, add a live sounding closed hat with a short reverb, pan it to the right and roll out as much bass as possible on a high pass filter so that the hat sits nicely in the top end of the beat. Thicken up the clap with a punchy-sounding snare from your library, remembering to reference theoriginal tune so you get the right type, something with plenty of punch and highs.
Finally, add a TR-909 closed hat and pan to the left as per the original: it should fall on every 8th note in the bar and helps balance the lighter hat on the right.
Bassline
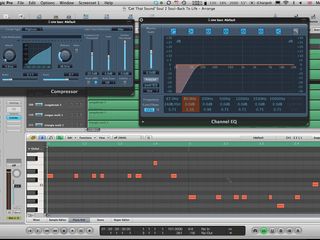
For the bassline, use a sine wave with a longish release – again the default EXS preset is a great place to start.
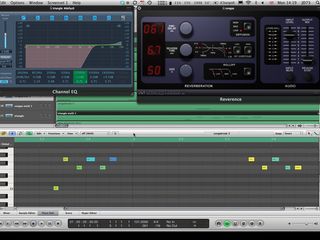
Add some drive so that the sine cuts through nicely above the kick, and listen carefully to the original to get the note pitches and placement. Once you’ve nailed it, compress the sound to even out the loudness and allow it to cut through. We’ve also rolled out some bass below 67Hz so the kick slots under the bass.
Congas
Now add some congas and a triangle by listening to the originaland trying to copy the parts. Try to find a place in the original where just the beat is playing – near the beginning is a good place to look.
Here we’ve added a low conga part and a separate high conga part so we can control the levels separately. We’ve sent the two separate parts to Buss 1 and placed a short reverb on the buss so it will affect the two parts as one. Use predelay to enable the sound to cut through, yet blend with the rest of the parts. Compress to taste. For the triangle part, again reference the original for the correct part and to get the pitch spot-on. Once you have it down, roll out as much bass as you can and add some extreme top to bring out the sparkle.
Add the piano
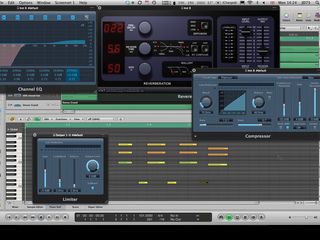
The final part to add is the piano. Here we’re using Logic’s ‘stereogrand’ preset with some light compression and reverb, plus some low cut and high boost.
As the part in the original is constantly evolving, just copy a small section from the chorus (as we’ve done here). Have a look at the screenshot to get the notes and their placement in the loop and add a limiter on your main DAW stereo output to boost the overall volume.

Future Music is the number one magazine for today's producers. Packed with technique and technology we'll help you make great new music. All-access artist interviews, in-depth gear reviews, essential production tutorials and much more. Every marvellous monthly edition features reliable reviews of the latest and greatest hardware and software technology and techniques, unparalleled advice, in-depth interviews, sensational free samples and so much more to improve the experience and outcome of your music-making.
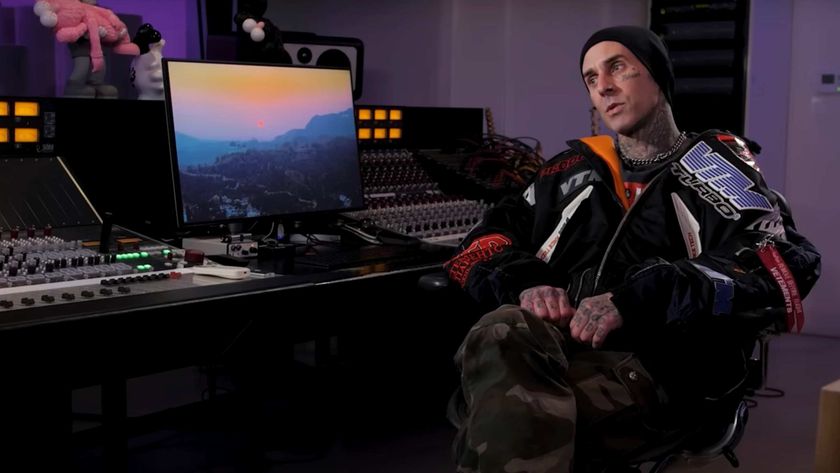
"If I wasn't recording albums every month, multiple albums, and I wasn't playing on everyone's songs, I wouldn't need any of this”: Travis Barker reveals his production tricks and gear in a new studio tour
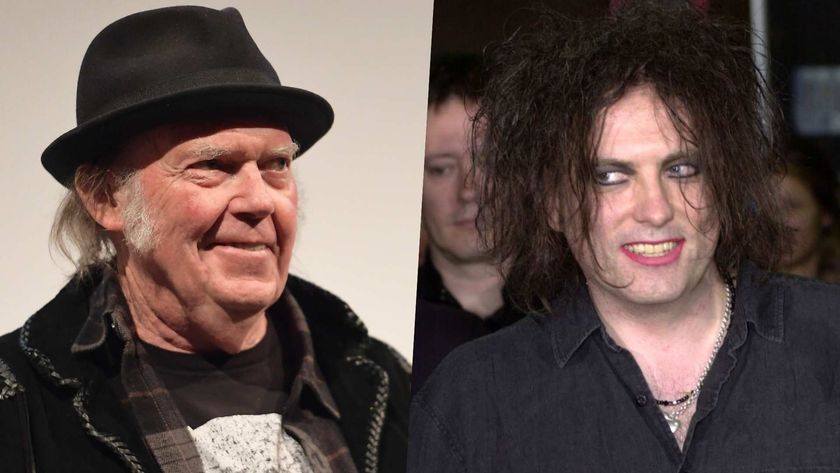
“My management and agent have always tried to cover my back on the road”: Neil Young just axed premium gig tickets following advice from The Cure’s Robert Smith

"If I wasn't recording albums every month, multiple albums, and I wasn't playing on everyone's songs, I wouldn't need any of this”: Travis Barker reveals his production tricks and gear in a new studio tour

“My management and agent have always tried to cover my back on the road”: Neil Young just axed premium gig tickets following advice from The Cure’s Robert Smith
