DJ Fresh: how I made the drums for Louder

Freshly squeezed
DJ Fresh might be a new name to many, but he’s actually been in the game for a very long time. Cutting his teeth on the ‘90s drum ’n’ bass scene, Fresh (real name Dan Stein) gained notoriety as part of the ground-breaking Bad Company.
After setting up the highly regarded Breakbeat Kaoss label with Adam F, and embarking on a string of solo projects that saw him working with artists ranging from the Pet Shop Boys to Pendulum, it was pretty much only a matter of time before he found his own chart success. That day came in August 2010, when he made his first impact on the UK charts with the sprightly, electro-infused DnB track Gold Dust.
One luxurious vocal dubstep track later, DJ Fresh got a richly deserved number one with Louder - a track set to be ringing out right through the summer and beyond.
In this tutorial, he explains how he created the song’s kick-ass drums.
NEXT: Creating the drums for Louder
Tuning
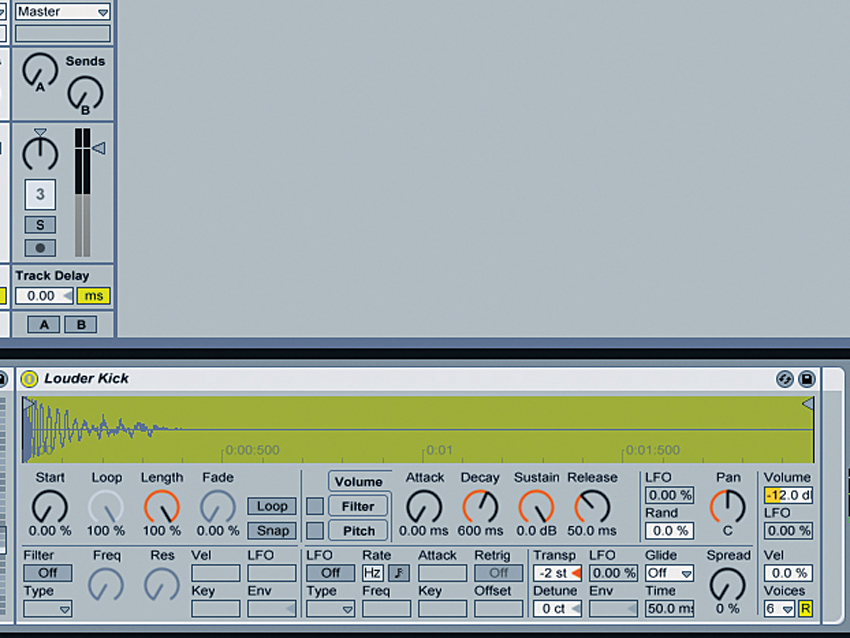
Step 3: “You should tune the kick drum depending on the key of the track and the type of mix. For example, I’m working on a track in B minor at the moment, where the bass is higher pitched, so I’ve tuned the kick drum to sit fairly low with a peak around 70-100Hz, effectively making the kick the bass in the track as well.”
More kick tweaking
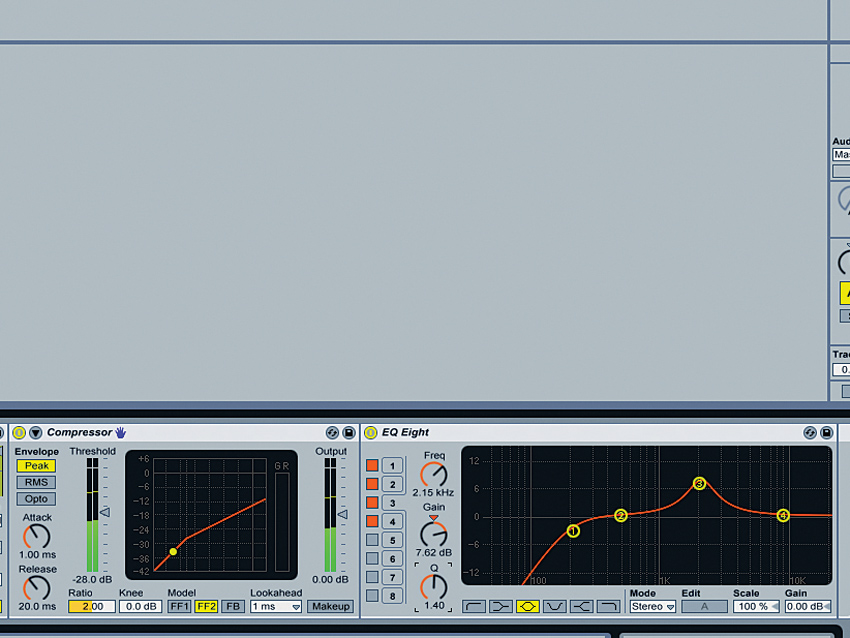
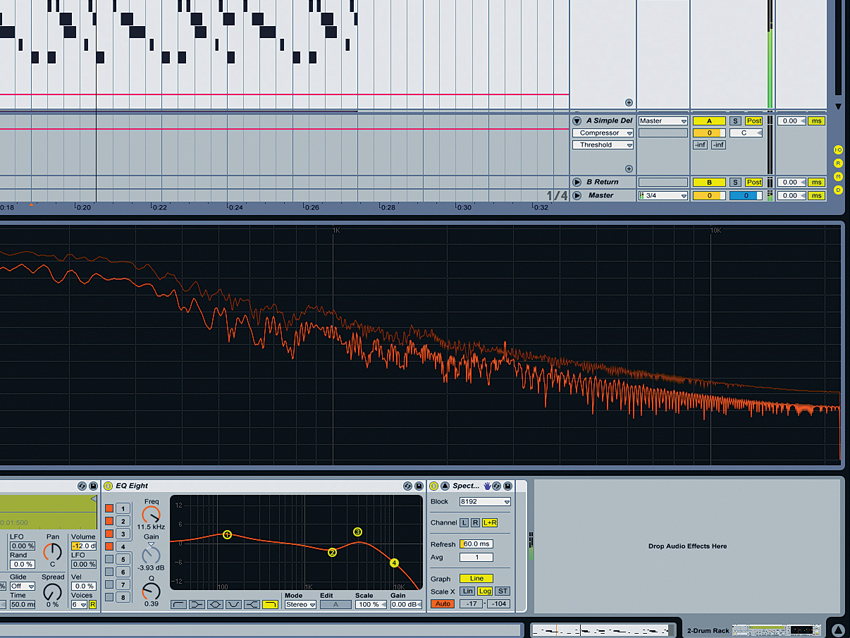
Step 4: “Louder has a heavy sub in a relatively low key (F minor), so I tuned the kick drum higher so it sits over the bass. It peaks at about 120Hz with some lower energy, and has a gentle slope in frequency presence from 110Hz to about 4kHz, where I boosted it to give it some click.”
Snares
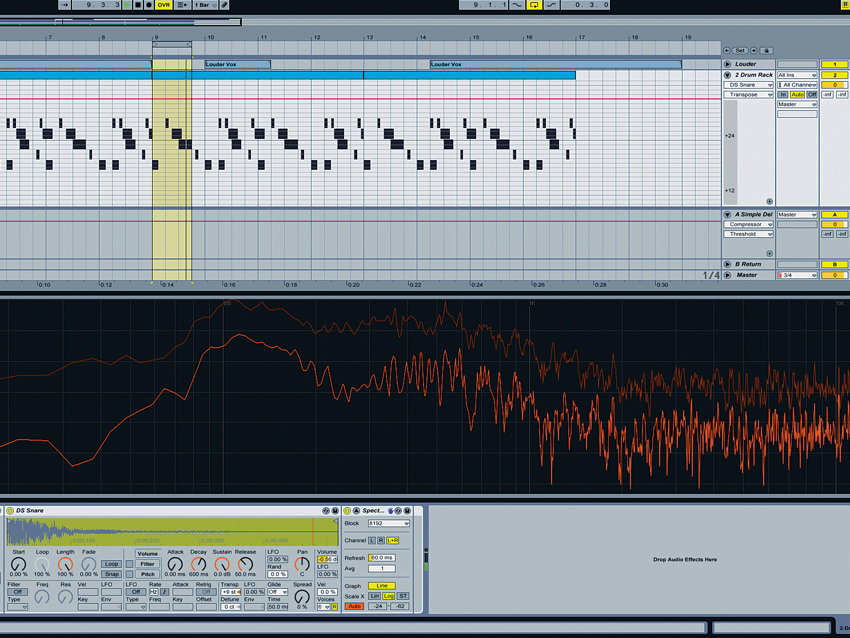
Step 6: “Finally, the snares. I tuned their pitch until there was a peak at about 180Hz and they produced a white noise-ish curve in an analyser from about 700Hz up to 12kHz, above which I cut everything. I used a bit of transient modulation with Oxford Transient Modulator to add some punch and raise the level of the transient compared to the rest of the signal.”
Liked this? Now read: How to sound like a pro artist in your DAW
Connect with MusicRadar: via Twitter, Facebook and YouTube
Computer Music magazine is the world’s best selling publication dedicated solely to making great music with your Mac or PC computer. Each issue it brings its lucky readers the best in cutting-edge tutorials, need-to-know, expert software reviews and even all the tools you actually need to make great music today, courtesy of our legendary CM Plugin Suite.
