Creating a great bass guitar sound
Master your four-string tones!
Starting out
Here we look at how you can take your cleaned-up bass guitar recordings and use amp emulation software to craft great tones.
Software enables us to record, edit, tune, shape and manipulate guitar sounds quickly and effectively, and that includes bass guitar. Today’s amplifier-modelling software emulates such classic amp rigs as Ampeg’s SVT (IK Multimedia Ampeg SVX) and more boutique offerings like Mark Bass (Overloud’s Mark Studio 2). These often include bass-specific effects pedals as well as cabinets, both contributing to the overall sound.
You learn more about recording and mixing bass guitars in Computer Music issue 192, on sale now.
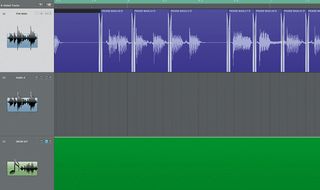
Step 1: Let’s start with a DI bass sound. We’ve done some editing on the performance as the timing is slightly out in places. We’ve also gone for the picked sound as our starting point because we like the brighter attack. The sound is thinner than we’d like, though, so we’ll be looking to improve that.
Listen: DI bass sound
Applying an amp emulation
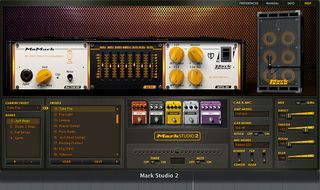
Step 2: Next, load up an amp sim plugin (Mark Studio 2, in our case). This simple patch includes a tube preamp and a 6x10" cabinet with a 1" tweeter. The sound instantly becomes bigger, rounder and closer to what we’re after. Much of the sound comes from the miked cabinet, so we’ll try and improve that next.
Listen: Amp sim plugin applied
Mic and cabinet settings
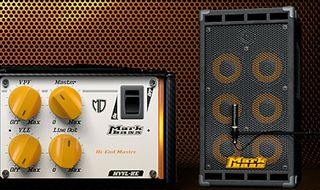
Step 3: Although we like the sound, it’s too big. We can adjust the cabinet in a few ways, starting with mic position Far and cone Border settings. For extra attack, we could also switch to a dynamic mic. We like the sound of the ribbon, though, so we stick with that.
Listen: Mic type and position selected

Compressor and chorus effects
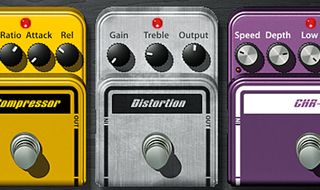
Step 4: Now let’s adjust the sound with our pedal board. The first stop is the compressor. With a fast (lower) Attack and Release, we can add sustain to the sound and emphasise the pick sound. Some Chorus can also fill the sound out, adding subtle richness - a little goes a long way, though, so be careful.
Listen: Compressor and chorus effects
Adding distortion
Step 5: Our amp model is pretty clean, so to dirty up the sound and add some edge, the distortion pedal is our next port of call. Again, care is required with this, so we only add the tiniest amount of Gain and keep the Tone setting well clear of excessive high frequencies.
Listen: Distortion tone
Blending the DI signal
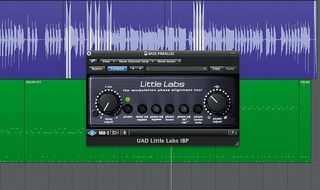
Step 6: Our plugin lets us blend in the original DI signal, and we want to try phase shifting it as well. We copy the audio onto a new track and load up our phase alignment plugin. In the audio example, you can hear how the sound changes as we rotate the phase, and then (from 27 seconds) our final sound.
Listen: Blended DI signal and phase shifting

Computer Music magazine is the world’s best selling publication dedicated solely to making great music with your Mac or PC computer. Each issue it brings its lucky readers the best in cutting-edge tutorials, need-to-know, expert software reviews and even all the tools you actually need to make great music today, courtesy of our legendary CM Plugin Suite.

"If I wasn't recording albums every month, multiple albums, and I wasn't playing on everyone's songs, I wouldn't need any of this”: Travis Barker reveals his production tricks and gear in a new studio tour

“My management and agent have always tried to cover my back on the road”: Neil Young just axed premium gig tickets following advice from The Cure’s Robert Smith

"If I wasn't recording albums every month, multiple albums, and I wasn't playing on everyone's songs, I wouldn't need any of this”: Travis Barker reveals his production tricks and gear in a new studio tour

“My management and agent have always tried to cover my back on the road”: Neil Young just axed premium gig tickets following advice from The Cure’s Robert Smith

