Analogue and digital sound explained
Get your head around the concepts of analogue and digital audio
The basics
Soundwaves are relatively easy to convert between analogue and digital signals. For example, a microphone consists of a capsule that moves in response to incoming soundwaves, generating an electrical signal whose amplitude (a fluctuating voltage) corresponds to the amplitude of the soundwave.
Analogue to digital conversion
In digital audio we represent this electrical signal as a stream of numbers that computers understand. An analogue to digital (AD) converter takes a ‘sample’ of the voltage that’s present at its input and represents that as a specific number; the higher the voltage, the higher the number.
The accuracy of your AD converter has a big impact on the quality of your digital recordings: if you’re buying a new soundcard or AD converter you should examine the stability of their clocks (see Clocking), the quality of their preamps, quantisation error (see Dither) and the total harmonic distortion introduced in the process.
The preamps in a soundcard increase the incoming signal to a level that’s suitable for both the AD converters and the source material, keeping it within an acceptable range of amplitudes (see Headroom). Cheap preamps can introduce noise and colouration to the conversion process.
And back again...
Digital to analogue (DA) converters reverse this process by converting the numbers back to an electrical signal that can be heard through monitors. Once again, the quality of these converters is important: icheaper soundcards tend to be noisy with poor stereo imaging; better ones don't leave their own fingerprint, but simply convert the audio accurately.
It’s widely considered that Apogee soundcards are exceptional, as are Prism. Avid ProTools HD rigs are highly respected too. At the other end of the price range, Presonus’ VSL range produce very good results for the money. As with everything in life, you get what you pay for.
Clocking
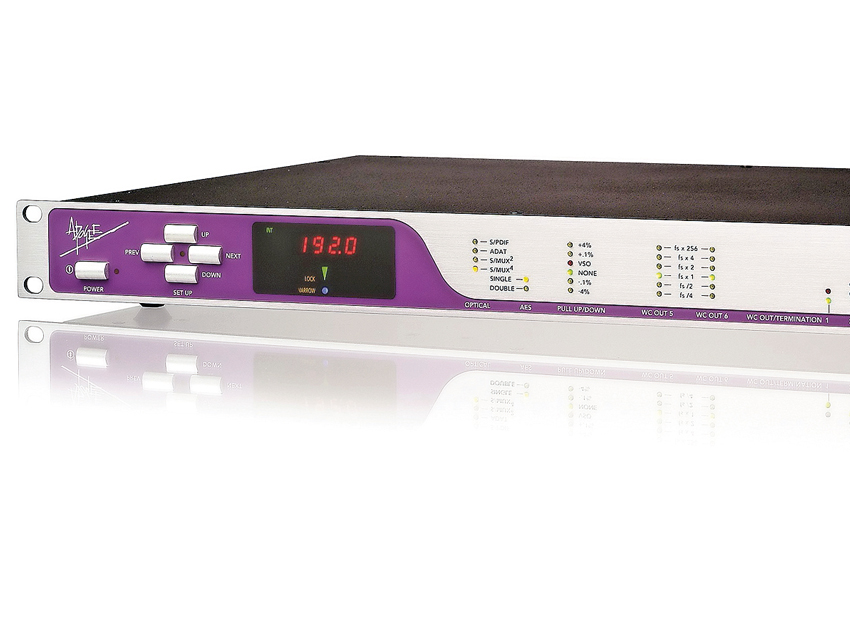
Data is expected to arrive at every component in a digital audio chain at exactly the moment dictated by a clocking signal. If this signal is absent or compromised in some way the result is a ‘clocking error’; either no audio, stuttering, clicking or a piercing degradation to the sound quality.
In the digital studio, every unit’s internal clock will be calibrated to the same sample rate, typically 44.1kHz. But no matter how carefully set up, there will always be a slight difference between units. Even if every unit were perfectly accurate there’s no guarantee that they would be exactly ‘in phase’; an error of less than a millisecond could cause the entire system to fall down.
Careful digital clocking solves this problem; a master device generates an accurate clock signal (typically in S/PDIF or AES3 format) and the slave units synchronise to it. The clocking device sets the ‘pace’ of the data, how much of it there should be and exactly when it should arrive; the slaves respond obediently.
Professional studios use expensive and highly accurate digital clocks to keep their units synchronised. In smaller studios with only one A-D converter in the set-up, it’s best to set this as your master clock and let everything else synchronise to that.
Get In Phase
All audio waves have a positive and a negative side. When a microphone’s capsule is pushed away from the front of the mic by a sound pressure wave, this typically generates a positive voltage to the mixing desk. When the capsule is pulled forward by the soundwave, it produces a corresponding negative voltage. It’s these fluctuations from positive to negative, the opposing phases of a soundwave, that represent the original soundwave.
Phasing, the alignment of these peaks and troughs, is not an issue with one microphone, but what if you have two microphones on the same instrument? Phase misalignment and cancellation become a real headache.
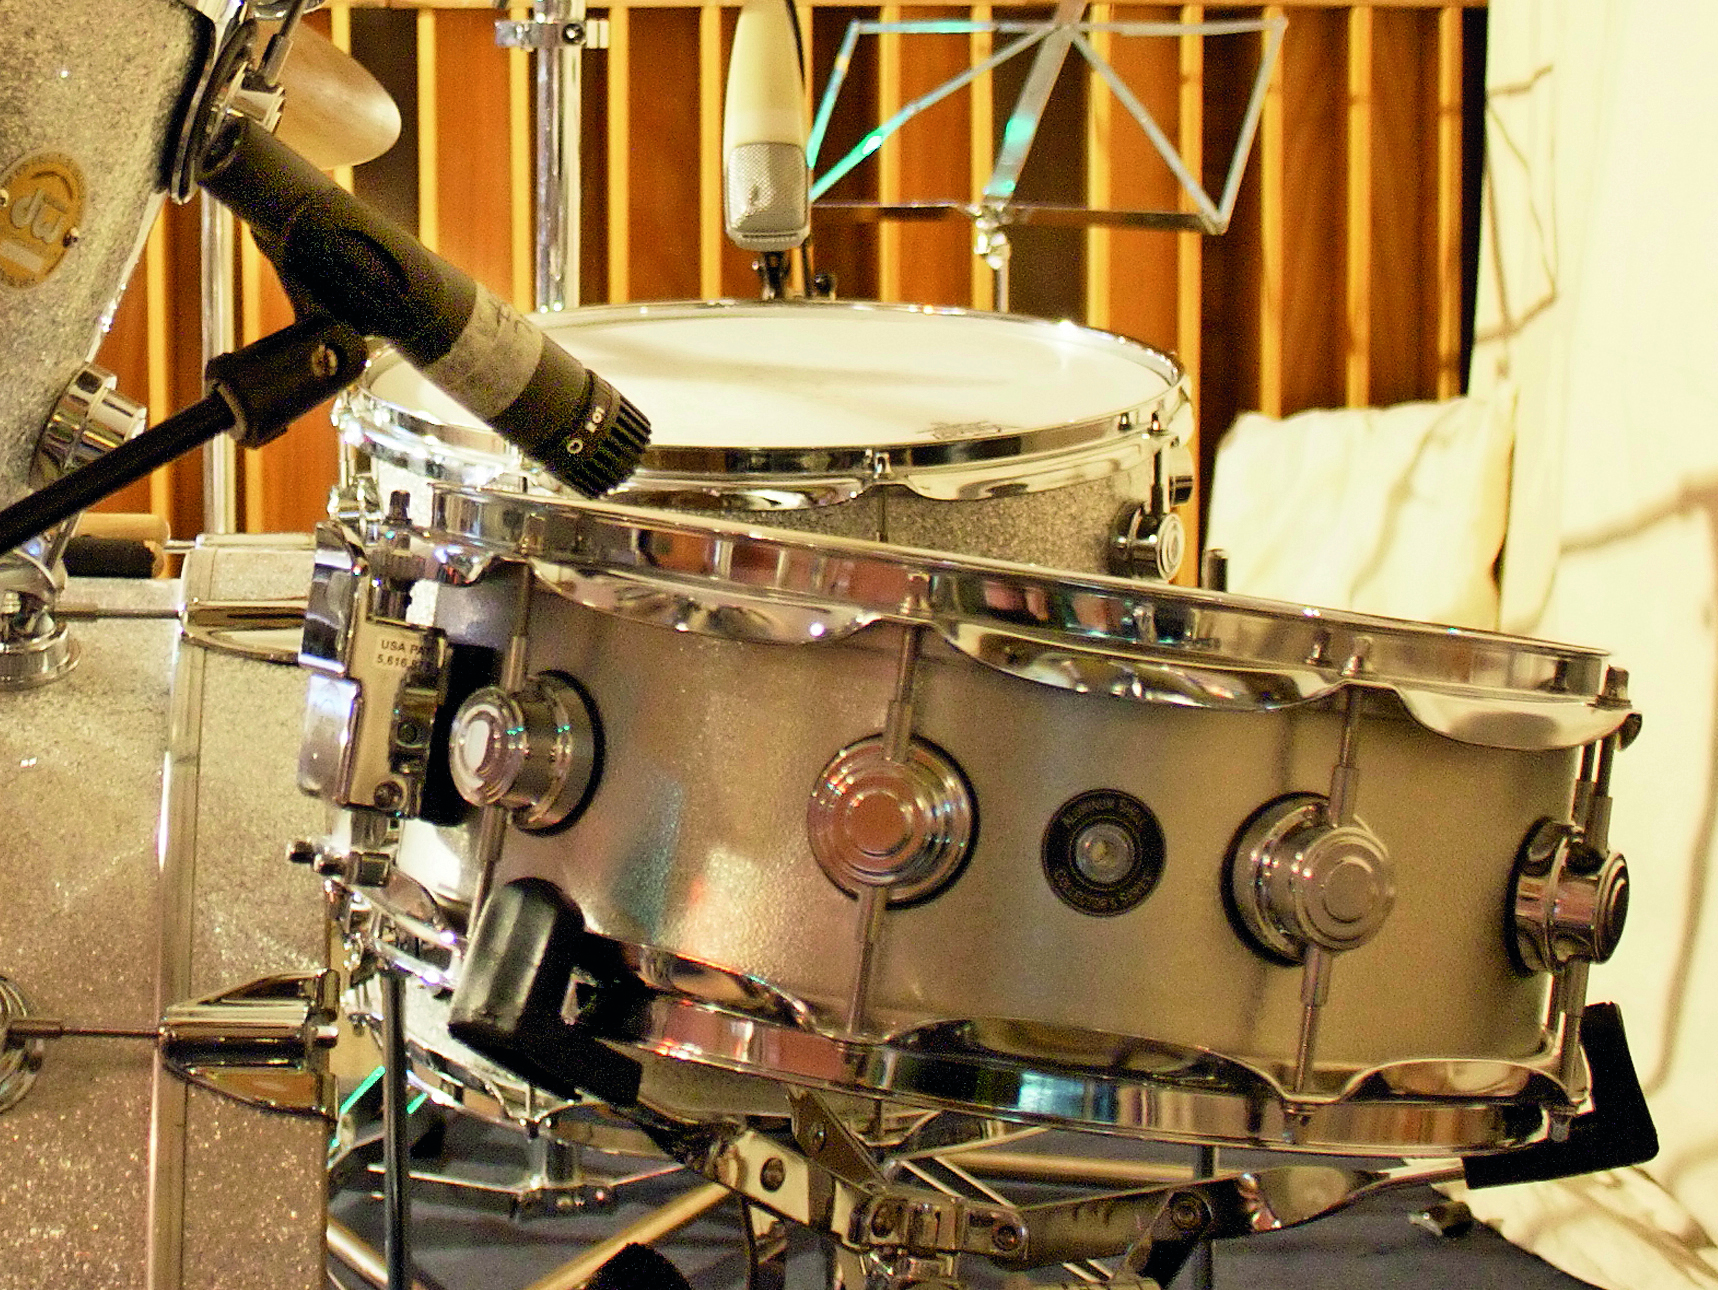
When recording a snare drum, most engineers will use a mic facing the skin of the drum with another underneath to capture the rattling snares. This poses a problem: when the snare skin is struck, the downward pressure will pull the capsule in the top mic and create a negative voltage, but the mic underneath will have its capsule pushed down and create a positive voltage.
In this case, the two mics are said to be 180 degrees out of phase: combine them in a mixing desk and the positive signal from the top will largely cancel out the negative version of the same signal coming from the bottom. The snare will sound weedy, weak and ‘wrong’.
To counteract this, an engineer must ‘invert the phase’ of one of the microphones, reversing its polarity, and thus add to the other mic’s signal where previously it was cancelling it out. Clever!
Next Audio Level
Which sample rate and bit depth should you use for your recordings? In the music world the standard settings are a sample rate of 44.1kHz with a 24-bit word length. This is the same sample rate as for CDs and the bit depth is high enough to capture a huge dynamic range (approximately 144dB). However, engineers with golden ears maintain that there is an advantage to recording at higher sample rates, right up to 192kHz. These ‘super audio’ settings allow us to capture frequencies as high as 96kHz, way higher than the 22kHz theoretical highest on CDs.
Whether this is a real improvement on standard settings is a debate that’s been raging for many years, but if you decide to super-size your sample rate there are a few things to bear in mind. You will be making four times as many samples per second, so audio recorded at 192kHz will occupy four times as much disk space than at 44.1kHz. Can your hard drive actually supply data at this higher rate, especially when running a 32-track master mix? If not, then you need to run a fast solid state drive or a RAID system to keep up.
The load on your CPU will be quadrupled too, presenting four times as many samples for the same audio. Inevitably you’ll need a fast modern computer to cope – an expensive proposition! On balance, our advice is this: it’s more likely that you will improve the quality of your recordings by focusing on microphone techniques, high quality monitoring, better instruments and better recorded performances than increasing your sample rate above 44.1kHz.
Digital Formats
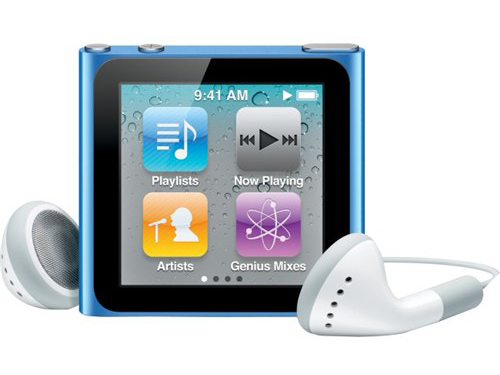
There are two main categories of digital audio file: PCM (Pulse Code Modulation) such as AIFF (Audio Interchange File Format) or WAV (Waveform Audio File Format), and Data Compressed, such as MP3 or FLAC.
With PCM, audio is represented as the raw numbers that the AD converter presents to a recording system, or the numbers the DAW created in its virtual mixer. No further processing is introduced, no further modification to the audio date is made – making these file types ideal for exporting a mix at the highest quality you can.
Data-compressed formats, such as MP3s, reduce the amount of data in the file, making them easy to email or share over devices. This is achieved by either encoding it in a more efficient manner than PCM but retaining the exact amount of detail (known as ‘lossless’), or by throwing away data that the system believes we won't miss (known as ‘lossy’).
Lossless formats such as FLAC and Apple Lossless do not degrade data. They decode to the same stream of numbers as the original PCM data, in much the same way that ‘zipping’ and ‘unzipping’ data gives you an identical file. The amount of data reduction in these formats is relatively small, up to about 50%.
Best practice is to retain precious recordings in PCM or lossless format, and to only use compressed formats when sharing music. Should you need to produce a higher quality file later, you can always return to your source material safe in the knowledge that all the detail is still there.
Dither
When we reduce the word-length or bit depth of an audio signal, such as when converting a 24-bit master to a 16-bit audio file for a CD we lose 8 bits worth of fidelity. This greatly increases the difference between the original audio signal and the resulting data (known as quantisation error) and audio files can sound harsh, reverb tails become ‘grainy’ and there is an increase in the noise floor.
The arises because losing the least significant 8 bits introduces a predictable level of quantisation error. However by adding very low level dither noise, a tiny ‘random’ signal, you remove the problem. The errors become unpredictable, smoothing over the truncation. The result is a marked reduction of distortion and retention of fidelity.
But a word of warning: dither should only be applied once, usually as the last stage in the production of a CD. And dithering for lossy formats is not considered necessary as the act of data compression largely removes the benefit of the process.
Headroom
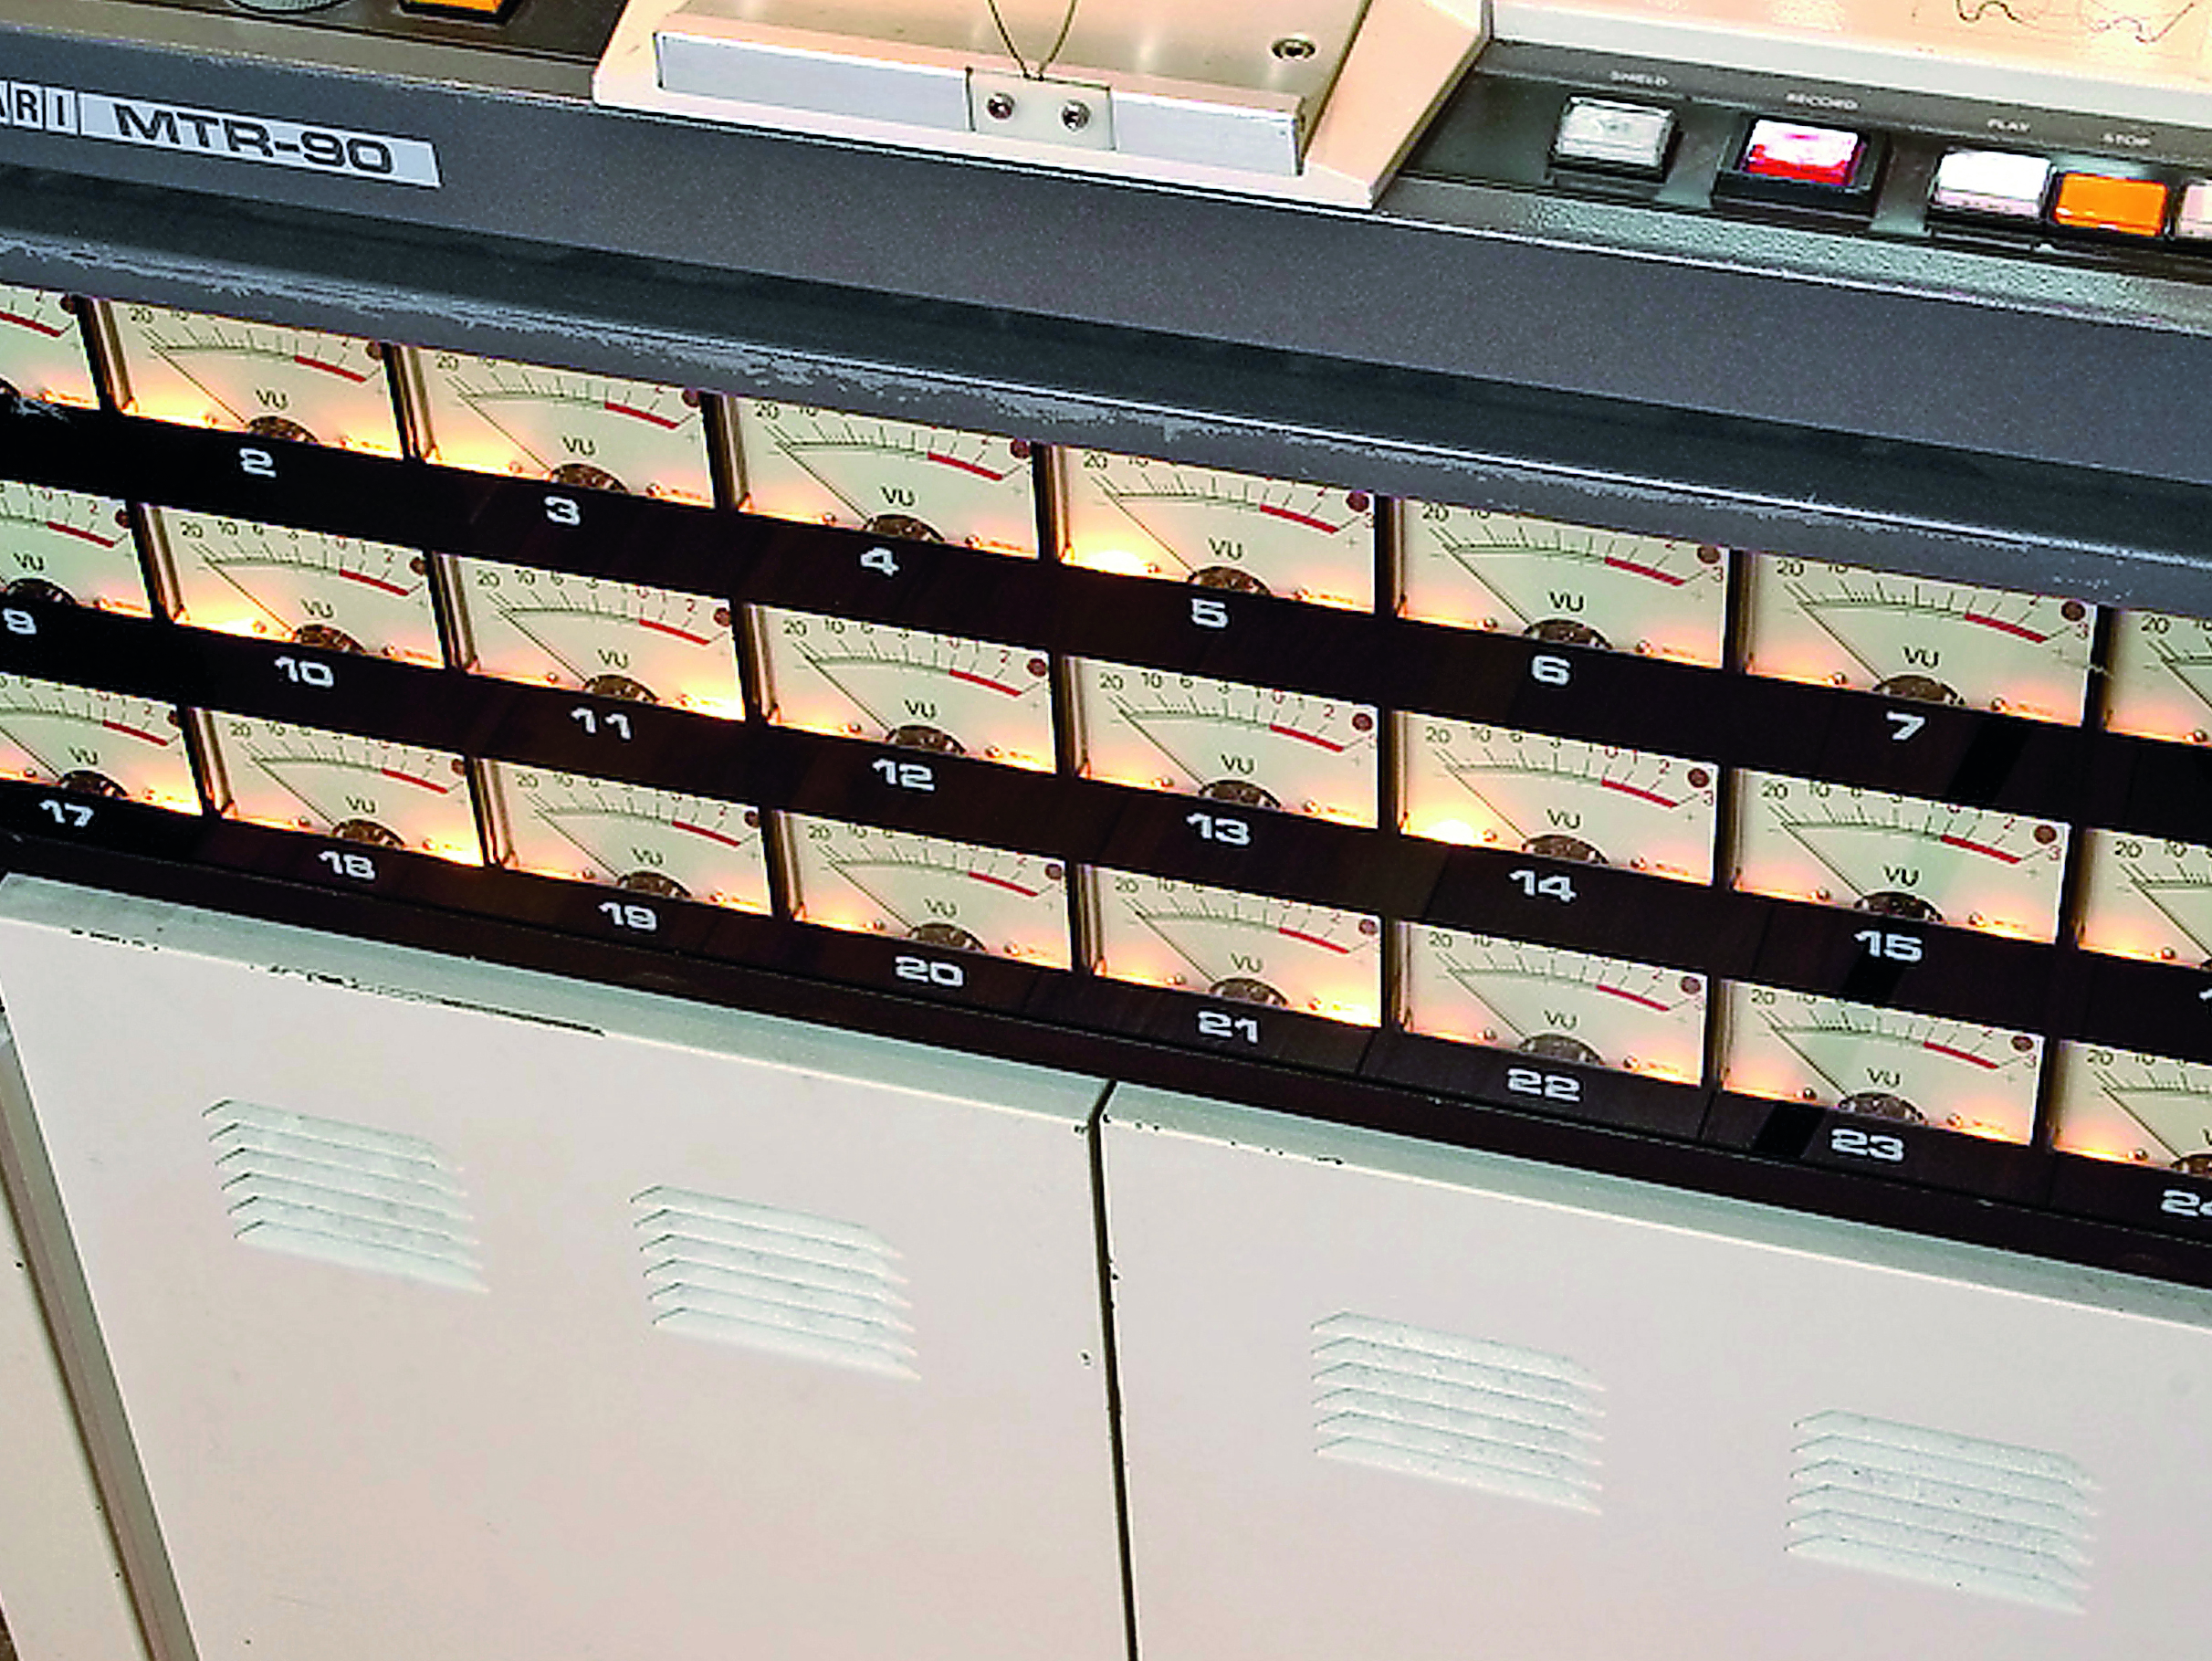
In the days of analogue tape, engineers were trained to record audio at high input levels. This is because analogue tape has a relatively loud ‘noise floor’: background hiss that’s inherent to the medium. The louder the signal onto tape, the lower the hiss becomes relative to the recorded signal. And at high amplitudes an effect called ‘tape saturation’ occurs; a gentle distortion that creates a perceived ‘warmth’ to analogue recordings.
Digital audio is different. The noise floor of a modern domestic digital recording system is very low (around -120dB) so avoiding hiss is easy. But there is an unavoidable maximum level in every system, referred to as 0dB. If you attempt to record a signal that exceeds this maximum, this information can’t be captured by the AD converters and is rounded off as 0dB. This error is known as ‘clipping’ and manifests as an unpleasant digital distortion.
Consequently we need to include plenty of ‘headroom’, the difference between the loudest level in a signal and the maximum level the system can capture. If your vocalist reaches -3dB on your input level meters, your headroom is said to be 3dB, the difference between -3dB and 0dB.
How much headroom should you leave? With 24-bit recording systems, the noise floor is theoretically up to 48dB lower than at 16-bit. Consequently, you can run all of your equipment at lower levels, avoiding the distortion inherent to amplifying weaker signals and thus have a cleaner and clearer signal path. It’s possible to leave headroom of around 18dB and have an extremely high quality recording.
Mastering for MP3
Mastering for digital formats is subtly different than mastering for vinyl or cassette reproduction. Cutting to vinyl, the mastering engineer has the physical considerations of the medium to ponder; how much signal can the medium cope with? Are there special EQing processes to be mindful of, such as Dolby noise reduction?
With digital formats, these issues are minor but with a couple of important exceptions: it’s crucial that you do not exceed 0dB with your audio as this will introduce digital distortion (see Headroom). And exactly how loud do you want the resulting file to be? It’s standard to leave headroom of between 0.5-1dB in your mastered audio file as some older CD players distort at consistently high amplitudes. Also, your metering system might not be 100% accurate – leave a small safety margin.
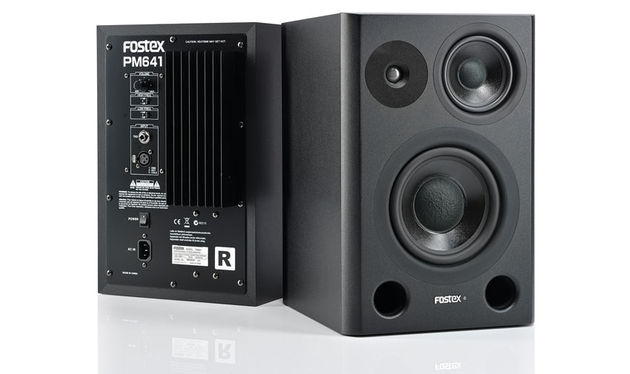
But there’s a more subtle issue to deal with when mastering for lossy formats. As most MP3 and AAC files are originally ripped from CDs and sound just fine for most listeners, there shouldn’t be a necessity to adjust your mastering to cope with the compressed format. But what about the reproduction medium? MP3s are often played on computer speakers: computer speakers are usually small and tinny, so should we enhance our bass frequencies to adjust for this?
Probably not: many computer systems already have a bottom end boost to cope with their physical limitations – adding yet more will leave mixes sounding unpleasantly boomy. The consensus in the mastering world is to master relatively ‘flat’, avoiding big EQ changes for MP3s.
Don't Want Digital?
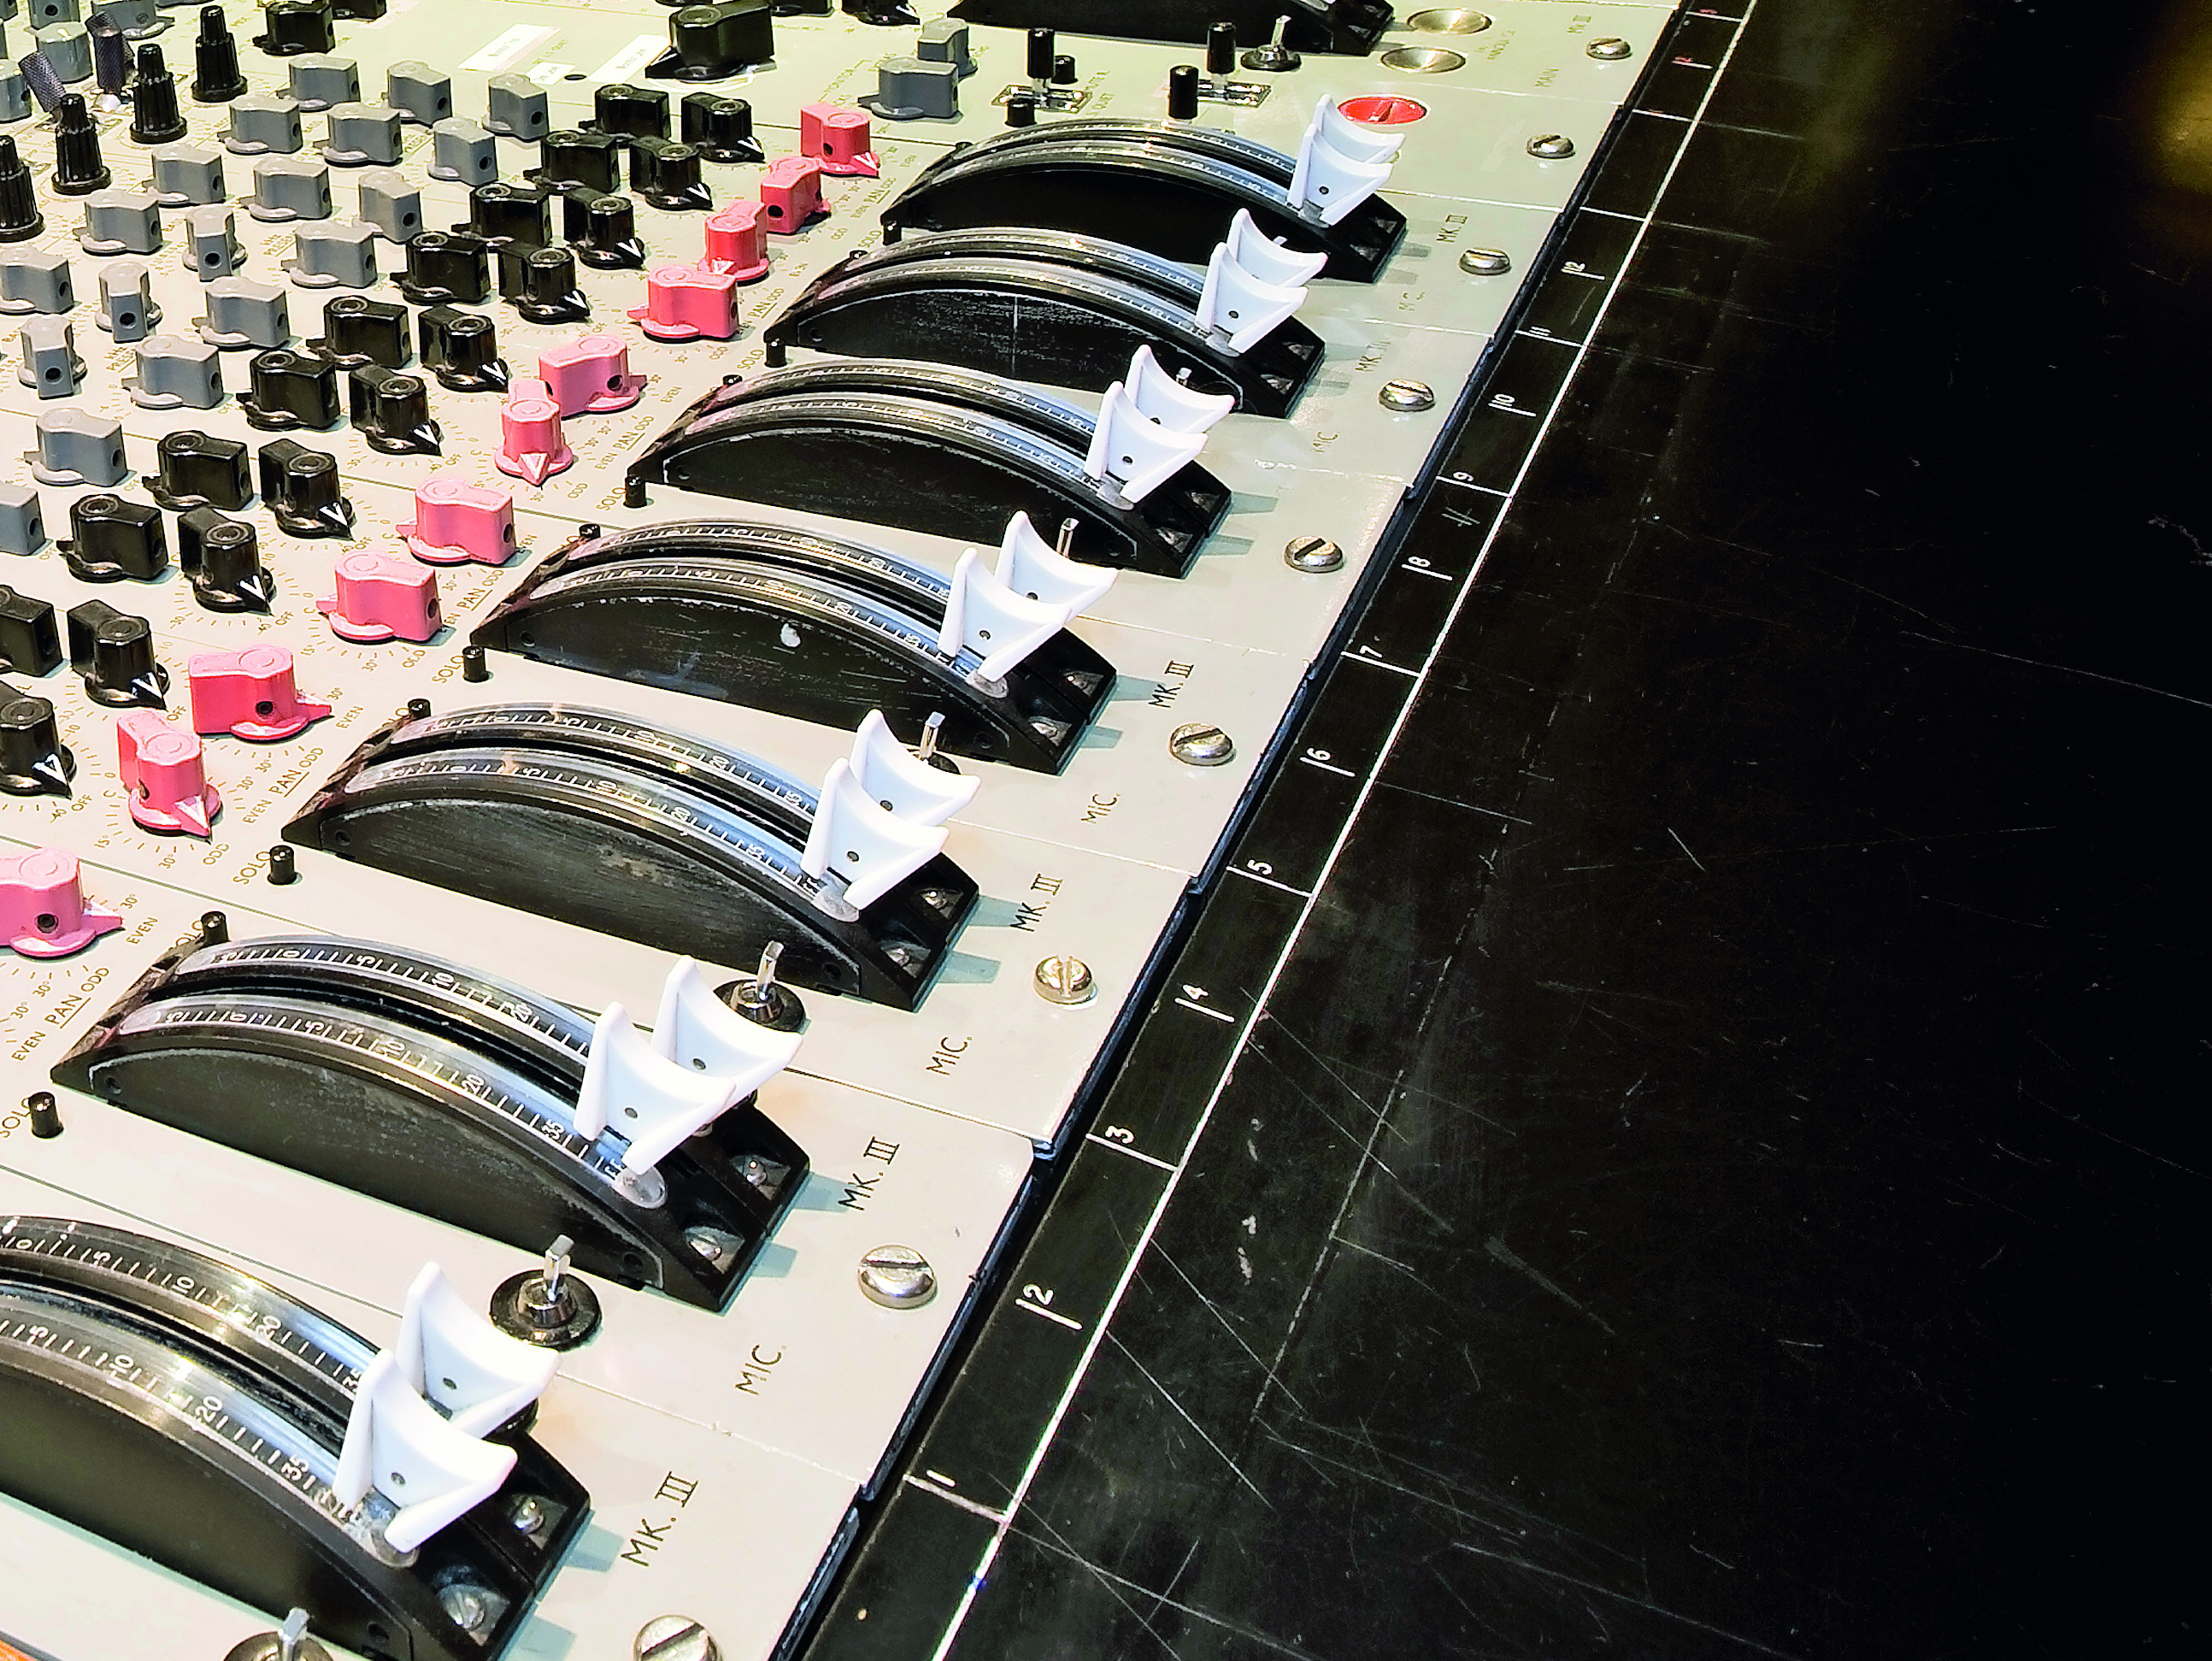
Though it's a myth that analogue systems are inherently higher quality than digital, they tend to have a distinctive sound that may work for you. This colouration consists of subtle distortions introduced by the circuitry. Let your ears be your guide.
With digital equipment you get a good idea of what the unit will do from its specifications. But if you’ve chosen the analogue route you need to be sure you like the sound of the equipment. Tape deck quality can vary enormously, and mixing desks are a world of their own.
Signal levels and gain structure are very important in analogue systems. With every channel open on an analogue desk you are increasing the ‘noise floor’ of a mix. Therefore it’s important that your audio is recorded at a relatively high volume (see Headroom).
In the glory days of analogue studios, an important role of the assistant engineer was to regularly ‘degauss’ the tape heads, removing residual magnetism that the deck acquired over the course of the session. Without this routine, the tape deck would quickly become unusable. So, if you’re intending to run an analogue style studio it’s important that you have a maintenance schedule. Clean your equipment regularly.
Finally, archive your work carefully. Magnetic tape is fragile, so make sure you store it somewhere dry and free from magnetic fields, such as produced by a fridge! Make multiple copies of your work, possibly even onto a digital format for the day disaster strikes.
Future Music is the number one magazine for today's producers. Packed with technique and technology we'll help you make great new music. All-access artist interviews, in-depth gear reviews, essential production tutorials and much more. Every marvellous monthly edition features reliable reviews of the latest and greatest hardware and software technology and techniques, unparalleled advice, in-depth interviews, sensational free samples and so much more to improve the experience and outcome of your music-making.

