A step-by-step guide to recording drums
How to record and mix a full kit setup
Setting-up a great recording
RECORDING WEEK: Here we step out from behind the kit to take a look at setting up a drum recording session.
Part one: setting-up a great recording
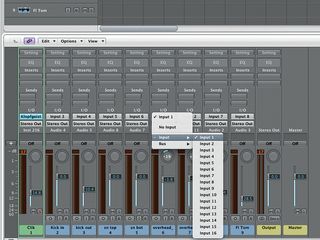
Step 1: Plug the mics into your audio interface. The overheads go to inputs 1 and 2 and will need 48v phantom power (unless you’re using ribbon mics - in which case, don’t touch that switch!) Kick in and out go to inputs 3 and 4, while snare top and bottom go to 5 and 6. The ambient mic (hopefully a condenser, so requiring phantom power) goes into 7, and the floor tom mic into 8.
Recording Week is brought to you in association with Universal Audio.
Test the levels
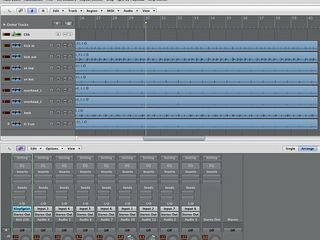
Step 2: Get a drummer to beat the hell out of the kit. They always play louder on the actual takes, so don’t worry about getting too hot a signal - having the highest peaks spike at around -5dB is a good target. There’s something to be gained from clipping, but not on the way into the interface - keep it clean.
Test take
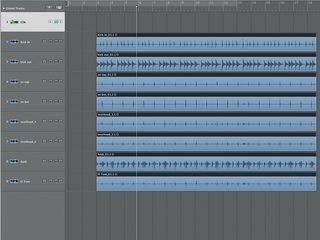
Step 3: Once your levels are sorted, it’s a good idea to run a test take to check for silly mistakes and any uninvited hum, hiss, clicks or crackles. You can also use the test recording to check the phase of the mics and ensure a fully fat sound on playback. Even though the theory of phase is complex, the practice is easy.
Adjusting the kicks
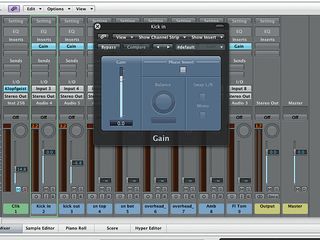
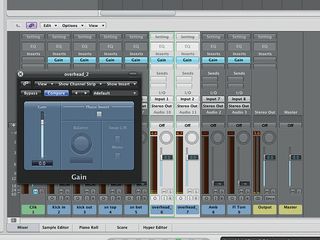
Step 4: Insert a trim or gain plug-in into each of your eight drum channels. Bring up the first kick mic, followed by the second. When the two are balanced, try inverting the phase on the second kick channel (the button labelled with a circle with a diagonal line through it). Leave the button set where the sound is best.
Sorting the overheads
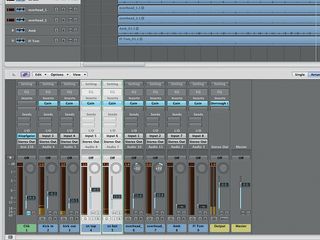
Step 5: Now turn down the kicks and bring up the overheads, panned centre. Try inverting the phase of one of them. If the overheads sound fatter with just one channel phase inverted, leave it like that. Bring the kicks back in and blend them with the overheads. Change the phase on both the overheads now, and leave them set at wherever the kick sounds fattest.
Balance the snare mics
Step 6: Balance in the top snare mic and switch the phase to whichever setting sounds fattest with the kick and overheads. Bring up the bottom snare mic and set the phase to the opposite of whatever the top is set to. Repeat this process with the floor tom and ambient mics. This is quick ’n’ dirty, but now you’re set to record.
Setting up a rough live mix
Part two: setting up a rough live mix
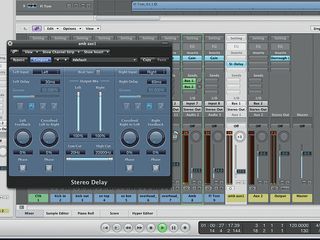
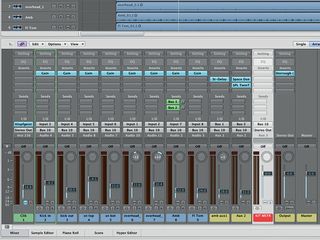
Step 1: Although you won’t create your final drum sound until the mixdown, you’ll need to get your mix half-decent for recording. Here’s some CPU-friendly advice to help you get it right. Create two auxiliary sends and returns from the ambience track. Insert a delay plug-in over the first return and set the L and R Delay times to 30ms and 60ms.
Adding reverb
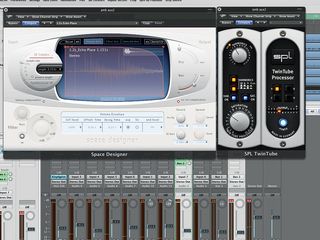
Step 2: Next, insert a room reverb over the second aux return set to around 0.6s Decay time. Compress this and add a harmonic distortion effect like SPL TwinTube. This artificial space will help the kit sound more ‘finished’ while you’re tracking - and a more exciting sound will make your drummer play better.
Creating busses
Step 3: Take your individual drum channels and the two new aux returns and set their outputs to a new bus. Create a new aux return for this bus and call it ‘Kit master’. This is your main drum channel. Now create two or three more busses and returns for the rest of your recorded track stems (guitars, bass, vocals, etc).
Finishing the mix
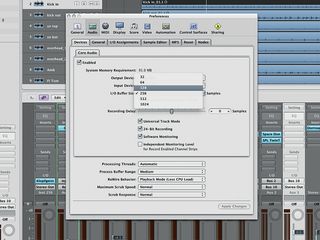
Step 4: You should now have five or six ‘master’ faders, making it easy to create a good working balance and hear the drums properly in context. You can also create a separate sub-mix for the drummer by adding aux sends to the master faders and routing them discretely to the headphones output. To minimise latency, you want your audio interface buffer size to be as small as possible.

MusicRadar is the number one website for music-makers of all kinds, be they guitarists, drummers, keyboard players, DJs or producers...
- GEAR: We help musicians find the best gear with top-ranking gear round-ups and high-quality, authoritative reviews by a wide team of highly experienced experts.
- TIPS: We also provide tuition, from bite-sized tips to advanced work-outs and guidance from recognised musicians and stars.
- STARS: We talk to musicians and stars about their creative processes, and the nuts and bolts of their gear and technique. We give fans an insight into the craft of music-making that no other music website can.
"A classic compressor for free on Valentine's Day – it must be love!": Universal Audio is giving away an 1176 plugin as a Valentine's gift - here's how to get it and use it

“A magical part is this sidechain with the bass”: Lady Gaga breaks down Disease in new studio video

"A classic compressor for free on Valentine's Day – it must be love!": Universal Audio is giving away an 1176 plugin as a Valentine's gift - here's how to get it and use it

“A magical part is this sidechain with the bass”: Lady Gaga breaks down Disease in new studio video

