9 pro mastering tips for beginners
Things to remember when you're starting out
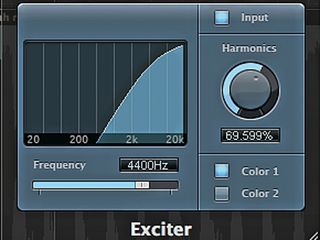
1. Try an exciter/ enhancer
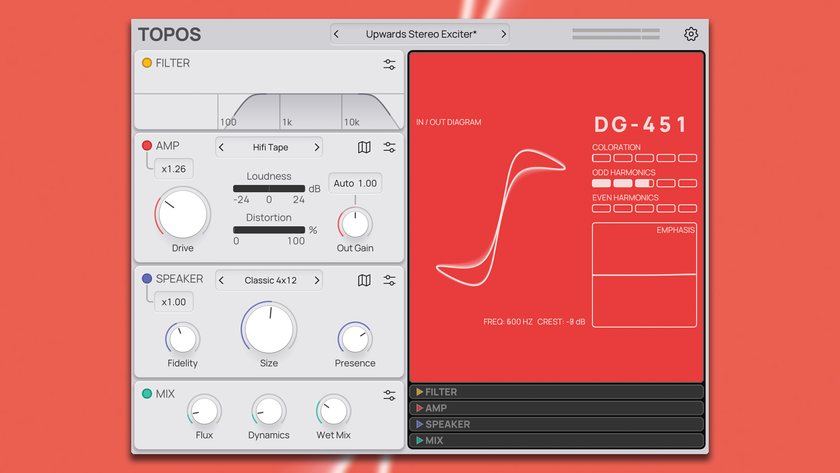
MASTERING WEEK: If your top-end still isn’t right despite your best EQ efforts, you might want to try an exciter or enhancer. Whereas EQs can accentuate noise, and only amplify what’s already there. Exciters raise the harmonics of the fundamental tones found in the recording, brightening dull mixes. As with everything in mastering, though, don’t overdo it!
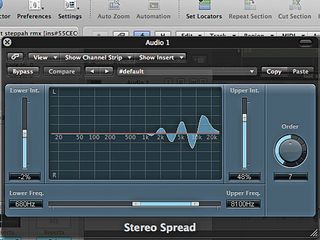
2. Narrow the mix
Adjusting the width of a stereo recording usually means making it wider, but an overly wide mix can be narrowed, too. There are plug-ins that can do this, but they need to be handled with care, as they can cause phasing issues and weaken a tough mix. Be sure to leave everything below 100Hz alone, as this area carries no directional information and has a much greater impact in mono than stereo.
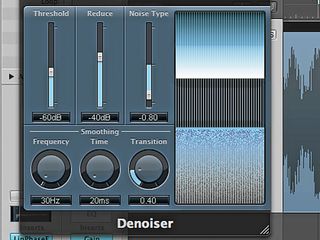
3. Noise reduction
You might want to apply noise reduction at times, especially during long fade-ins or -outs. This can be necessary because of bad recording or a number of other factors. Inevitably, though, unless you have very high-end equipment, noise reduction will affect the harmonic content of the music to some extent, so there’ll need to be some measure of compromise.
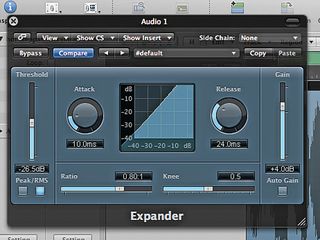
4. Expand the dynamic range
Expansion can be useful for pulling some dynamics out of a squashed mix. Expanders work in almost the exact opposite way to compressors, increasing dynamic range rather than compressing it. They can’t perform miracles, though, and can in fact add distortion, so if you have to rely on one, perhaps you should think about having another go at the mix.
5. Don't go through the ceiling
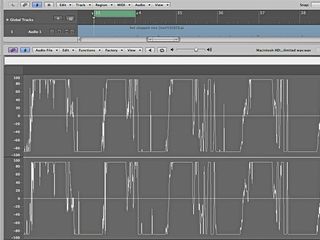
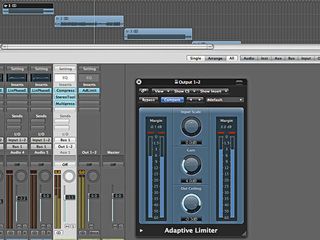
Keep your limiter’s output (sometimes called the ‘ceiling’) under 0dB. Although you might want your track to be as loud as possible, some CD players can glitch if too many samples hit 0dB, and some disc duplication plants may reject the disc because their equipment determines the 0dB samples to be ‘errors’. Set your limiter to -0.5dB or thereabouts.
6. Lookahead limiting
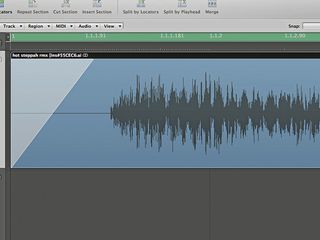
Some plugin limiters offer a lookahead function. This can cut the beginning of your track off completely if your left locator (export start point) is set too close to a zero-crossing. So, if you use lookahead, leave a second or two lead-in and -out for the bounce, then tighten up the start and end of the final, mastered audio file.
7. Put songs on separate tracks
When mastering an EP or album, import all the songs onto separate audio tracks, so that each one can have its own EQ applied and the whole lot can be balanced accordingly. Route all of them to the same bus, then compress and limit them together for consistency.
8. Try mastering reverb
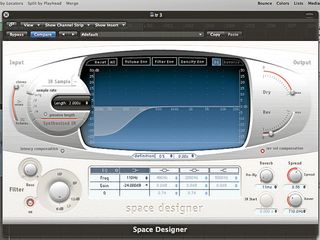
Very rarely, you might want to use a mastering reverb to ‘glue’ a mix together. Convolution is your best option here, but avoid plate/spring emulations and be gentle with the wet signal - no more than 10-15% - and roll off all the wet signal below 100Hz, too.
9. Don't overdo it
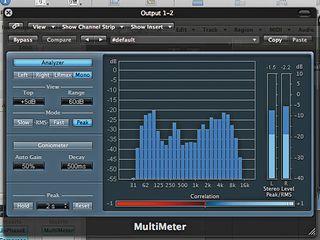
Last but not least - and at the necessary risk of repeating ourselves - don’t overdo anything! Big EQ boosts, high compression ratios and/or super-low thresholds can ruin a track. You can still be creative while being subtle. Be sure to keep an eye on your spectral analyser plug-in, ensure that the master channel never clips and learn to trust your ears. This is the final process in the production of your tune, so it really is now or never!

Computer Music magazine is the world’s best selling publication dedicated solely to making great music with your Mac or PC computer. Each issue it brings its lucky readers the best in cutting-edge tutorials, need-to-know, expert software reviews and even all the tools you actually need to make great music today, courtesy of our legendary CM Plugin Suite.
