8 ways to improve your home mastering
Tips and tricks that'll help you to achieve better results

RECORDING WEEK 2022: Pro mastering services can be great. They take the guesswork out of what is sometimes perceived as a bit of a dark art. But, for reasons of convenience and cost, more and more of us are choosing to take matters into our own hands and, more often than not, this means mastering at home, in the box.
It is, of course, totally viable to work this way, but getting the best possible results isn't necessarily easy. So, here are eight things you can try to improve your DIY mastering efforts.
Limit your limiting
The loudness war is now old news and is probably nearing an end due to new metering and legislation. However, this metering is currently strictly for broadcast, and there are no restrictions on the independent producer. This means that many continue to master loud and proud, but this can be bad for your music on a few different levels.
If you hit your limiter too hard you reduce your dynamic range to the point where the differences between loud and quiet sections in your tracks become imperceptible. By limiting hard you can also introduce inter-sample clipping, and this becomes even more evident when you encode your music to a lossy format for distribution.
To avoid this you can obviously lay off the limiting and set sensible output peaks, but also, investing in a limiter with oversampling built-in can help. Try the excellent AOM Invisible Limiter. It's clean, loud and will help detect ISP.
Template for success
Prepare a mastering template in your DAW with your full mastering chain and zoomed tracks. This will give you a headstart when you're starting a new session and take the leg work out of setting up your software.
Set up parallel mastering channels
Using parallel channels in mastering is not really common practice, but when the technique is used correctly it can help you add control, increase signal density and will also allow you to mix extreme processes at sensible levels.
Get the MusicRadar Newsletter
Want all the hottest music and gear news, reviews, deals, features and more, direct to your inbox? Sign up here.
Start by either duplicating your audio or setting up a send return channel. Now apply your M/S processing, limiting, saturation or compression to the copied channel. You can mix in your newly-processed audio to taste whilst retaining the tone and dynamics of your original mix. This is a perfect way to widen strings or add aggressive compression to your master.
Pleased to meter
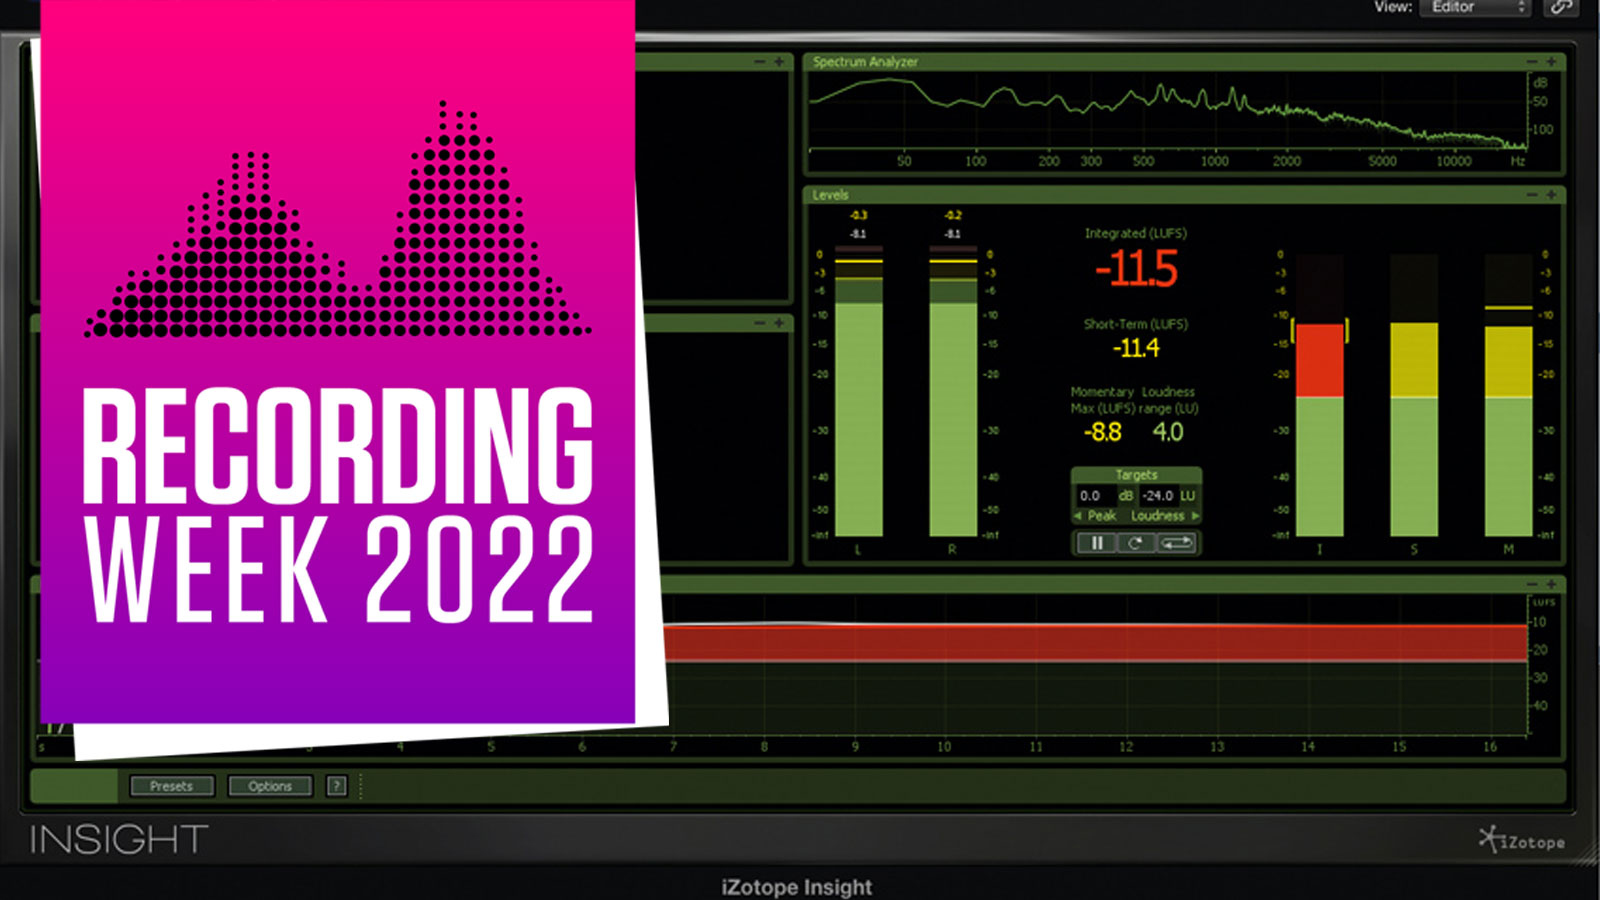
If you find that the metering included in your DAW is not sufficient, then you can get hold of a third-party solution. Everything is available from straightforward level metering to full suites like iZotope's excellent Insight.
Use cascaded compression
Sometimes a single round of compression isn't enough to control the wayward dynamics in a mix. You could use multi-band compression or simply turn up the ratio of your single band model, but we are aiming for transparency here.
Try using a number of compressors in your project: you can insert a compressor at the start of your chain followed by some EQ and then use a second compressor. Setting these two compressors at half the workload of a single unit will result in a more transparent effect with less predicable 'pumping'. This transparency will only work in your favour as you add more processors.
Encode to lossy formats correctly
Moving from your final master to a compressed lossy format is necessary to ensure your music can be distributed and stored online. Most DAWs give you the option of exporting to MP3, AAC, etc, but there are a few problems you can encounter. You may end up with an MP3 that's not trimmed correctly, so it can be better to perform this part of the process after further editing or directly from a dedicated editor.
After your trims are completed, consider the excellent Sonnox Codex Toolbox app. This converts using any popular Codec and also ensures your final output has no clipping or overs embedded into the file.
System addict
Once you have finished your first batch of masters, play them back on as many systems as you can get your hands on. This diversity will help you to find out if you have achieved good translation.
Practise good mastering workflow
Good mastering workflow is not just about solid gain structuring, watching dynamic range and transparency. It's also about staying organised and ensuring you have a productive and efficient session. Try to use templates and presets for your favourite default starting positions to save time.
Also, try to separate the mixing and mastering processes as much as possible. It's never a good idea to master in your mixing project - things get cluttered and CPUs get hot! Finally, have any extra tools you need - like converters, audio editors and music players that you use - ready to go. That way you'll fly through your session.
Future Music is the number one magazine for today's producers. Packed with technique and technology we'll help you make great new music. All-access artist interviews, in-depth gear reviews, essential production tutorials and much more. Every marvellous monthly edition features reliable reviews of the latest and greatest hardware and software technology and techniques, unparalleled advice, in-depth interviews, sensational free samples and so much more to improve the experience and outcome of your music-making.


