7 ways to get more out of your UAD powered plugins
Up your digital signal processing game with these Universal truths…

Native, CPU-based processing is the main weapon of choice for most, but certain proprietary DSP systems - in which special plugins run on external hardware processor, taking the strain off your computer's CPU - continue to thrive. The most successful of these 'bolt on' setups for Mac and PC is by far Universal Audio's UAD - or UAD-2, to give the current iteration of the system its full title.
With this septet of tricks and techniques by your side, your UAD-based sonic adventures will become that much richer and more rewarding - work through them methodically or dip in as and when.
For a complete guide to using UAD hardware and plugins, check out Computer Music 209 (Autumn 2014), which is on sale now.
1176 Multi-Button Modes
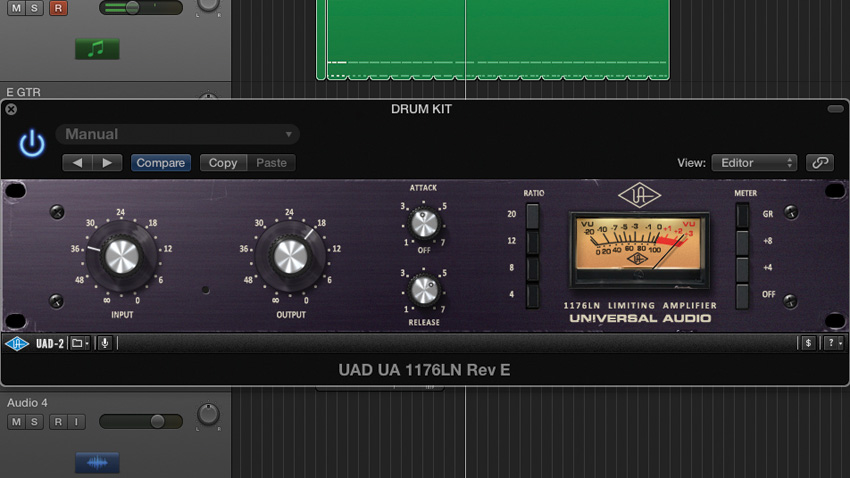
It may not be immediately apparent, but all UAD 1176 versions include some form of multiple ratio button behaviour, emulating the characterful additional options of the hardware. For both Legacy editions, this is limited to 'all button' mode, which you can select by Shift-clicking any ratio button.
For the newer, 'Collection' versions, you can select combinations of adjacent ratios by selecting one, then shift-clicking another.
Mouseover monitoring
DSP, Program and Memory usage is displayed in both the floating UAD Meter and the System Info page of the Control Panel, but these figures indicate the maximum allocated percentages. For quick real-time feedback on actual usage, hover the mouse pointer over their respective labels on the UAD Meter. The pop-up indicator shows data for each DSP chip, and will even respond to settings changes if you have DSP LoadLock activated.
Pro presets
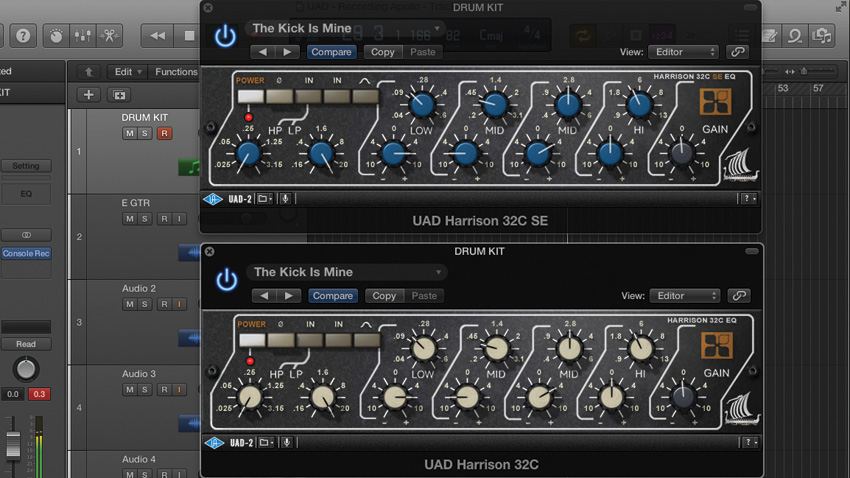
UAD has many top-level endorsees, and their more recent classic 'Collection' plugins have included presets from some of them. These presets can serve as good starting points, or they can simply offer insight into the settings that top-level mixers and engineers would use in particular scenarios.

Powering on through
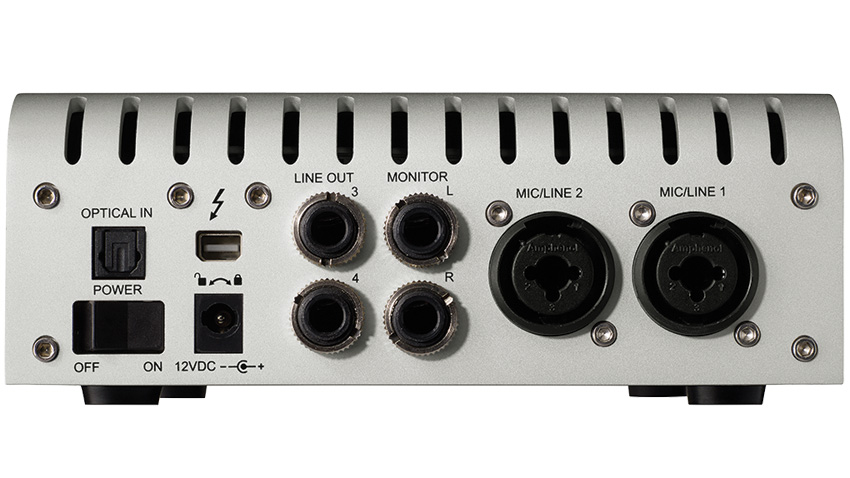
One slight frustration for Apollo and Apollo Twin users is that they're not bus-powered by your Mac, either in FireWire (Apollo) or Thunderbolt (Apollo and Apollo Twin) formats. What's more, the dual FW800 ports on the back of the Apollo can't provide bus powering to peripherals such as hard drives. However, what you may not have realised is that the Thunderbolt expansion for Apollo does carry power (7 Watts) for powering further Thunderbolt peripherals, which can help to keep your setup streamlined. Similarly, the Apple Thunderbolt-to-Firewire adapter cable will run power through to further FireWire devices.
Get the MusicRadar Newsletter
Want all the hottest music and gear news, reviews, deals, features and more, direct to your inbox? Sign up here.

Go easy on the DSP
UAD's latest classic emulations are some of the very best available, accurately recreating circuit components such as amps and transformers. Inevitably, this means they use a lot of DSP. Fortunately, there are legacy versions of classics such as the LA-2A, 1176, Pultec EQ and Fairchild, as well as a number of SE ('DSP-lite') versions, including the aforementioned Legacy plugins. Don't rule them out - if you're short on DSP, they'll significantly lower the hit.
Route OS X audio to Console
Did you know that your Mac can audition or process system audio - such as when sample previews in Finder - through UAD plugins? Open the Audio/MIDI app, select the Universal Audio Apollo device and hit the Output button. Choose Configure Speakers at the bottom and, for regular stereo use, assign the left and right speakers to two Apollo Virtual streams. Hit Apply and you're done. You should now be able to control OS X's audio output with Console's Virtual faders.
Wet and dry
You can take advantage of Console's real-time plugins and auxiliary routing to record dry and processed signals at the same time. Let's assume the main input channel is 'dry' and the auxiliary 'processed'. Send the input channel to Aux 1, panning to the left to keep it mono and setting the Aux 1 channel to Pre and Mute, so that the signal isn't affected by the input channel fader or monitored. On the Aux 1 channel, insert the desired plugin.
In our DAW, Aux 1 appears as input 25, and the main input is input 1, and we can now record them to separate tracks. Be aware, there may be some latency between the two signals (we measured 43 samples on Logic Pro X).
Computer Music magazine is the world’s best selling publication dedicated solely to making great music with your Mac or PC computer. Each issue it brings its lucky readers the best in cutting-edge tutorials, need-to-know, expert software reviews and even all the tools you actually need to make great music today, courtesy of our legendary CM Plugin Suite.
“The included sample content is not only unique but sonically amazing, as it always was”: Spitfire Audio BBC Radiophonic Workshop review
“We were able to fire up a bass sound that was indistinguishable from the flavour of New Order’s Blue Monday in seconds”: EastWest Sounds Iconic review


