6 ways to get more out of Ableton Live's effects

A helpful half dozen
Ableton Live has some of the best built-in effects of any DAW. They’re straightforward to use, and most of them sound superb.
If you’re a Live user, you probably already know this, but are you really getting the most out of Ableton’s in-house processors? What follows is a collection of tips that might come as news even to seasoned Live users.
• For many more Ableton Live guides go to our massive learning hub: Learn Ableton Live and Ableton Push: music production tips and tutorials
NEXT: Phaser Frequency
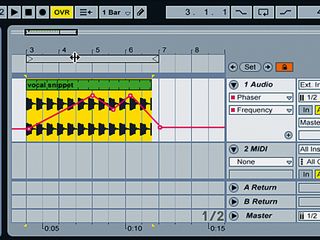
Phaser Frequency
Tip 1: The movement of a phaser effect is traditionally controlled by an LFO, but Live’s Phaser is a little unusual in that you can control the frequency directly. In fact, in the effect’s default state, the LFO parameter is turned down to 0%! Rather than turning up the LFO amount, simply automate the Frequency parameter to create the perfect rhythmic phaser movement for your track.
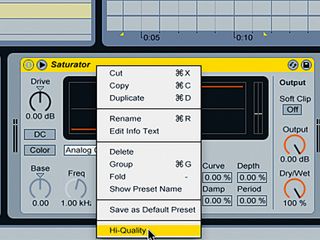
High-quality modes
Tip 2: You may now be aware that Live’s EQ Eight has a high-quality mode, but did you know that the Flanger and Saturator effects have one as well? The Flanger’s high-quality mode gives you a slightly brighter sound, while the Saturator’s high-quality mode reduces aliasing. However it’s worth noting that this adjustment can sound subjectively worse, depending on your taste…
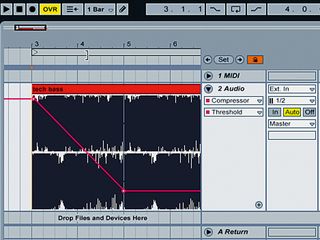
Threshold automation
Tip 3: When using sidechain compression, remember that it’s possible to automate the Threshold value to vary the amount of the effect. This can comes in handy when you’re modulating the level of the effect between different sections of the track, and also means that you can use a silent sidechain trigger track to provide a different level of the effect on multiple channels.
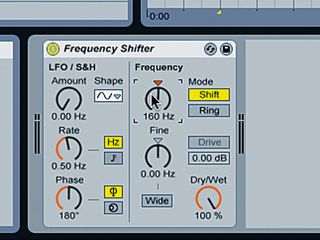
Frequency Shifter
Tip 4: If you’re using percussion samples or percussion tracks that are at a fixed pitch, a convenient way of fine-tuning them is to use the Frequency Shifter effect. Adjusting the Fine knob in particular won’t break up the sound too discernibly, and you may find that even a slight adjustment using this effect helps percussive sounds to sit better with the rest of your rhythm section.
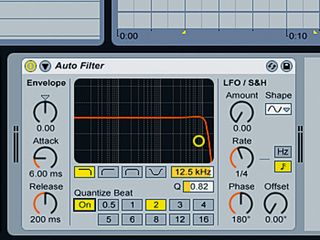
Auto Filter Quantize Beat
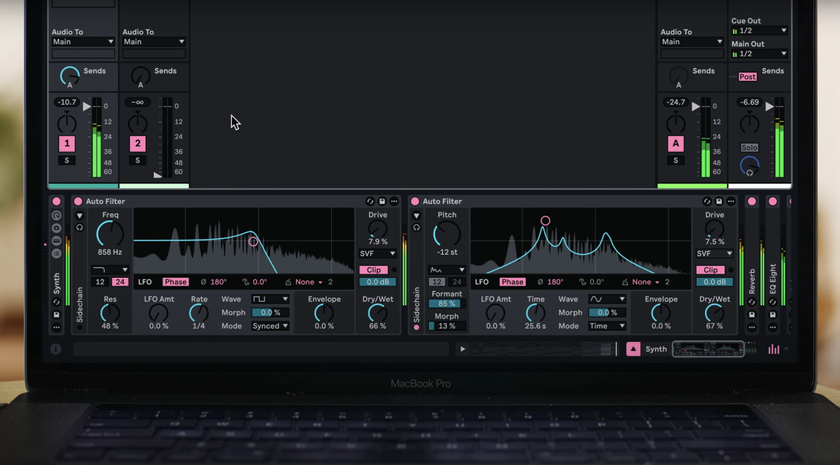
Tip 5: The LFO section of the Auto Filter is a great way to get smooth and silky filter sweeps, but if you’re after something a little more jagged, give the effect’s Quantize Beat capability a go. Set up your LFO as usual and then turn the Quantize Beat mode on. The number buttons represent the number of 16th-notes between each step, so the default value of 2 will give you eighth-note quantisation. Got it?
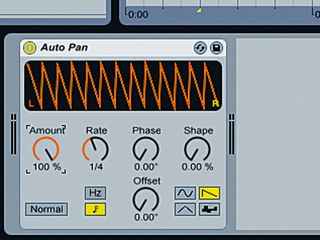
Auto Pan ducking
Tip 6: A quick and convenient way to create rhythmic sidechain-style ducking effects is to use the Auto Pan effect. To create the device we’ve described, set the Phase parameter to 0.00, select the saw shape, and click the button that says Normal to deactivate it and invert the waveform. Finally, set the Rate to synced mode and set an appropriate timing, which is typically 1/4 (ie, quarter-notes).
Liked this? Now read: 28 Ableton Live tricks you didn't know

Computer Music magazine is the world’s best selling publication dedicated solely to making great music with your Mac or PC computer. Each issue it brings its lucky readers the best in cutting-edge tutorials, need-to-know, expert software reviews and even all the tools you actually need to make great music today, courtesy of our legendary CM Plugin Suite.
