6 steps to creating a perfect layered bass sound
Whether for low-end enhancement or low-mid clarity, stacking multiple basses important technique to master
The judicious use of layering is the key to many sounds in electronic music, but particularly bass, where the shape, character and dynamics of a solo synth patch are almost always improved by doubling or tripling it up with other complimentary sources.
If your bass is lacking in low-end energy, adding a sub bass layer triggered by the same MIDI clip as the main line is a quick and effective fix. On the other hand, if you find your bass is lacking in definition and bite, try working in a mid-range tone to bring it out its attack.
In this tutorial, we'll show you how to generally beef up a bassline with the addition of a sub, and brighten it up for emphasis at certain points in a riff using a third layer.
Download addition files for this tutorial
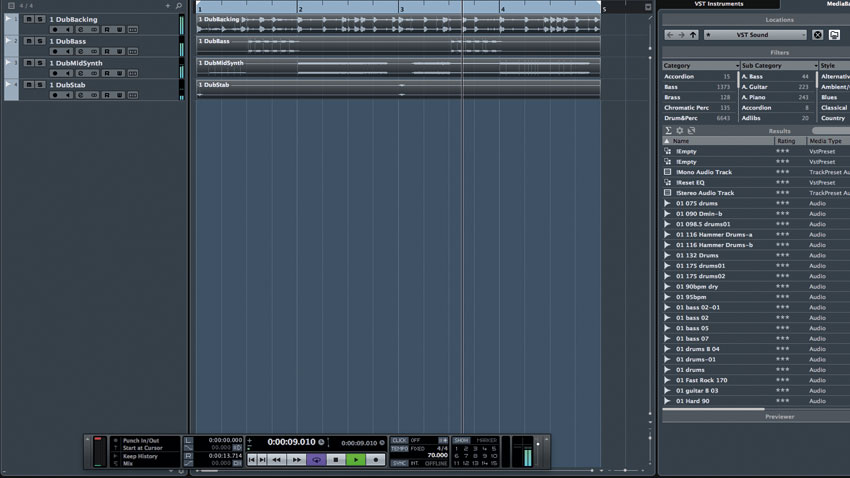
Step 1: Using additional layers of synths or samples to reinforce certain sections of a bassline can really help with creating bass that not only sounds huge on full-range speakers but also translates well to domestic playback systems. Open your DAW, set the tempo to 70bpm and import the files beginning "Dub…".
DubBacking
DubBass
DubMidSynth
DubStab
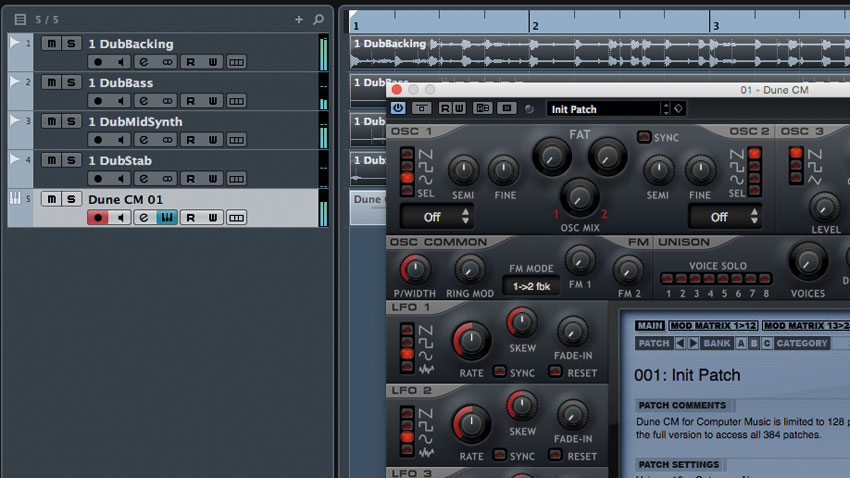
Step 2: First, we'll add serious weight to our DubMidSynth part, reinforcing it with a sine-wave sub bass layer. Add Dune CM on a new instrument track, and reset the synth's parameters by selecting Bank B in the central panel. Import Sub.mid onto the instrument's track to trigger the synth, then open Dune CM and set Oscillator 1 (top left) to a sine wave.
Adding weight to DubMidSynth
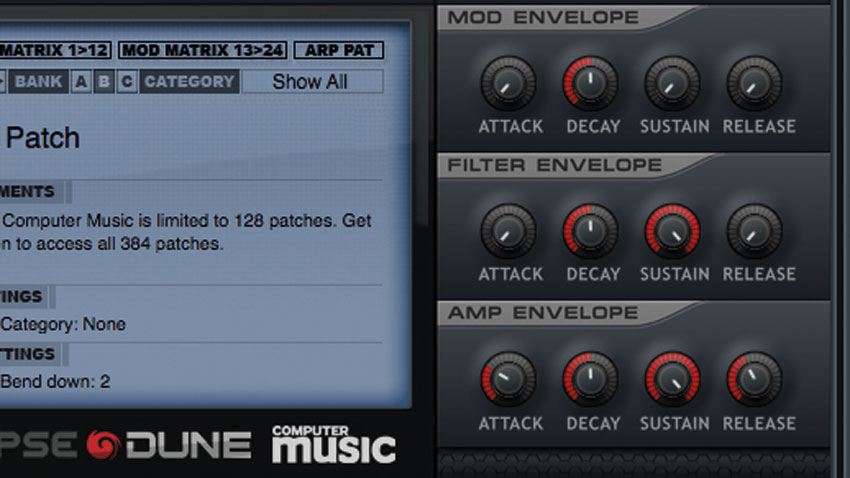
Step 3: Next, shape the sub bass by pushing the amp envelope's Attack to 30% and Release to 40% - this'll get rid of any sharp pops or clicks at the start and end of notes. The sine wave bass has filled out the bottom of the mid-range synths, but turn the volume down to -3dB to balance the mix. The DubBass channel now sounds a bit thin in comparison, but we can use our sine layer to beef it up.
Want all the hottest music and gear news, reviews, deals, features and more, direct to your inbox? Sign up here.
Shaping up the sub bass
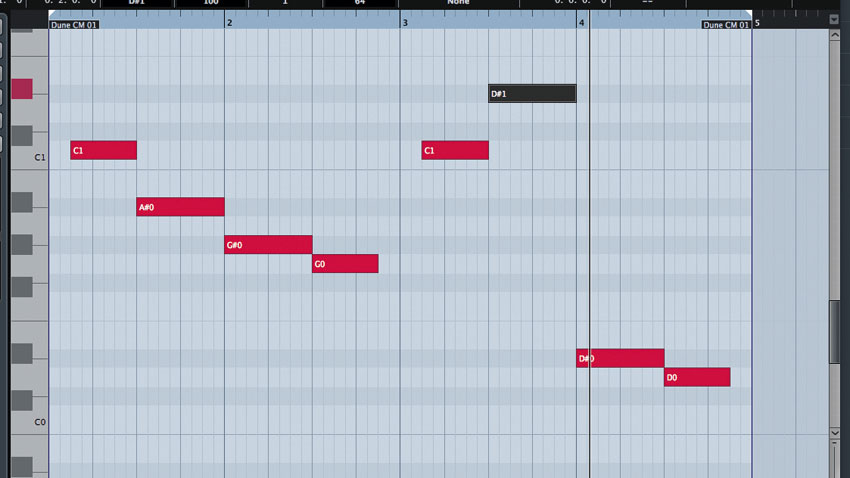
Step 4: We need to roll off the sub frequencies already present in the bass to avoid any clashes, so add DDMF's IIEQ Pro to the DubBass channel before applying an HPF24 filter at 79Hz with a Q of 0.7. After this, add the necessary extra notes to the sine wave sub's riff by opening the MIDI clip and inserting a two-beat A#0 note on beat 3 of bar 1 and another two-beat D#1 note on beat 3 of bar 3.
Sub roll off to DubBass

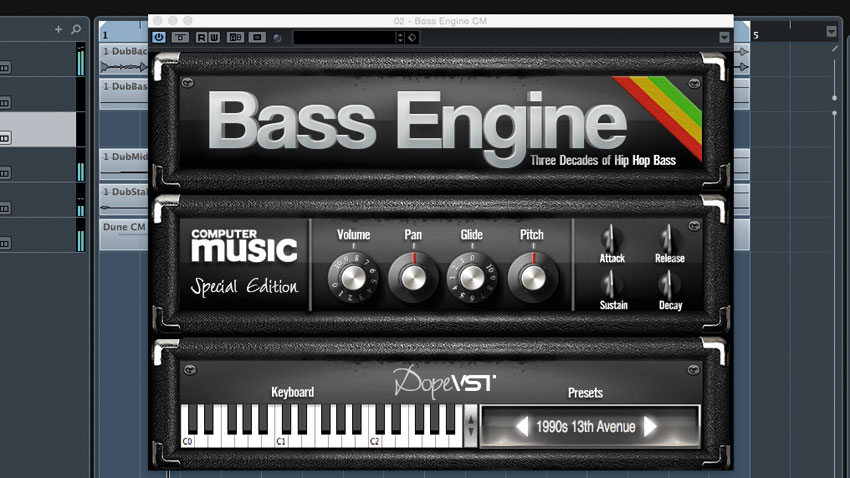
Step 5: Now we've added some low weight, we can look at making the bass more interesting with an 808 bass drum layered under the fast mid synth notes in bars 2 and 4. This will add extra attack to these sections, making them more prominent on both big and small speakers. Mute the sub sequence's third and seventh notes, and add a new instrument track with a fresh instance of Bass Engine CM.
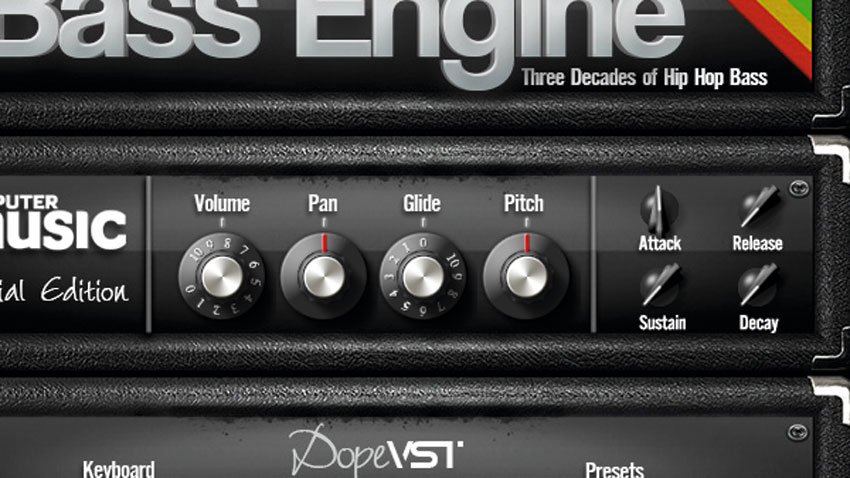
Step 6: Turn Bass Engine CM's volume down to -10dB and import 808Bass.mid to trigger it. Load a suitable preset - we've gone for 2010's 808 Clinical from the menu at the bottom right. Finally, we can blend our 808 section into the main sub more effectively by setting the Decay, Sustain and Release dials to minimum, tightening the 808 hits.
Blending sub
For many more bass production techniques, pick up the July edition of Computer Music (CM231), with its Kick & Bass Power cover feature.
Computer Music magazine is the world’s best selling publication dedicated solely to making great music with your Mac or PC computer. Each issue it brings its lucky readers the best in cutting-edge tutorials, need-to-know, expert software reviews and even all the tools you actually need to make great music today, courtesy of our legendary CM Plugin Suite.
