6 easy steps to making a great vocal recording
Pro-quality vocal takes are just a few clicks away if you follow our step-by-step tutorial
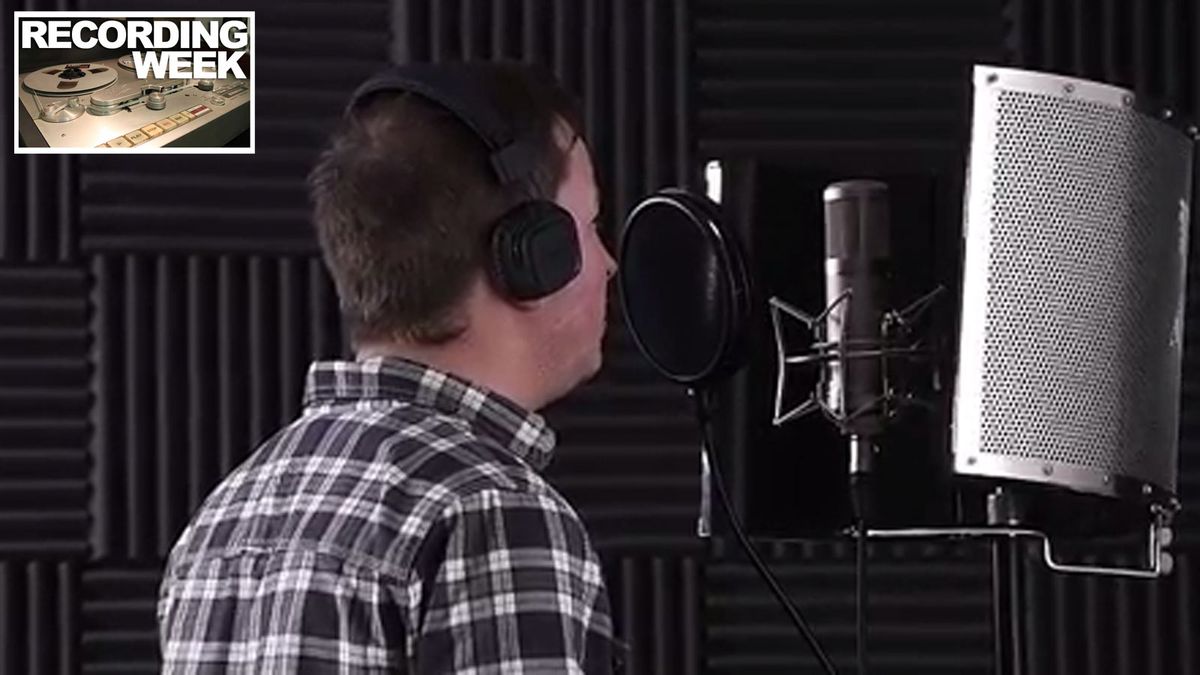
RECORDING WEEK: If you've never done it before, recording vocals can seem like one of the most daunting tasks in music production - but it really needn't be.
In this tutorial, we'll walk you through every stage of the vocal recording process, from plugging in the mic and setting the input level, to tidying up the end result prior to processing. Of course, the one thing we can't help with is the performance itself, but always bear in mind that a huge factor in any vocal recording is the skill and sound of the singer at the start of the chain and you won't go wrong.
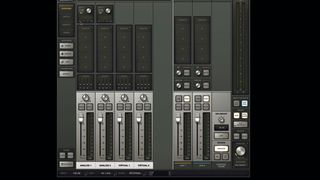
Step 1: No matter how basic your gear is, the fundamental techniques of vocal recording apply, so grab your mic - don't forget the pop filter - and plug it into the mic input on your audio interface. Turn on phantom power (possibly labelled 48V) if your mic needs it. Like the other audio interface controls in this walkthrough, this could be a physical switch or a software setting.
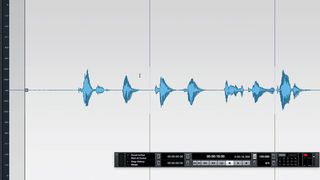
Step 2: Now let's set the input recording level or gain. If the signal level is too quiet, you'll have to raise the recording level, which will make background noise louder too - especially noticeable once effects such as compression and distortion are added. If the gain is too high, it'll overload the input and distort. Around 12dB of headroom between the loudest peaks and the top of the wave display (0dB) is a good aim.

Step 3: The distance from mouth to mic makes a huge difference. From two metres, we get lots of room ambience, and there's audible background noise when we turn the signal up to a usable level. At half a metre, we get a natural 'close-by' sound, with some room sound. At a few inches, the proximity effect gives rich bass, and there's minimal room sound. Experiment until you find the sound you want.
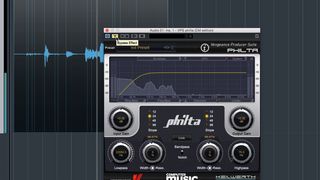
Step 4: Microphones pick up all kinds of sub bass rumble that has nothing to do with the vocal, so recordings are routinely high-pass filtered at around 75Hz. You can apply a filter plugin after recording, but some mics and interfaces have such a filter built in - it's a good idea to use this if you have it, as removing the bass before it hits the interface's converters means less chance of distortion.
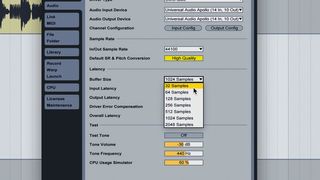
Step 5: When recording to a backing track, use headphones so that the monitor speakers don't bleed back into the mic. When monitoring through your DAW, if there seems to be a short delay between speaking and hearing yourself through the 'phones, reduce the buffer size and remove any latency-inducing plugins. Alternatively, use the direct monitoring feature that most high-quality audio interfaces have.
Get the MusicRadar Newsletter
Want all the hottest music and gear news, reviews, deals, features and more, direct to your inbox? Sign up here.
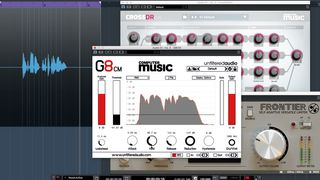
Step 6: When processing vocals creatively, we often use processes like heavy compression and distortion, which can bring the level of background noise up considerably. If your recording is noisy, try a noise gate, or manually cut the parts where there's only background noise. If that's not enough, try a noise reduction tool like the one in the free Audacity.
Recording Week is brought to you in association with Universal Audio. Check out the Recording Week hub page for more tips and tutorials.
Computer Music magazine is the world’s best selling publication dedicated solely to making great music with your Mac or PC computer. Each issue it brings its lucky readers the best in cutting-edge tutorials, need-to-know, expert software reviews and even all the tools you actually need to make great music today, courtesy of our legendary CM Plugin Suite.

"A classic compressor for free on Valentine's Day – it must be love!": Universal Audio is giving away an 1176 plugin as a Valentine's gift - here's how to get it and use it

“A magical part is this sidechain with the bass”: Lady Gaga breaks down Disease in new studio video


