6 advanced limiting techniques
Modern limiters are capable of more than just straight gain reduction. Here's how to get more out of them
As with compression techniques, regular 'full-band' limiting will generally achieve adequate results, but there are times when more customised peak control is required.
Dense program material may contain spikes in a particular frequency range that interfere with other mix elements, but regular limiting can destroy transient presence elsewhere in the signal. By focusing a single band of a multiband dynamics plugin on the problematic area, you can tame those peaks with targeted limiting, or distribute different limiter settings across different bands.
Mid/side processing facilitates peak limiting upon either the mono or stereo components of a signal in isolation. This can be performed either with a dedicated mid/side limiter, or by splitting your signal into its component mid and side elements via custom M/S routing.
Finally, by understanding the unwanted pumping and distortion side effects of extreme limiter settings, you can use them within a creative or sound design context.
For more on limiting, pick up Future Music 293, which is on sale now.
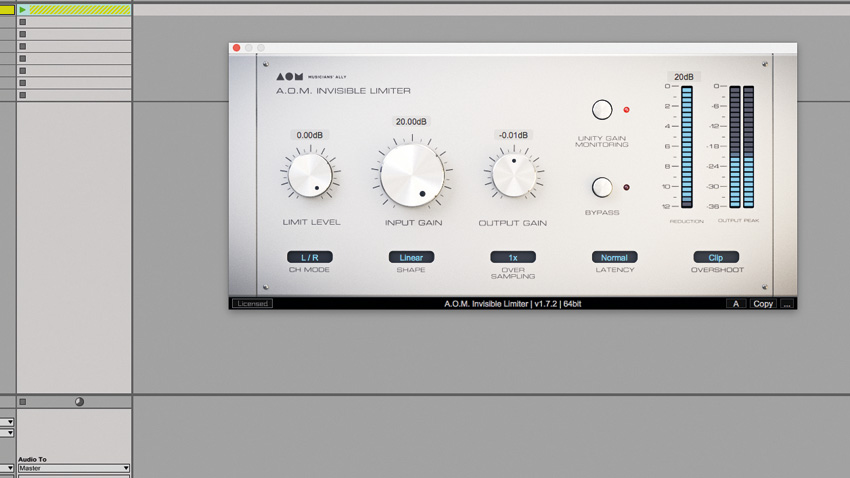
Step 1: Limiting is traditionally used to gently and transparently tame a signal's peaks, but heavy-handed peak reduction can be used creatively. Here we're using extreme gain reduction to turn a punchy breakbeat into a washy background ride layer, sitting it behind the groove's upfront hits.
Dry break
Get the MusicRadar Newsletter
Want all the hottest music and gear news, reviews, deals, features and more, direct to your inbox? Sign up here.
Limited ride break
Dry break in the mix
Limited ride break in the mix
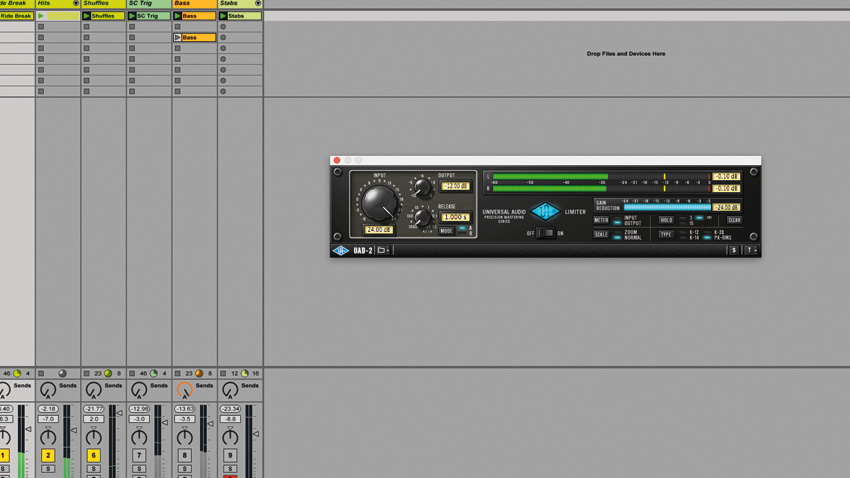
Step 2: Set a limiter's release time to too quick a value and you'll create unwanted pumping and/or distortion artifacts. This can be used to your advantage. We're causing the ride break to rhythmically pump with -24dB of gain reduction and a 1ms release time.
Pumping ride break with short release
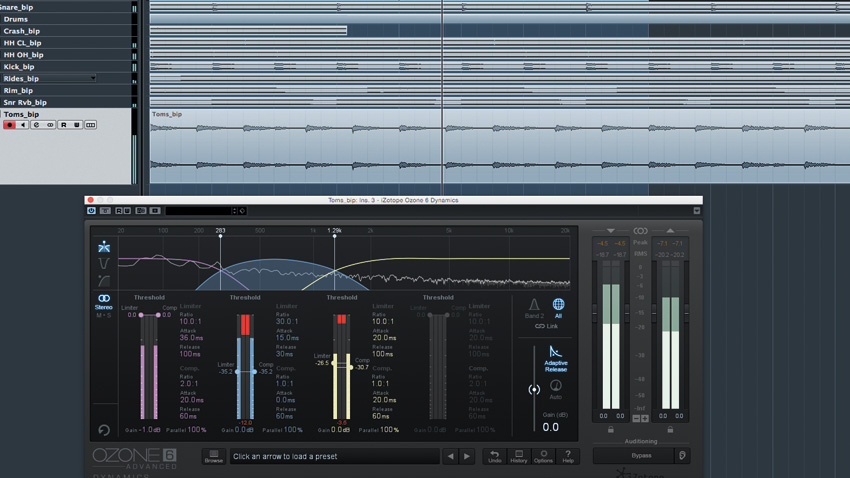
Step 3: As with most dynamic processes, limiting can be applied to specific frequency areas in isolation. The lower-midrange of this tom loop is rather pokey and sharp, so we're using Ozone 6's Dynamics module to limit the low-mid independently of the upper mid and treble.
Pokey toms
MB limited toms
Pokey toms in the mix
MB limited toms in the mix
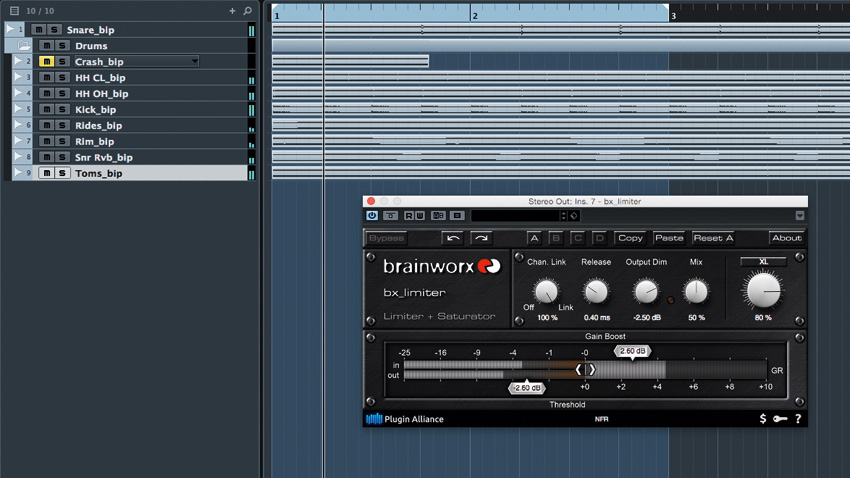
Step 4: Parallel compression blends a heavily squashed signal alongside the unprocessed version. This can be applied to limiting too: we're using Brainworx bx_limiter's Mix parameter to gently beef up this drum mix. The plug-in's XL knob also adds subtle third and fifth harmonics.
Dry mix
Parallel limiting and saturation
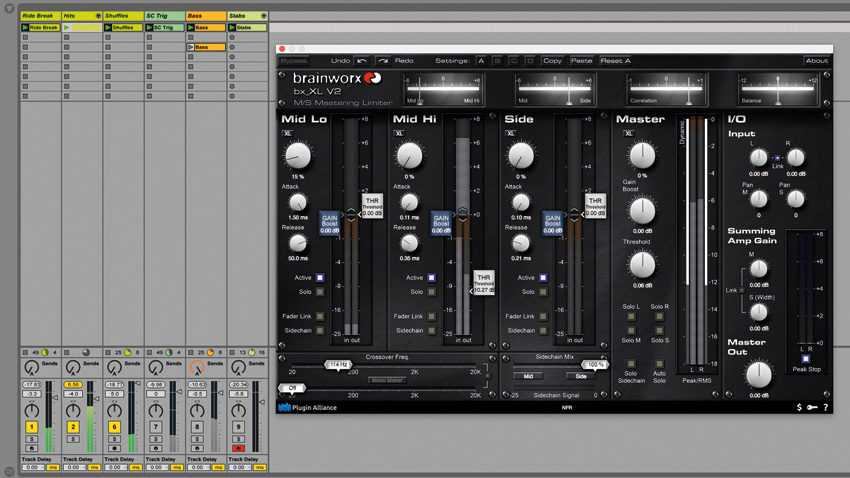
Step 5: Imagine a complex, dense sound or mix containing loud peaks in the mid signal: regular full-band limiting will also pull down the side information, ruining the stereo balance. Instead, try M/S limiting, which allows you to limit the mono and stereo information independently.
Drum mix
Limited mid signal
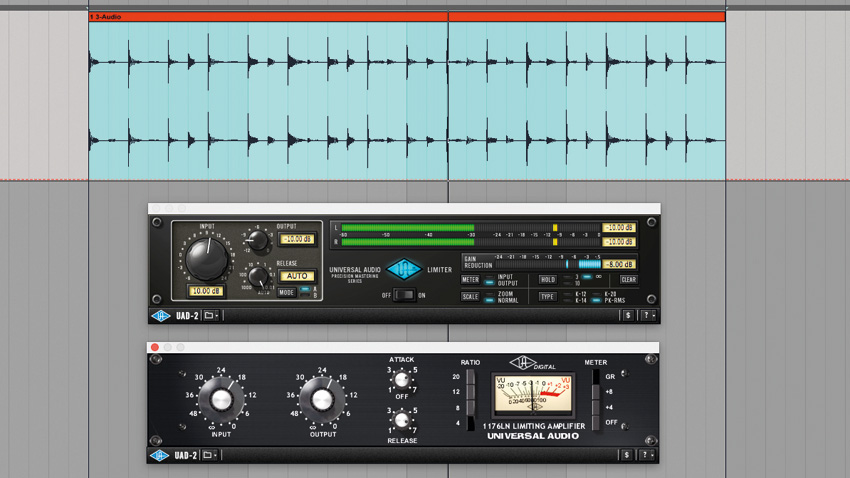
Step 6: Standard limiting advice is to place a limiter at the end of the plugin chain, after all other processors. However, don't be afraid to break this rule if the situation demands. For example, you might want to tame a signal's sharp peaks with limiting to reduce the load on a compressor.
Sharp perc loop
Limiting then compression
Future Music is the number one magazine for today's producers. Packed with technique and technology we'll help you make great new music. All-access artist interviews, in-depth gear reviews, essential production tutorials and much more. Every marvellous monthly edition features reliable reviews of the latest and greatest hardware and software technology and techniques, unparalleled advice, in-depth interviews, sensational free samples and so much more to improve the experience and outcome of your music-making.


