26 seriously useful Reason mixing tips
Although Propellerhead Software has had its hands full creating and promoting its new Record app recently, let's not forget that Reason, the company's self-contained software studio, remains a superb software tool for anyone who creates music that doesn't rely on the recording of 'real' sounds.
To get the best results out of the program, though, you need to know how to mix in it - check out our 26 tips and tricks and you'll be armed with the knowledge you need to make your music sound that little bit (or more than a little bit) better.
1. Low overheads
Make sure you take full advantage of Reason's very low CPU usage. Send effects have their specific uses, of course, but with Reason, you can go pretty crazy with inserts. So if you have the power, don't be afraid to add some gentle compression, EQ, spreading or any other effects you like to every channel.
2. Back to basics
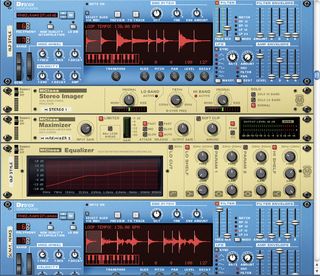
It's easy to overlook Reason's Mixer EQ, as it is very basic, but even if you end up using an MClass EQ later on, it's still worth applying a bit of quick top-end boost to help something pop out of the mix. The only thing to keep in mind is that the Bass EQ doesn't handle boost very well, so this should only really be used for cutting excessive bottom end.
3. In the red
Reason's mixer handles overdriven signals quite well - better than many other DAWs, in fact. So don't shy away from pushing something into the red if you think it genuinely sounds good. Of course, we're not suggesting that you push everything over the top, but you can drive some things far harder than others.
"Don't shy away from pushing something into the red if you genuinely think it sounds good."
4. Everything in its place
Always be aware of the order in which you place effects, as it can make a huge difference to the sound. For example, compressors tend to work best after delays and reverbs as they raise the perceived level. But you don't let the signals from your effects swamp things too much - if you can trim off some of the bass on your reverb, do it.
5. Daisy chains
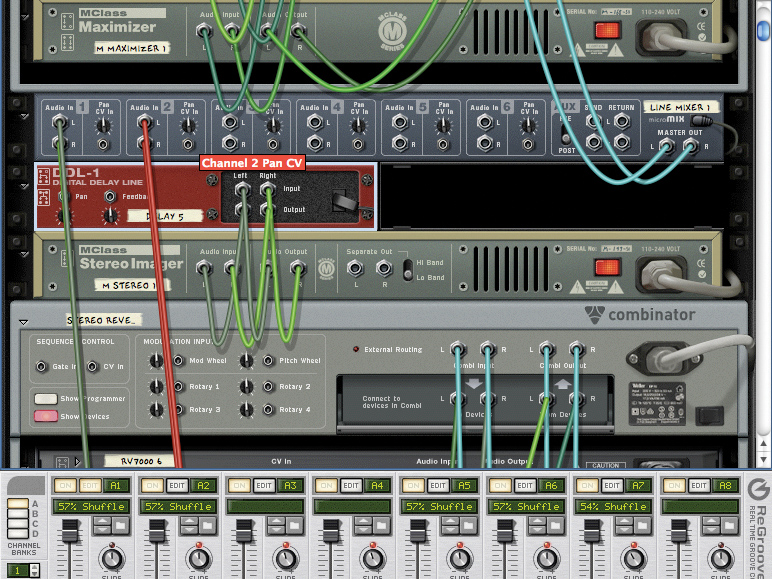
One of the best ways to take control of a delay is to create a customised Combinator effect chain. At the front is a Spider Splitter, at the end a six-channel mixer. The Spider sends a dry signal to the mixer and another to a delay, set fully wet. After that, add an EQ and perhaps a compressor, then put the wet signal into a second channel on the mixer.
Get the MusicRadar Newsletter
Want all the hottest music and gear news, reviews, deals, features and more, direct to your inbox? Sign up here.

6. Reloaded
If you plan to automate an EQ with sweeps at a certain point in a track, but have delicate EQ settings for the rest of it, simply use another instance of the device. The same goes for any effect, really. It's far easier to have two devices doing separate things than try to keep track of automation of lots of parameters on the same effect.
7. Double take
Some DAWs have a button or menu entry for automatically duplicating a channel. No such luxury exists in Reason, unfortunately. Instead, you have two options if you want to double up a signal. The simplest is to use a Spider Splitter, which is ideal for sidechain ducking sources. But if you're doubling a track and pitch-shifting it down an octave to fatten it, turn the channel into a Combinator patch and copy the MIDI clip.
8. Spread your wings
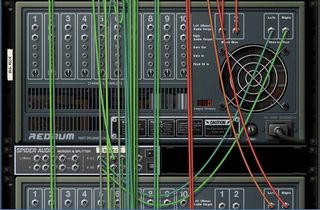
The Stereo Imager is a great effect, but be very careful with it, as it can take the punch out of individual sounds. The bottom end is a big part of this, but even top-heavy sounds can fade into the background with too much widening, so only apply large amounts of spread to sounds that are either punchy to begin with or don't need to be.

NEXT PAGE: Delay, bass, compression and more!
9. Saving for a rainy day
Always save any patches you create, such as ReDrum kits, Combinator patches, etc, so that they're available for use later on. When you're 'in the flow', it pays not to get hung up by re-inventing the wheel every single time you make a new track. Just be sure to modify any patch a little each time you use it.
10. Delays expected
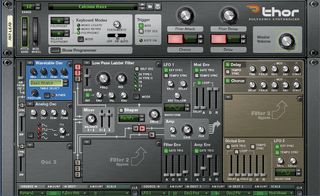
Most big-sounding synth patches in the Thor synth have plenty of added effects, but while this might make them sound great, in most cases, it just messes up the sound, especially when it's put into a busy track featuring lots of other delays.
11. Slapping and popping
It's very hard to get an electric bass guitar to sound as phat as a sub-bass synth, especially without high-end plug-ins that synthesise lower frequencies. Instead, try keeping that low-end free for a layered synth bass and applying some mid-range boost to the powerful, distinctive twang of the bass guitar.
12. Going solo
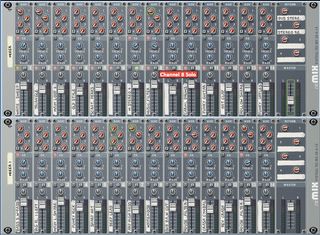
One downside of Reason's multi-mixer system is that soloing channels on a given mixer only solos channels on that mixer - all other mixers remain unsoloed. However, on the plus side, soloing different types of part in turn - like lead elements - while the other mixers play can give rise to cool, stripped-back arrangement ideas.
13. Gaining ground
Reason's 14:2 mixer doesn't feature any input gain controls on its channel strips, but you can add an additional device that features a gain pot (such as a compressor) to any channel that needs a bit of extra boost. If you set all of the other controls to just let the signal pass through unaffected, you've made yourself a simple gain control. Not only that, but you can also use it for volume automation fades, as it enables you to set the overall level at the mixdown stage using the volume faders, without your automation overriding any changes.
14. Hard and fast rules
The MClass Compressor is certainly a versatile beast, so make sure that you set it up correctly for each task at hand. You want much harder and faster settings when using it on individual sounds than you do when using it on your full mix, for example.
15. Maximum effect
When you need to raise the level of compressed delay and reverb effects, you want it to be a fast process that creates the minimum of disruption. For this reason we prefer to use the Maximizer, rather than the Compressor, as it's usually just a case of raising one control (the Input Gain), rather than messing around with the Threshold and Ratio knobs.
16. Trigger happy
If you have lots of kick drum-triggered ducking on elements that run through a drum-free breakdown, then simply create a copy of your drum track and route it to the same sidechain input (via a Spider Merger) to keep the ducking going throughout.
"The MClass Compressor is certainly a versatile beast, so make sure that you set it up correctly for each task at hand."
17. Left, right and centre
When sidechaining, consider using a Send to the sidechain input on a Compressor (or a Spider Splitter), rather than a single direct input. That way, you can use multiple sidechain sources throughout the track.
18. Get the edge
A good way to enhance the top end of a sound - and one that's quite specific to Reason - is to place an Envelope Controlled Filter on the channel to be brightened, open the cutoff fully, then raise the resonance. The way the filter's designed means the resonance catches some upper-mid frequencies, giving the sound a sharper edge.
NEXT PAGE: More seriously useful tips
19. Combined earnings
Some of Reason's devices don't enable you to save presets, but similar sounds frequently require similar settings. You can save huge amounts of time in the future by going through your project when you've finished the mixdown and creating Combinator patches of the more useful configurations, which will be saved complete with component device settings intact.
20. Keeping tabs
Label, label, label. If you don't remember to name at least the last effect in each chain before the mixer then you'll really struggle to set levels and assign Send values to anything. Without the devices for visual reference on the same mixer channel as the volume fader, it's a nightmare, so label everything!
21. Two's company
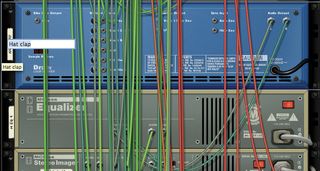
Reason doesn't feature a stereo delay, but you can create your own using a Combinator and two DDL-1 delays. Simply send the left signal from your source into one and the right signal into the other, followed by some EQ (analogue delays lose top end as they repeat, and too much low end can swamp the track), a Maximizer to raise the level of the quieter delays and some stereo widening.
22. Feeling low
As a rule of thumb, ideally you'll use EQ to chop out all low frequencies that aren't integral to the sound of every channel in your mix. Try using an MClass EQ to do this, ensuring that you don't overdo it. When you tweak the amount of cut, reduce it until you can audibly hear the sound losing weight, even with everything else in, then dial it back up slightly above this setting.

23. Topping up
Reason doesn't feature an exciter, which is a useful processor for adding a little sheen and brightness. You can get similar results, though, by applying a little shelving boost to the very highest frequencies with the MClass EQ or even the Mixer 14:2's treble EQ. Another way to add a bit of edge is to split the signal with a Spider Splitter, send one dry signal to a Line Mixer 6:2 and another through a distortion unit, then mix a touch of the latter into another channel of the 6:2.
24. Start from the beginning
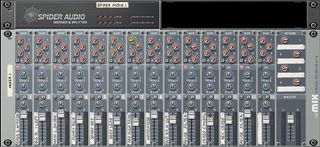
When you've finished writing your track and are ready to mix it, always reset your levels. This is particularly important in Reason, which has very short-throw mixer faders, so you can easily find yourself running out of headroom. For this reason, try to keep the levels as low as possible at first, then raise them as needed.
25. Outside the box
Reason doesn't support third-party plug-ins, but thanks to ReWire, external effects can easily be used alongside your Reason projects. Simply run ReWire's output channels into the mixer of a ReWire host DAW and apply your effects there.
26. Downgrade
If you don't plan to do much in the way of mastering yourself, you should check out your final mix as an MP3. MP3 compression tightens up the bass end and adds a little extra top-end definition, just as mastering will - so this can give you a rough idea of how it will sound mastered.
Liked this? Then try:
Sign up for our free weekly newsletter
The free MusicRadar newsletter serves up the week's biggest artist and product news stories alongside exclusive tuition and gear reviews. Sign up here!
Follow MusicRadar on Twitter
Get instant updates and bonus content plus chat with the team. Start here!
Computer Music magazine is the world’s best selling publication dedicated solely to making great music with your Mac or PC computer. Each issue it brings its lucky readers the best in cutting-edge tutorials, need-to-know, expert software reviews and even all the tools you actually need to make great music today, courtesy of our legendary CM Plugin Suite.


