14 Ableton Live secret tips and tricks
Clever hacks and sneaky workflow tweaks
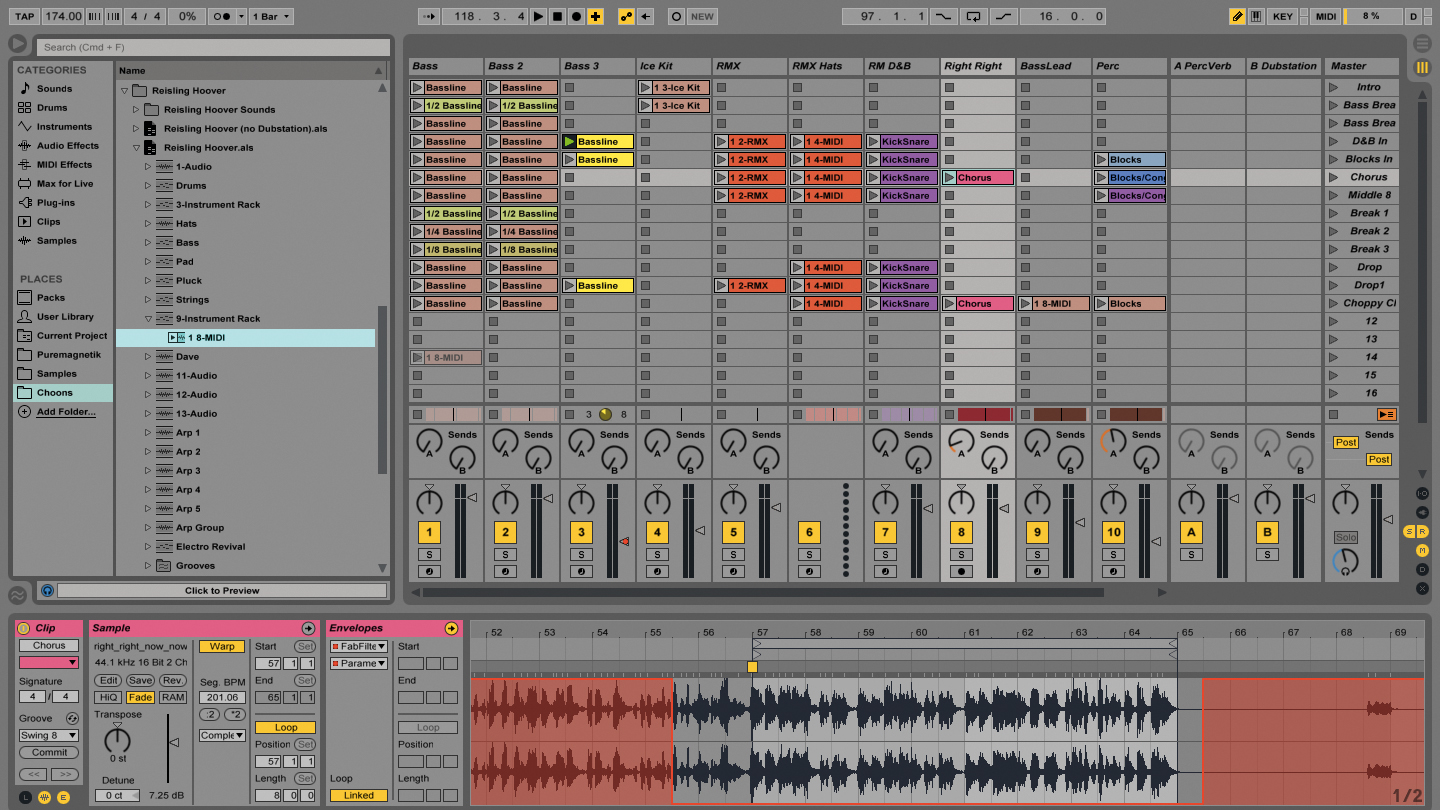
In the years since its initial release, Ableton Live has developed from a cool but limited audio-only loop sequencer into one of the most popular DAWs on the planet.
In terms of interface, however, its core concepts have remained consistent since day one: maximum ease of use, unmatched cleanliness of layout and as little clutter as possible.
Through eight major revisions, the software has managed to repeatedly expand its feature set without compromising in any of these areas - despite version 9 being lightyears beyond version 1 in all areas, it's still based on the same, relatively minimal, two-screen-based environment that it always has been.
While this should generally be seen as a good thing, the downside is that, actually, a bit more complexity wouldn't always go amiss.
The 14 tips below aren't going to completely revolutionise your music making, but each offers a quick workflow improvement that might just help you over a few of Live's little hurdles.
• For many more Ableton Live guides go to our massive learning hub: Learn Ableton Live and Ableton Push: music production tips and tutorials
1. Customise your metronome
It might surprise you to learn that Live's metronome sound is just a pair of samples (Metronome.wav and MetronomeUp.wav, the latter being the downbeat), rather than any kind of real-time synthesised tone.
Want all the hottest music and gear news, reviews, deals, features and more, direct to your inbox? Sign up here.
These samples are contained within the application itself on OS X (Applications/Ableton Live 9.app/Contents/ App-Resources/Misc/Metronome/Samples), and in the folder C:\ProgramData\Ableton\ Live 9\Resources\Misc\Metronome\Samples on Windows.
To change them to the alternative samples of your choice (a shaker and a clave, perhaps... or a Fairlight dog bark and a shotgun), simply rename them, say, MetronomeORIG.wav and MetronomeUpORIG.wav (for backup and to prevent accidental overwriting), then copy your chosen new sounds into the same location, renamed as Metronome.wav and MetronomeUp.wav. Now you're in time on your own terms.
2. Mixing projects
One of the best things about Live's browser is its ability to import tracks and clips from other projects into the one you're working on.
Navigate to any project file in the browser and click its disclosure triangle to reveal all of its component tracks. From there, you can either drag an entire track into the Session or Arrangement view - where it'll be recreated with all devices, plugins and clips in place - or hit the disclosure button on the track in the browser to unfold a list of its hosted clips, which can then be dragged in individually, again along with their associated devices and plugins.
3. Extended automation
The scenario: you have a four-bar-long clip that you're looping in the Session view, but you want to automate a 16-bar reverb swell using a Reverb device inserted on the clip's channel. One way to do it would be to move over to the Arrangement view, pasting the clip out four times and drawing your automation envelope onto the track, but you're not done in the Session view yet, so you'd really rather not.
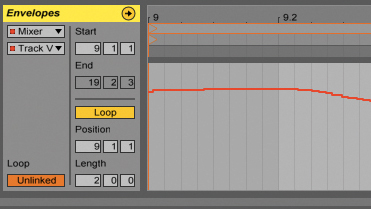
The answer lies in the Envelopes pane of the Clip View - specifically, the Linked/Unlinked button, which, in the latter mode, lets you specify an independent loop length for automation envelopes in that clip, allowing them to run on for as long as you like while the clip itself loops around alongside them.
4. Bleeding useful
Live's Compressor's Sidechain Listen mode can be sneakily used to feed audio between tracks - handy for simulating 'bleed' on acoustic drum kits, amongst other things.
Let's use bleeding a snare drum into a kick channel as an example. In a Drum Rack (which can be nested in a higher-level 'drum kit' Drum Rack, of course), create a Chain to host your kick drum sound, and another Chain below it with a Compressor inserted.
Now create your snare pattern, be it within your 'drum kit' Drum Rack or elsewhere. Activate Sidechain Listen on the Compressor, and set the sidechain's Audio From menus to the snare channel (you'll get a choice of Pre or Post FX, for tapping the signal before or after any effects you might be running on the snare track).
The snare is now routed through (in parallel with its original signal - watch out for phase issues) to the kick drum 'channel', where its level is controlled by the Compressor's Gain knob. Want to get some hi-hat bleed in there too? No problem: just make another Chain in the kick Drum Rack and repeat the process!
You can also use this feature to send the output from individual Drum Rack Chains to Live's main Return channels - something that we're quite surprised isn't a standard feature of Drum Racks anyway.
5. Rapid renaming
Track and Scene names in Live are straightforward text fields, just like in any application, so they can be Tab/Shift-Tabbed through editing one by one - no clicks required.
6. Perfect curves
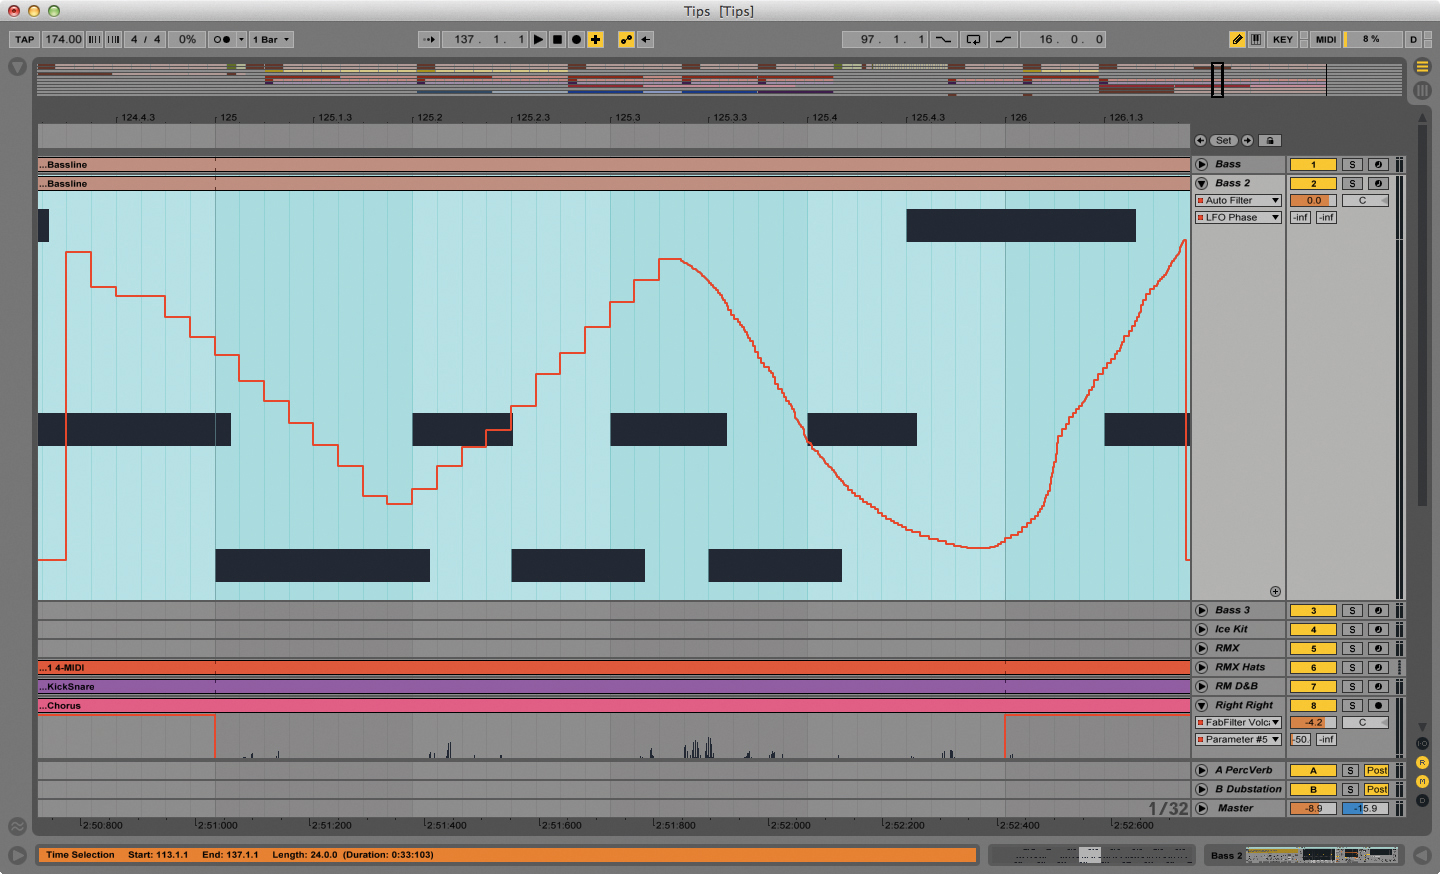
When drawing automation with the pencil tool, the envelopes' breakpoints will snap to the grid - great for rhythmic work, but not so useful for those smooth filter sweeps. The solution? Simply hold down the Alt key while drawing your envelope to deactivate snap, enabling the manual entry of high-resolution curves.
7. Fine tuning
For much finer control of Live's mixer and device parameters than you get by just dragging them with the mouse, hold down the Cmd (Mac) or Ctrl (PC) key while making your adjustments - total precision!
8. Arrangement jumping
Clicking in the Overview at the top of the Live interface jumps the Arrangement View to wherever you click, at its current zoom level. You can also shuttle the view window along by its own length by holding Cmd/Ctrl-Alt-Shift and clicking either side of it. Double-clicking anywhere zooms out the Arrangement View to show the whole project.
9. Time travel
Live's horizontal Scenes in Session View are great for experimenting with on-the-fly arrangement ideas. This we know.
One of their lesser-known features, though, is that each Scene can be set to instantly change the project time signature and tempo when triggered by simply naming it 'X/X, Ybpm', where X/X is the time signature and Y is the tempo.
10. Dub delay
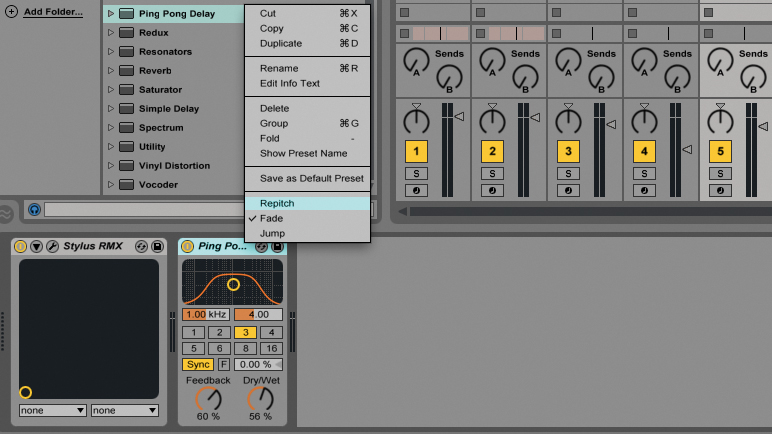
While Live's two regular delay units - Ping Pong Delay and Simple Delay - are wholly 'digital' in terms of sound and functionality, by right-clicking the title bar of either, you can switch them to the Repitch transition mode, which causes tape/analogue-style pitchshifting when the delay time is adjusted. All manner of wild, dubbed-out sounds can be created by automating delay times in Repitch mode.
11. Fade together
Although you can group tracks in order to gain simultaneous control over all of their levels, panning and sends, it is also possible to adjust the same parameter on multiple mixer channels at once by Cmd/Ctrl-Shift-clicking each channel to select them, then adjusting the parameter in question on one.
All the others will move with it, proportionally rather than 1:1 - ie, if you're lowering two faders, one starting at the very top of its range and the other starting halfway down, the second fader will move at half the speed of the first in order to reach zero at the same time as the first.
12. Slimming world
In addition to enabling simultaneous parameter adjustment, selecting multiple tracks at once also lets you resize them together - change the width of one and the rest will follow. And if you need to adjust the widths of every track in your project at the same time, hold down the Alt key and resize any one of them and the rest will widen or narrow proportionally.
13. Running start
Live's regular behaviour when playback is initiated is to jump the playhead back to the Arrangement Insert Marker in the Arrangement view, or the Start Markers of all clips in the Session view, and start playing. However, if you want playback to start from the current playhead position in either view, just hold down the Shift key when you hit that Spacebar.
14. Mass automation
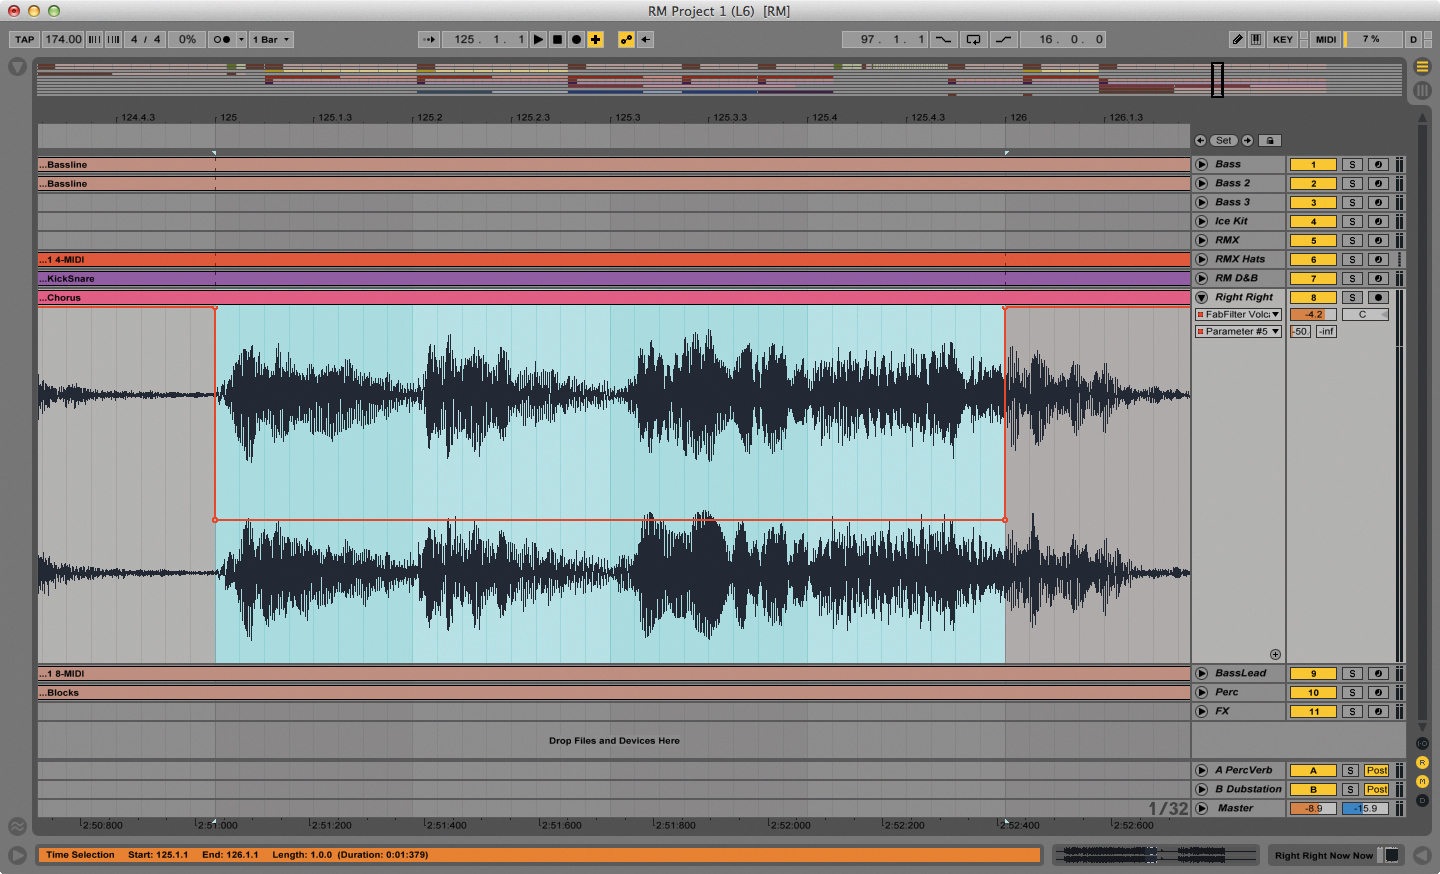
To apply automation to just a small section of a track or clip, use the pointer tool to select a range, select the parameter to automate, move the pointer close enough to the automation line to turn it blue, then drag it up or down. Breakpoints will be created at the edges of your selection, splitting it off for adjustment.
Computer Music magazine is the world’s best selling publication dedicated solely to making great music with your Mac or PC computer. Each issue it brings its lucky readers the best in cutting-edge tutorials, need-to-know, expert software reviews and even all the tools you actually need to make great music today, courtesy of our legendary CM Plugin Suite.
