10 weird production tricks that will improve your mixes
You won't believe what happened when we tried out number 8…

Strange but true
If the slew of dubious clickbait ads online is anything to go by, there's a weird trick for just about anything, from curing serious ailments to making your millions. While we can't guarantee you'll lose 50lbs a week stuffing your face with açaí berries or that you'll earn £500 a day from a questionable multi-level marketing scheme, what we can offer is a trip through the looking glass into the strange world of unconventional music production techniques.
Keeping on top of your mix is all about being equipped to tackle any curveballs thrown at you. The well worn practices of day-to-day mixing will be familiar to experienced producers, but there may be times when you need that little something extra to get you out of a pickle. Knowing your tools inside out is one thing, but knowing how to bend them to your will to create truly unique sounds and solutions is a whole different ballgame.
So watch as we take the rule book and toss it out of the window to show you how a sideways glance at traditional tools can open up sonic avenues you never knew existed.
MusicRadar's Mixing week is brought to you in association with Softube. Check out the Mixing week hub page for more mixing tutorials and tips.
1. Sample yourself to make FX
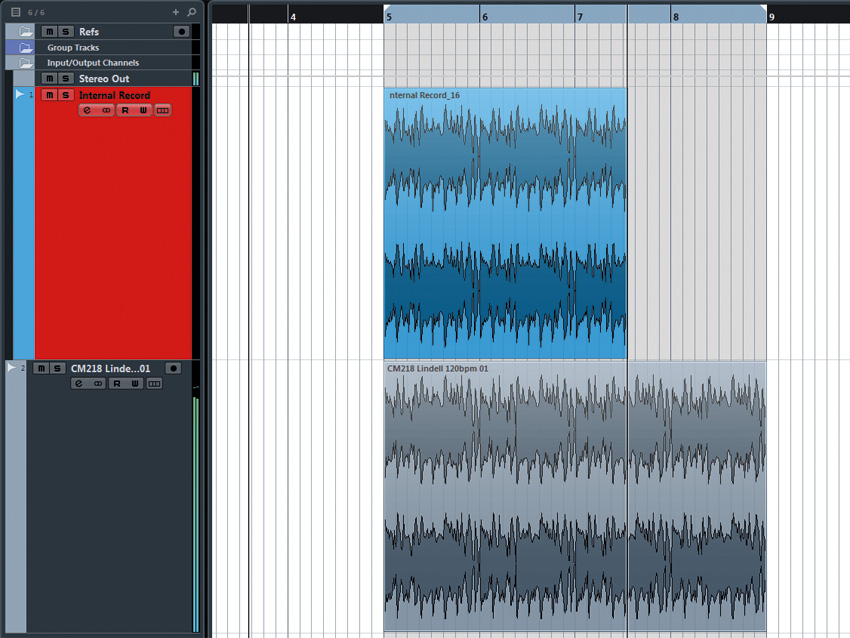
The standard drill for atmospheric FX is to reach for the lasers, sweeps, splashes and drones from your sample library, but your track itself is a treasure trove of atmospheric delights, and textures that sing in harmony with your mix can be achieved through resampling your own source material. The theory is simple: by using samples of your own track as the basis for creating atmospheric effects, you create sounds that sit naturally in the mix because of the common sonic imprint.
The process is easy, too: simply render out a section of your track, bombard the file with the usual onslaught of effects, then render these back out as atmospheric samples. For example, we could put a long reverb on a section, automate a band-pass filter to sweep upwards, and add an interesting delay effect.
2. Faking reverse reverb in real time
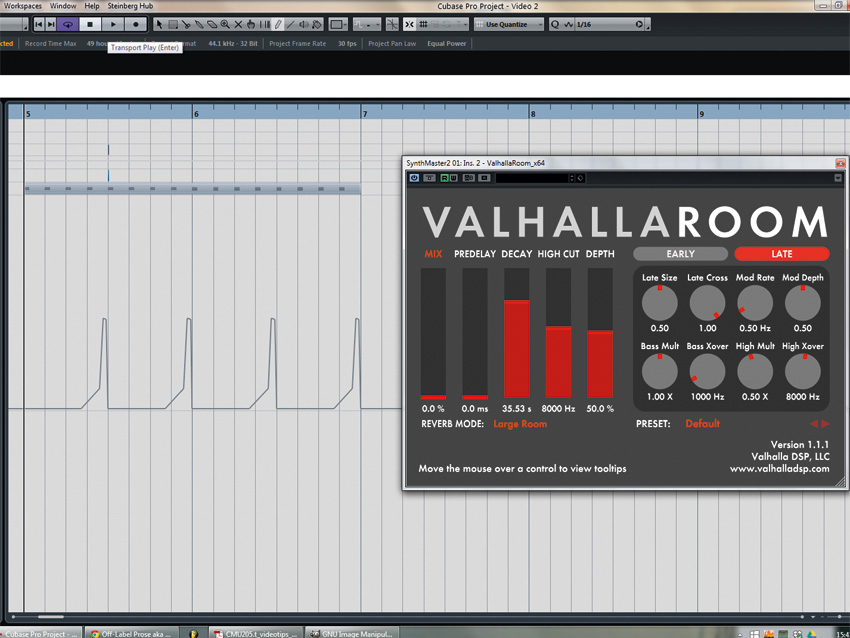
Unless you’ve been living in a cave for the last 60 years, you’re probably familiar with the reverse reverb effect - you know, reverse some audio, stick a reverb on it, render it out and reverse it back again for that haunting, ethereal sound - but a similar effect can be achieved without all that faffing about.
Instead, by adding an extra reverb and automating its mix amount, we can get that classic rushing reverb sound with minimum fuss, in real time.
3. Stretching for grit and character
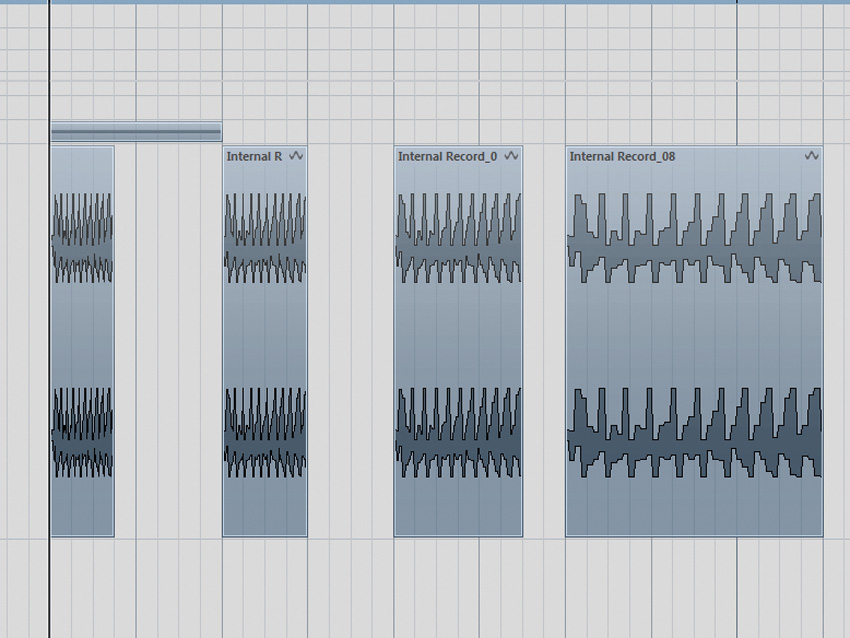
Timestretching artifacts are usually to be avoided but can be used to roughen up the timbre of your bass. Be sure to experiment with different algorithms to find the one that best suits the character you’re going for.
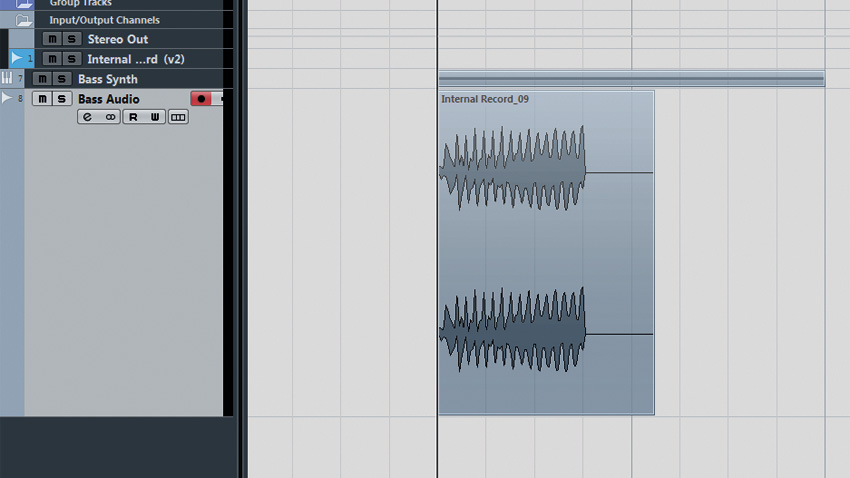
Step 1: When it comes to timestretching for character, smoothness and transparency just don’t matter, so pick the roughest algorithm you can get your hands on. If your bass is playing from a synth, render it as an audio file and import it into your project.
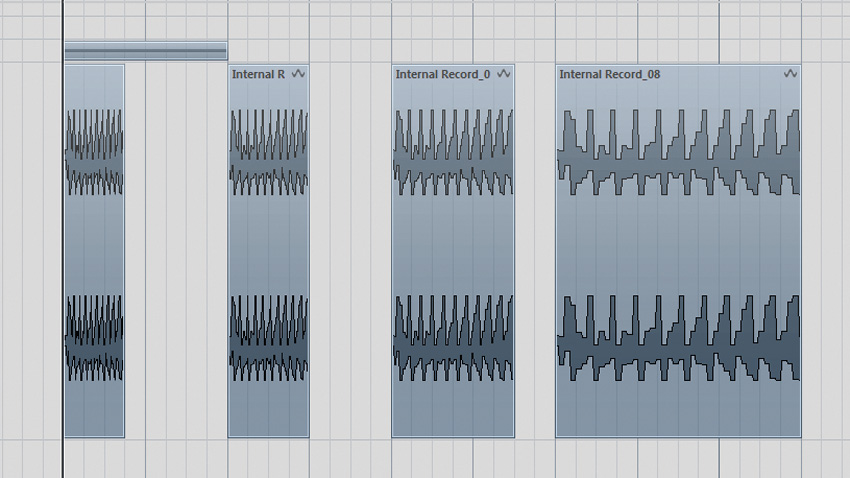
Step 2: Start by chopping your bass note into half the length you need and duplicating it a number of times so you have some room for experimentation. Stretch each part to differing lengths to find the sweet spot where the bass really growls.
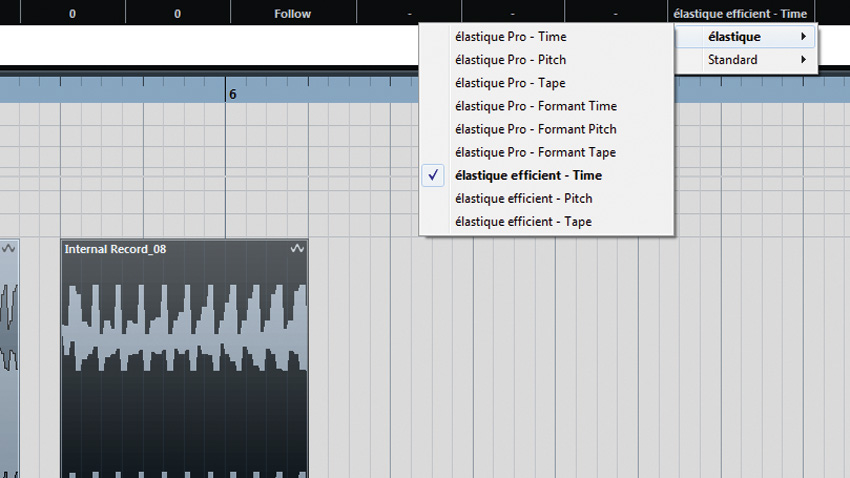
Step 3: It’s always worth trying out different algorithms to hear what works best with your source material, as each one will impart a different texture. Here we’ve settled on elastique efficient - Time, the “cheapest” of the lot. Now you can load the sample up in your sampler and be on your merry way.
4. Automation as a dynamic EQ
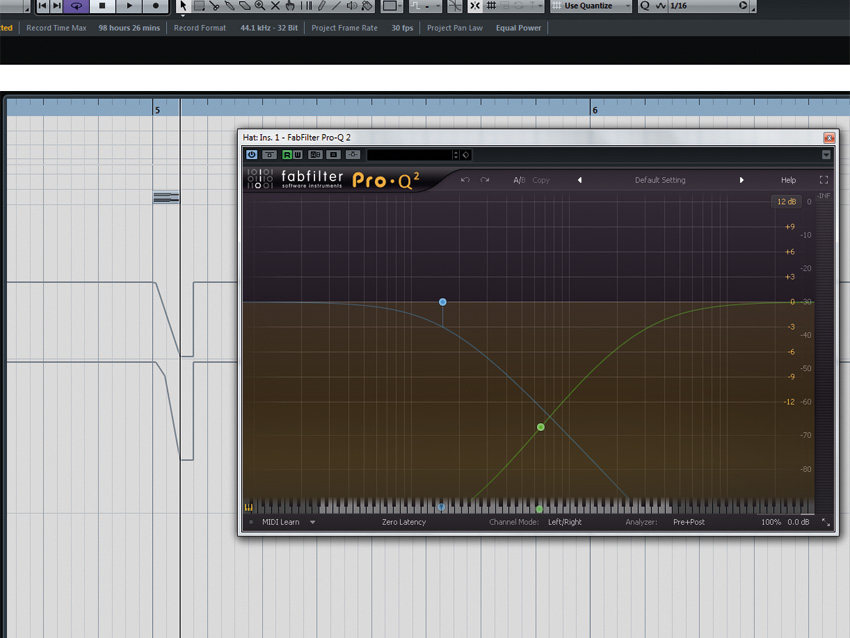
Dynamic EQ plugins apply frequency-shaping that responds to the incoming signal - this can be great for controlling particular parts of a sound’s envelope, such as boosting the top end during a transient or cutting a recurring problem frequency only when it appears. These plugins can cost a pretty penny, but with clever use of automation, you can mimic the results using a standard EQ without putting the hurt on your wallet.
For this trick, any EQ with automatable gain values will work. The idea is to use your DAW’s automation to draw in the gain envelope in the same way a dynamic EQ will follow the envelope of the sound. By using our sequencer’s automation drawing tools, we can emulate the different responses for attack and release of the EQ band as well as the curvature of each stage.
This technique isn’t limited to the gain parameter of each EQ band - try automating the frequency of filters and shelves to help clean up sounds on the fly without taking too much away from the sound.
5. Sound design with distorted reverb
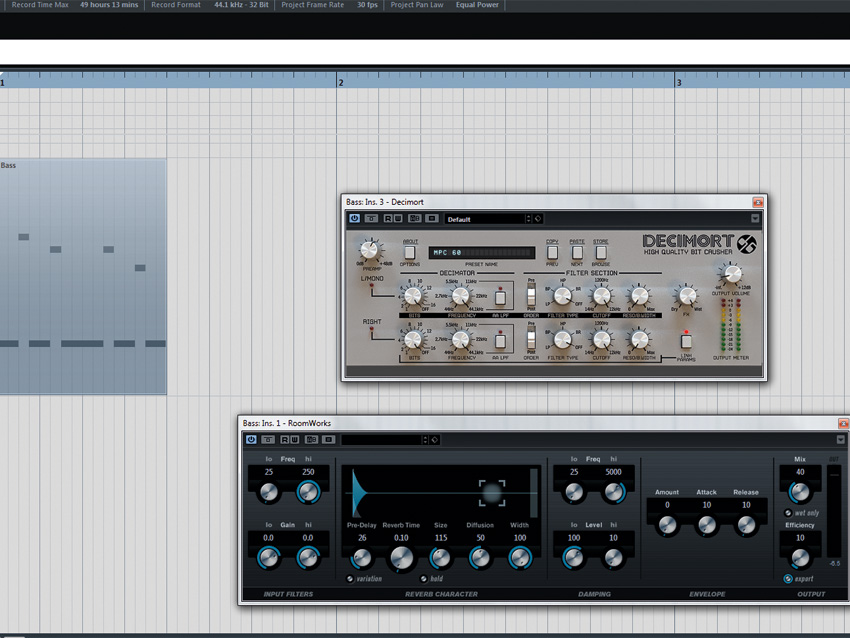
Distorting the early reflections of a reverb can really thicken a sound and give it a bold, uncompromising texture. Simply place the reverb before a distortion unit, turn off the late reflections/tail and adjust the reverb size, mix and pre-delay to sculpt the timbre to your needs.
The barbaric destruction of the early reflections by the distortion effect adds chunky stereo presence and tone unlike any widening tool.
6. Dual synth spatial trick
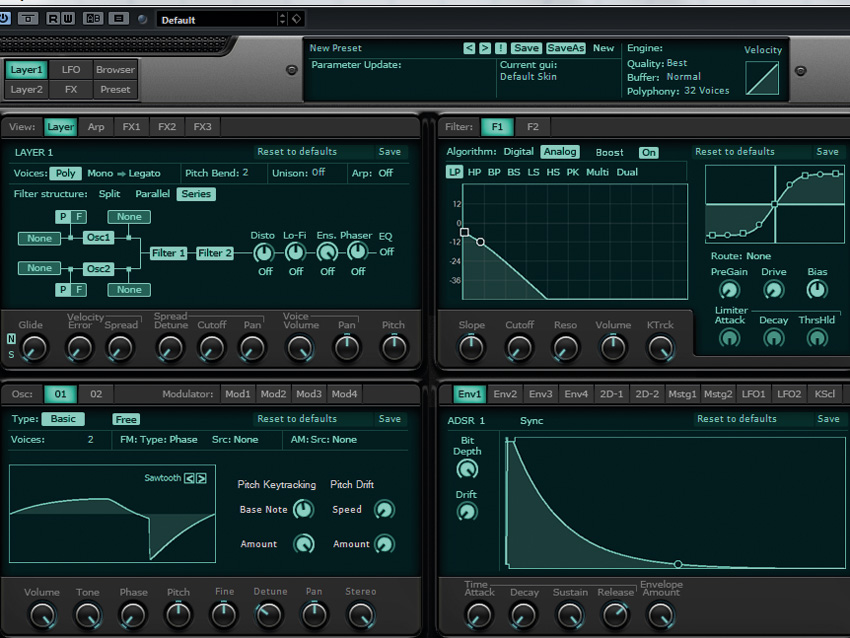
Reverb is the obvious choice for space and ambience, but sometimes you end up with a sound that just doesn’t seem to sit in the mix the way you want it to. Sure, you could mess around with different settings, algorithms and effects to get it to play ball, but a painfully simple way of achieving a clean reverb texture that gels tightly with your synth without washing out the sound is to use the synth itself as a reverb unit.
The idea is to make a reverb-like texture by duplicating the synth channel and modifying the patch to include more stereo width, subtle pitch modulation and a noisier top end to fake the texture of late reflections. After that we crank up the amp release to mimic the decay of the reverb and further control it by adding subtle filter modulation to soften the sound as it decays into silence. While this trick won’t work on every sound, it’s awesome when it does.
7. Adding flavour to delays
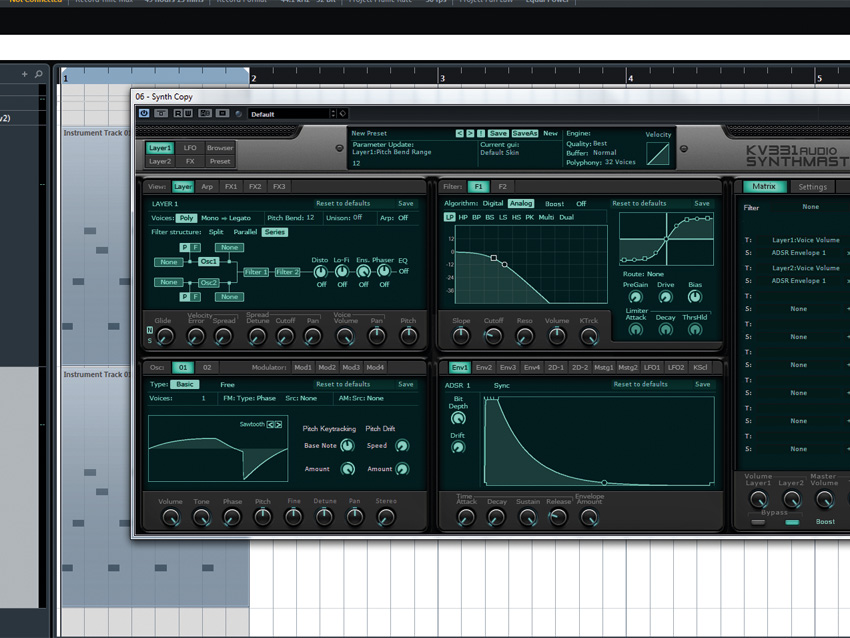
Next time you reach for a delay plugin, why not try duplicating your source instrument first, so you can personalise the effect?
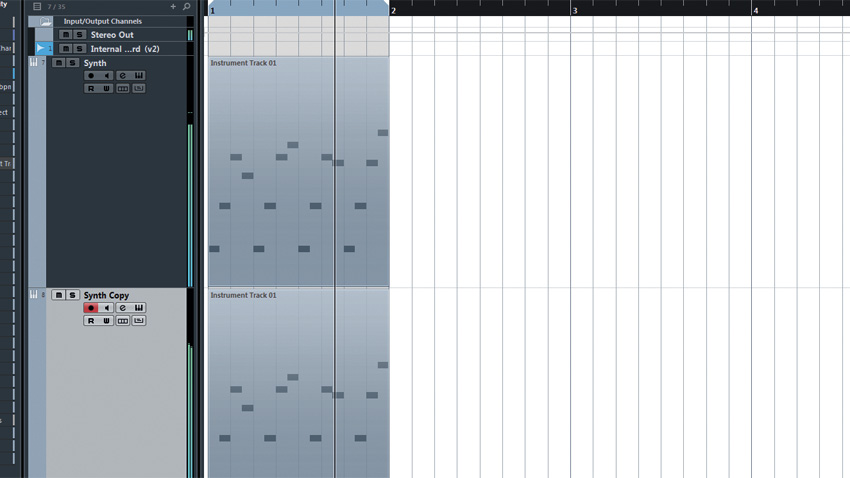
Step 1: Program or play in a MIDI part for the synth or sampler of your choice, and make a duplicate of the instrument and its MIDI part. We’re now going to tweak the pitchbend control of the copied instrument only.
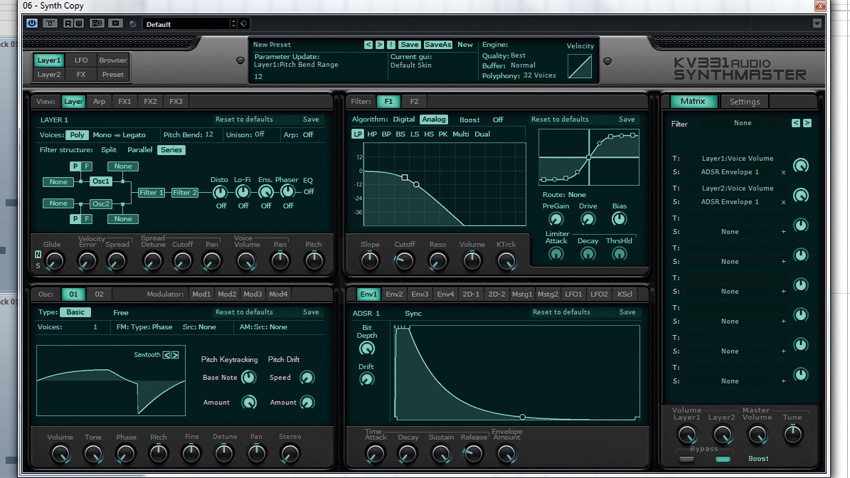
Step 2: In the instrument settings, set the pitchbend range of the second instrument to around +12 semitones, and select this instrument to receive MIDI input. A larger pitchbend range will have a more pronounced effect, whereas a smaller one will allow finer control.
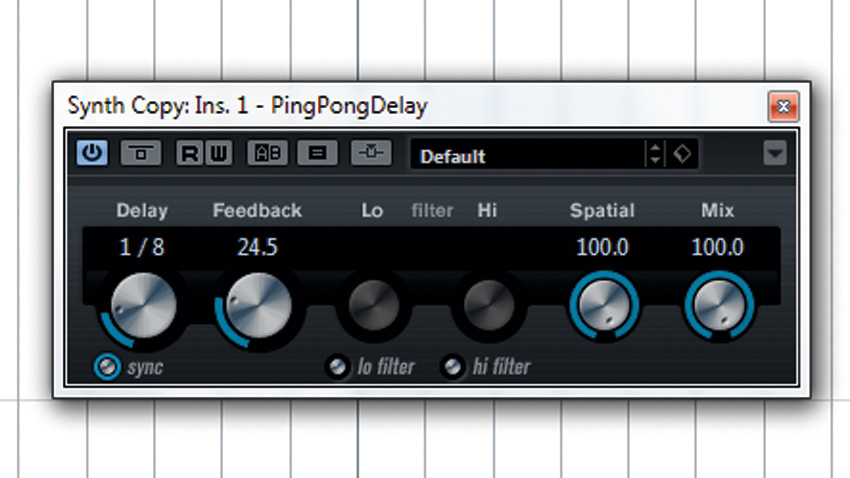
Step 3: Load a ping-pong delay into the second instrument’s insert slot, choose a delay time, set the Feedback to 90% and the Mix to 100% wet. Now we can essentially control the pitch of the echoes by manipulating the pitchbend value to create wild chorus-like delays.
8. Weird FX using convolution
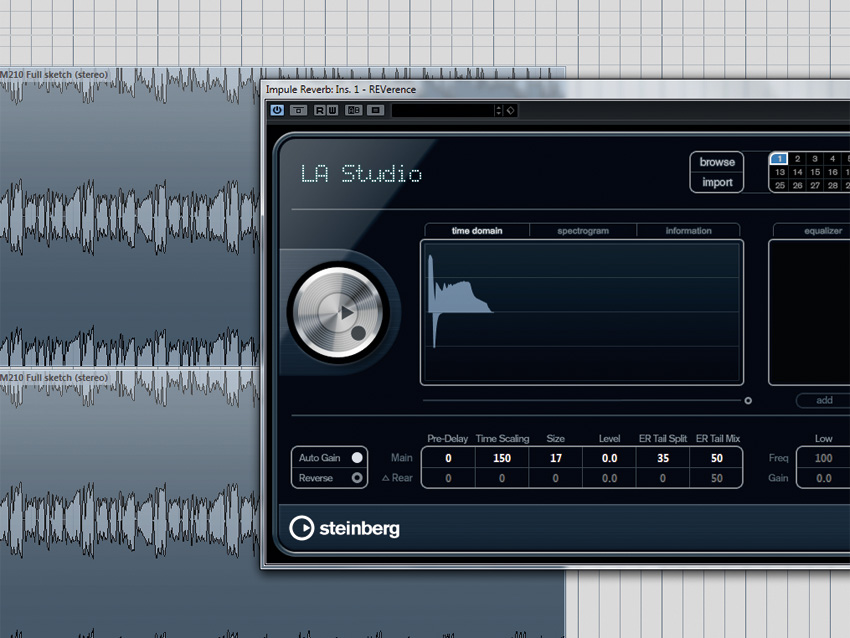
The impulse response files that you feed into your convolution reverb effect are nothing more than plain old audio files, so from the plugin’s perspective, any file is as good as another.
This is something we can take advantage of to get some truly bizarre sounds, loading a normal sample (such as a pad, atmospheric, bassline, etc) into the reverb instead of an actual reverb impulse, and using this quasi-reverb as a psychedelic effect. The results are unpredictable, to say the least, so if you don’t get something cool right away, keep plugging in different audio files until you hit sonic gold.
9. Vibrato for smooth tops
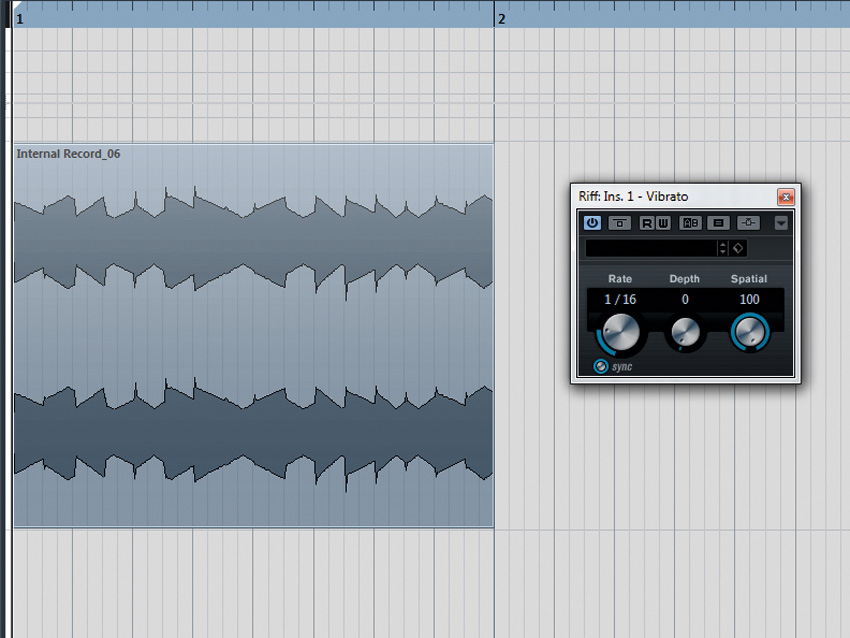
If you’ve not seen the phrases “vibrato effect” and “handy high-end softening tool” in the same sentence before, you’re not alone. Used to the extreme, we get that trademark warbling sound; but when used in moderation, vibrato can gently smooth the higher frequencies. The bonus of this technique is that the vibrato itself imparts a character to the signal that will give some much-needed movement to sterile sounds.
Some vibrato effects allow you to spread the wet signal across the stereo field, giving a spatial dimension. Less is more, though, as we’re aiming for transparent smoothing, not a wobbly mess.
10. Multiband kick warping
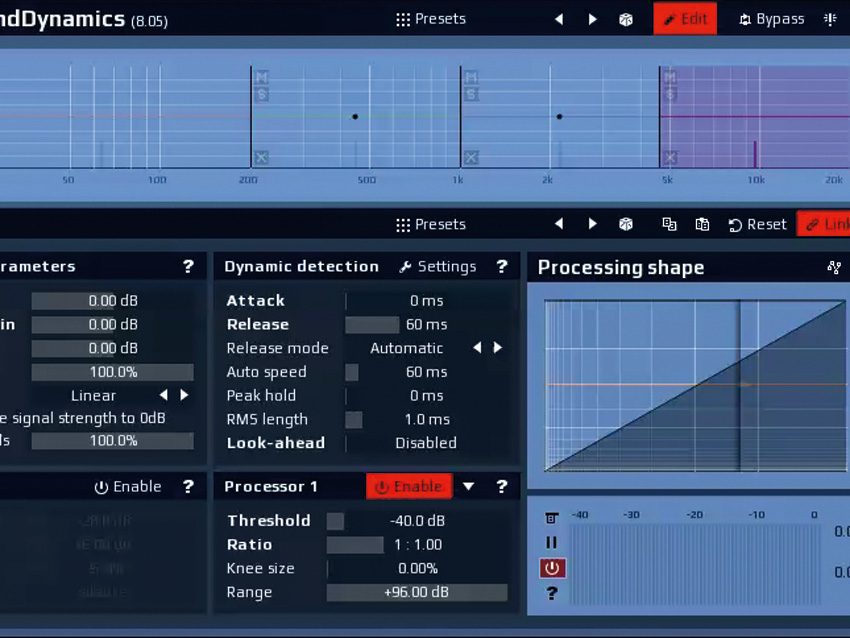
Multiband effects use crossover filters to split the frequency spectrum into separate bands for independent processing. A lot of work goes into making these filters as transparent as possible because otherwise the comb filtering effect at the crossover points can cause noticeable dips in the frequency spectrum. However, we can embrace these artefacts to transform an acoustic kick drum into a more artificial, electric sound.
We can use pretty much any multiband effect for this purpose, but the important thing is that we don’t actually want the effect itself to do anything, so make sure you turn off any processing going on in each band. By using very steep filter slopes and stacking multiple instances of the same multiband effect, the exaggeration of the crossover artifacts creates a zappy, synthetic kick. Adjust the band crossovers to tune the effect.
Computer Music magazine is the world’s best selling publication dedicated solely to making great music with your Mac or PC computer. Each issue it brings its lucky readers the best in cutting-edge tutorials, need-to-know, expert software reviews and even all the tools you actually need to make great music today, courtesy of our legendary CM Plugin Suite.

