10 ways to use noise to enhance your mixes
Two handfuls of advice to shake up the way you use the white stuff

Noisy but nice
MIXING WEEK: Most of us associate the term ‘noise’ with something undesirable. Noise is the sound of the neighbours next door, drunk people in the street disturbing our sleep, or if you’re a producer, an irritating computer fan getting in the way of an otherwise beautiful vocal. But noise is essential to modern music. Whether used as a special effect, a layered synth patch or as a percussive part, noise is not only our friend, but a hugely creative tool.
So what exactly do we mean by ‘noise’? In production, it’s used to refer to one of a few specific variations of a random audio signal, which results in that ‘TV static’ sound.
White noise contains all the frequencies in the audible range (20Hz-20kHz) at equal power. This seems counterintuitive to anybody who’s heard an untuned analogue radio or TV hissing away at a seemingly high frequency, but that’s caused by our ears being more sensitive to upper frequencies (and the limited frequency response of the average radio or TV’s speakers).
Pink noise is very similar but features equal energy per octave - ie, it slopes off at 3dB per octave across the frequency spectrum, and is closer to the way we hear. Then there’s low-frequency noise - regular noise passed through a filter to isolate lower frequencies.
While ‘the colour of noise’ might sound like a Terry Pratchett novel, it is in fact an important distinction in many contexts. For production purposes, white is the most commonly used for sound generation, featuring in countless synths and plugins (often to simulate tape/analogue hiss), so unless we explicitly state otherwise, it’s fair to assume white is the hue to which we're referring.
In this feature, we’re going to explore useful and creative ways of utilising noise in our productions. This is by no means an exhaustive guide, but these tips will get you thinking about ways to adapt and build on them, and perhaps even invent some of your own!
MusicRadar's Mixing week is brought to you in association with Softube. Check out the Mixing week hub page for more mixing tutorials and tips.
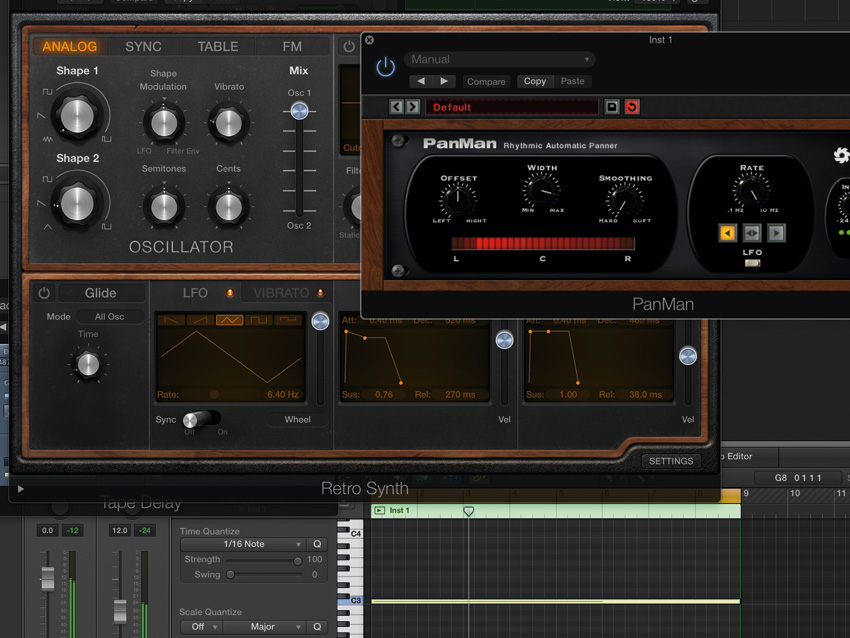
1. The classic noise sweep
The ‘noise sweep’ is a bread-and-butter synthesis technique. Take a raw white noise signal, apply a resonant low-pass filter, then open and close the cutoff and resonance to create wind-like rises, whooshes, bursts and impact FX that can be used to transition between, emphasise or intensify sections of a track. You can do it using a synth, or by using a white noise sample and a filter plugin.
Generally speaking, noise FX like these are employed in order to fill out the stereo field, so generously apply widening, auto-pan, delay, reverb and modulation effects. Increase or decrease an auto-panner’s speed and intensity to ramp up excitement before a drop, and slather a sweep in reverb and delay to soften its effect, sinking it into the track. Rhythmically, you can always get things moving with trance gating and sidechain pumping.
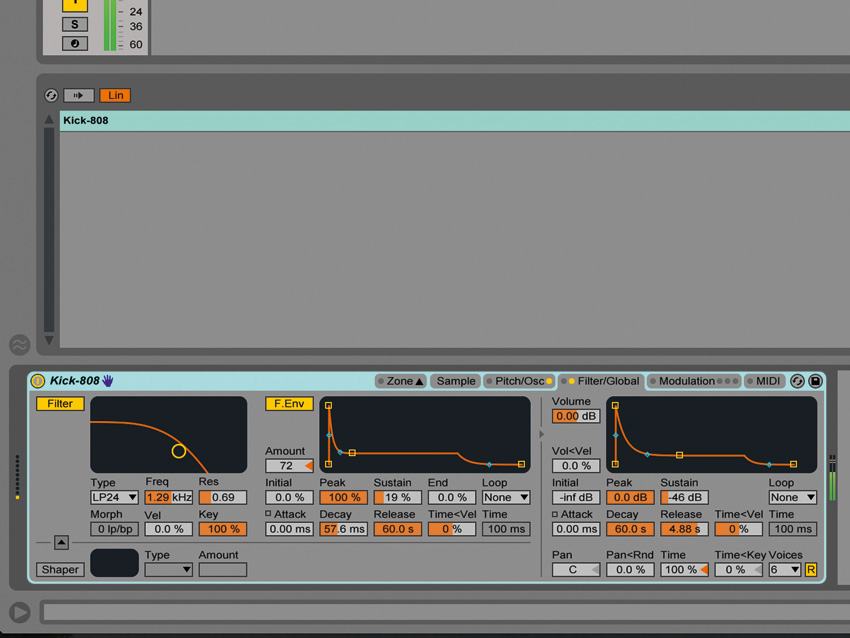
2. Noise as a drum layering ingredient
A concentrated burst of noise can be added to percussive sounds to reinforce them, adding impact, click or bite.
One method is to play a noise-outputting synth at the same time as the sound you want to enhance, then adjust the noise’s volume envelope in context: a tightly decaying envelope will give a short click for emphasising transients, while a longer decay can provide fizz or splash.
Alternatively, load up a white noise sample in the same sampler as your percussive hit, then use a custom low-pass filter envelope so only the initial burst cuts through, pulling the two sounds together.
Synth noise over kick drum
Kick plus sampler's noise oscillator
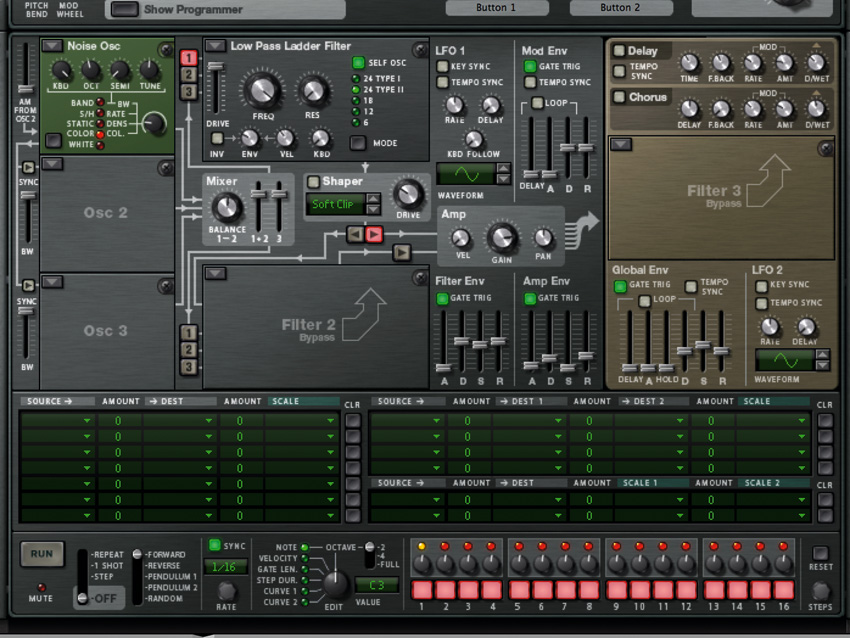
3. Synthesising drums with noise
Noise has always been a vital part of drum synthesis. Many synth hats, cymbals and snares are essentially just enveloped noise. If synthesising drums with noise, audition each flavour carefully.
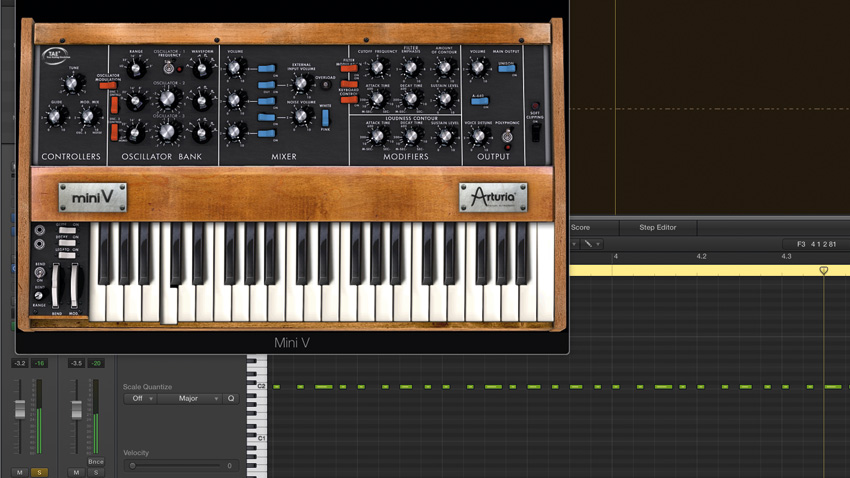
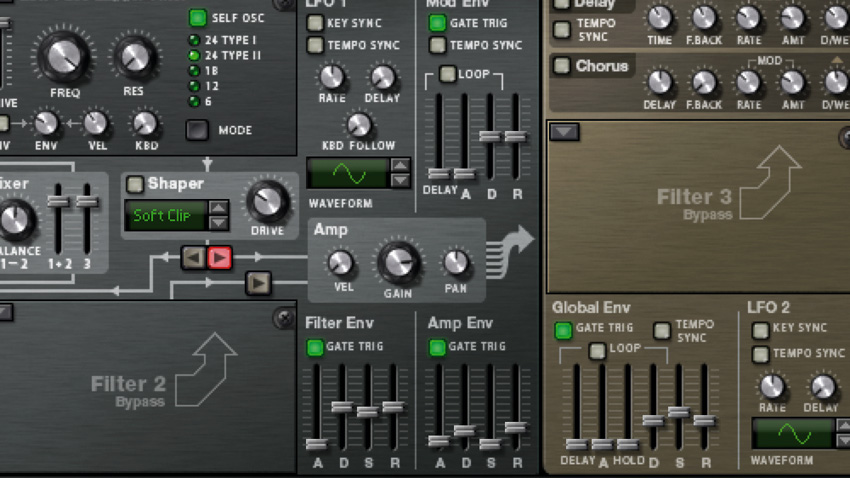
Step 1: Noise can be used to synthesise a combined closed- and open-hat pattern. Set a tight volume envelope: zero Attack, maximum Decay/Sustain, and a short Release. Use short MIDI notes for closed hats, and long ones for open hats. Use shuffle and fast 16th-note patterns for extra impact. White noise, with its bright sharpness, works well for hi-hats.
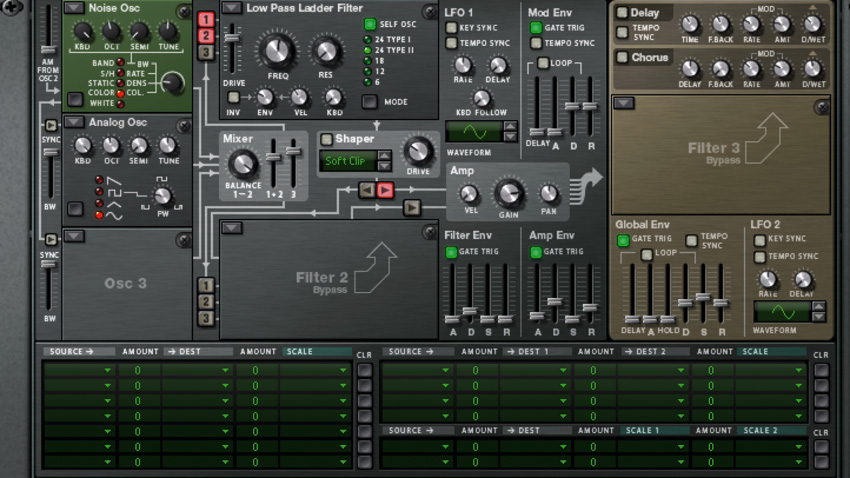
Step 2: Pink noise is great for making snares from scratch. Set up your synth’s volume envelope with an Attack of 0, a very fast Decay, low Sustain and a medium Release, giving the impression of a snare strike and extended reverberations. If using white noise, roll off undesired treble frequencies with EQ or filtering.
Step 3: To create toms, use the snare technique above, but add an additional sine wave oscillator. Keep the envelope similar but with more Sustain and a longer Release to allow the deeper tone to reverberate for longer. An enveloped low-pass filter envelope can pull the high frequencies down quickly, creating a strike with no sustained hiss.
4. Natural noise as ambience
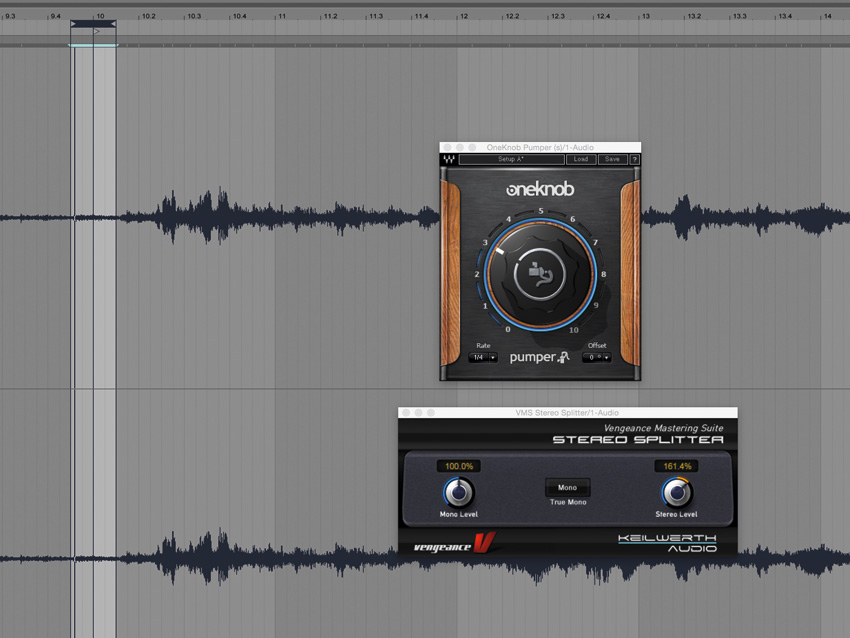
Real-world noise can be employed as an intrinsic part of a groove’s rhythm. A trend in modern dance music is to add a recording of ambient noise into a track - people chatting, the sound of the street, etc - and use it to not only add subtle (or overt) depth and space, but also additional, almost subconscious groove.
Start with a segment of ambient noise: anything with noises and vocal murmuring (such as the sound of a cafe, street or airport) is good for character. Create a short loop of it - a quarter, half or, at most, one bar – and layer it underneath your mix. Adjust the looped region or even chop the noise up into sections until you have something that catches a groove with your other parts.
Next, it’s time to fit it into the mix, helping it to gel in seamlessly but not obviously. First of all, filter out any muddy rumble from the bottom end, then apply sidechained compression to fit the noise into the rest of the track.
5. Tonal noise with band-pass filtering
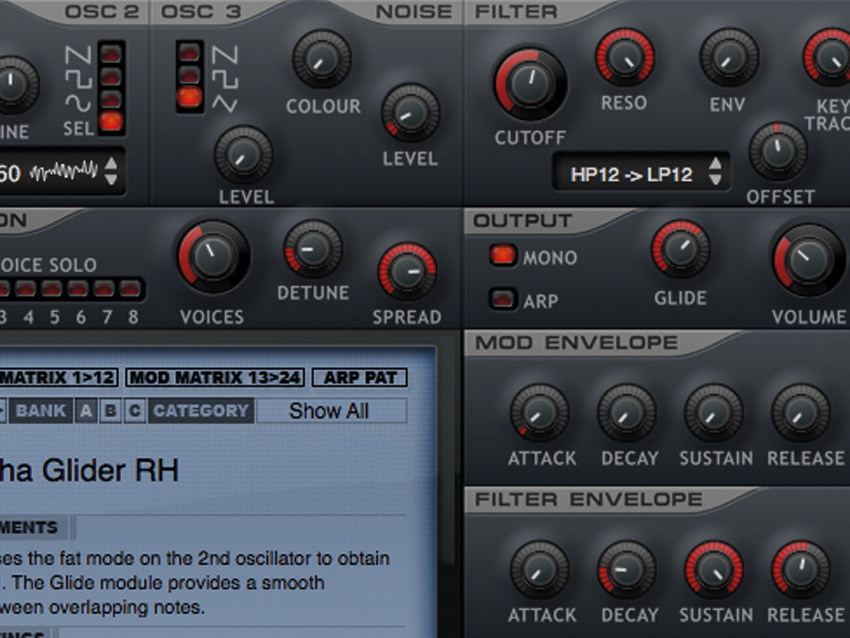
White noise is inharmonic and atonal in nature, but filtering can be used to isolate frequencies of a discernible melodic pitch. This kind of noise filtering is ideal for creating experimental bleeps and unexpected musical patterns - filter keytracking in a synth can help here. Try modulating a resonant band-pass filter’s cutoff with a square LFO to create stepped sequences at various pitches.
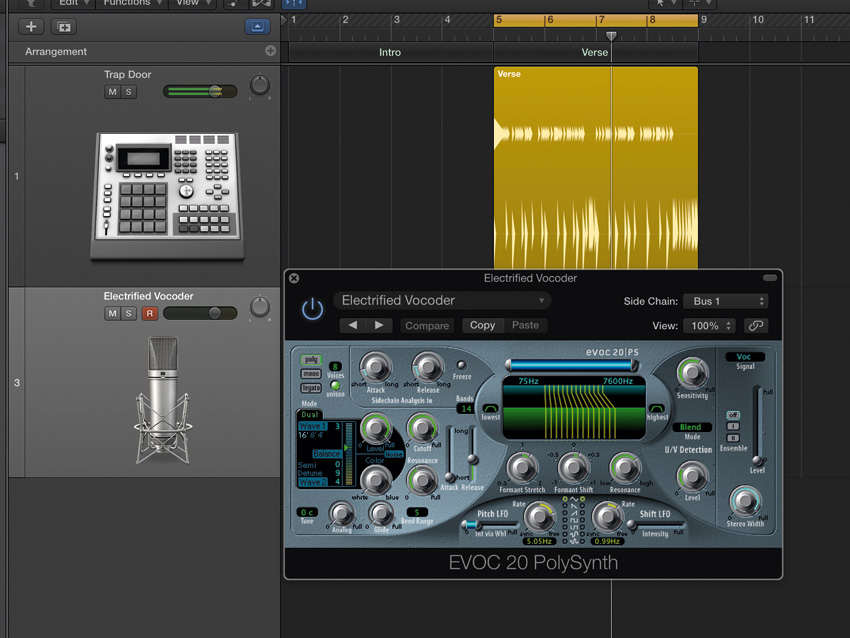
6. Vocoders and noise
Vocoders apply modulated filtering - usually with a voice as modulator - to a carrier signal, which is often a harmonically rich synthesised tone. The harmonic information is supplied by the carrier, while the dynamic envelope modulation is supplied by the modulator, causing rich synth patches to ‘sing’, or percussion loops to play tunes. White noise can be mixed with the carrier to enhance sibilance, improve intelligibility, or even to create transients when vocoding more percussive material.
Noise can also be used as the sole carrier signal, creating ghostly, ethereal transformations, particularly over speech or vocals. Further interesting results can be achieved by making noise the carrier signal: use a percussion loop as the modulator, then layer this noise-based signal with the original, unprocessed loop.
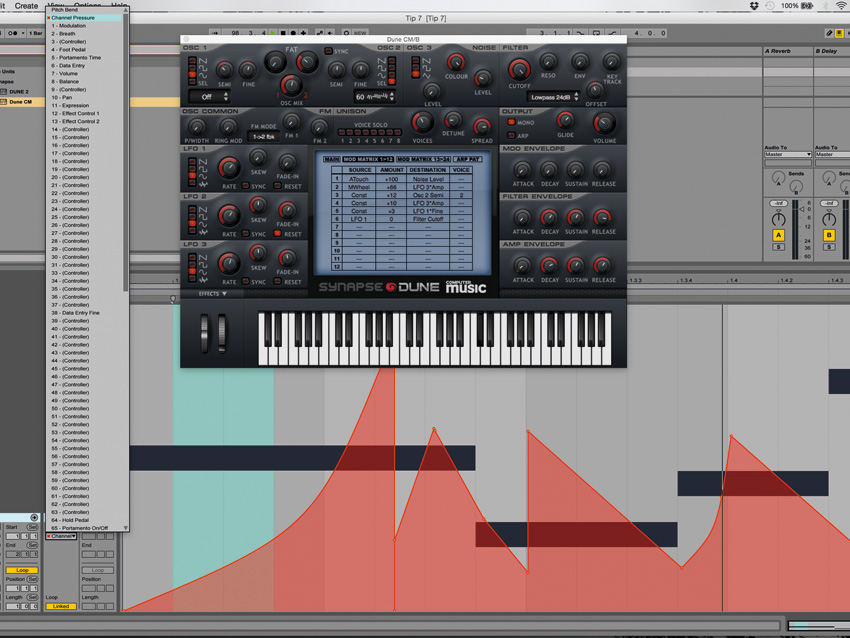
7. Enhancing synth patches with noise
Plenty of synths have noise generators as sound sources, but how can we best put these capabilities to good use?
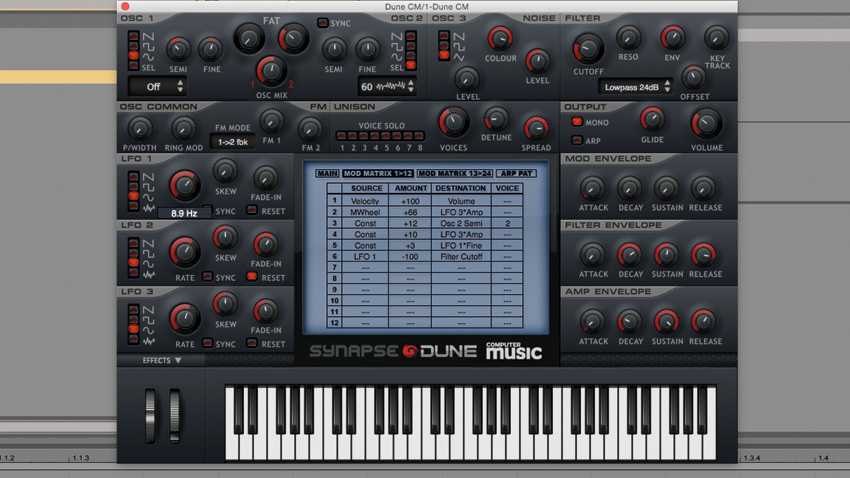
Step 1: If your synth patch is being treated by a modulated filter, adding a noise oscillator will accentuate this movement. To blend the two together better, keep the same filter and amplitude envelope settings applied across noise and non-noise signals.
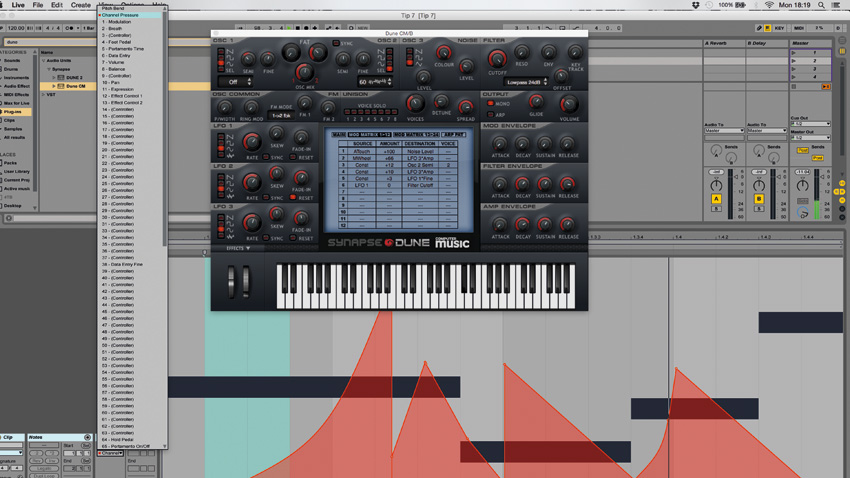
Step 2: Set the filter to respond to aftertouch (or other performance controls), and varying strengths of note will change the amount of noise output. If your synth allows multiple envelopes and routings, you should be able to assign aftertouch to the noise oscillator in isolation.
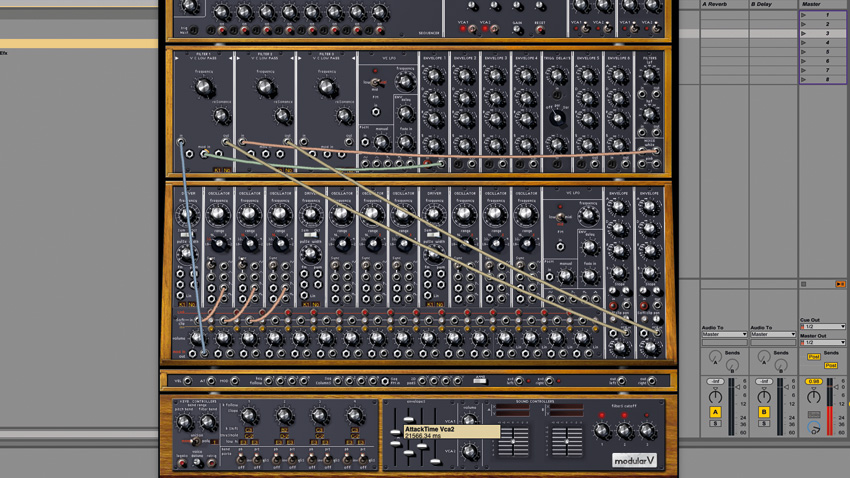
Step 3: Longer-lasting amplitude and filter envelopes can lead to sizzling tails with the noise rising after the main note, or rising, intense effects for notes that are held for longer. You can enhance the effect by modulating a filter over the overall synth output.
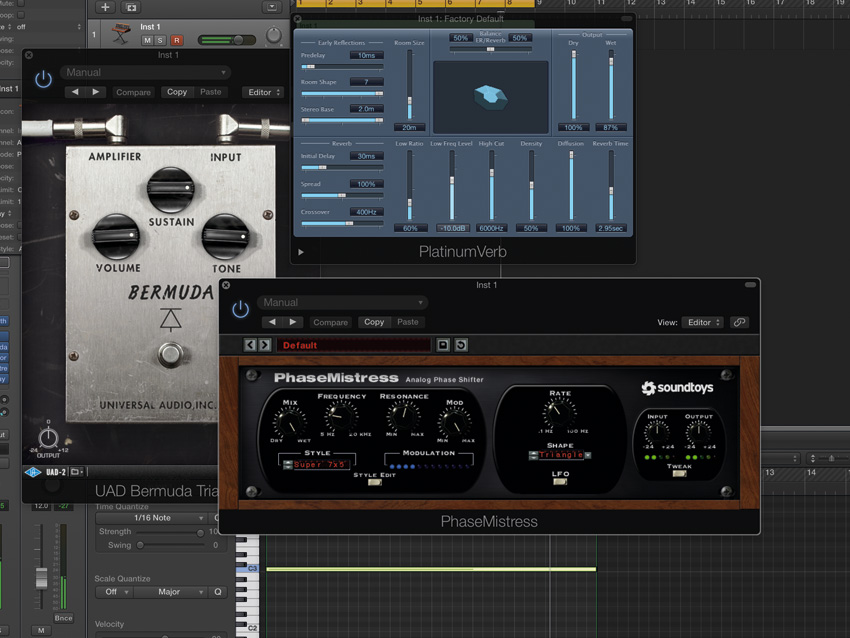
8. Distorting noise
Almost all noise is atonal and characterless, making it a blank canvas for distortion. Most distortion - and many modulation effects - will attenuate some frequencies and accentuate others. Milder saturation applications will add thickness and push noise further forward in the mix, while more extreme distortion processes help induce dirty, aggressive timbres.
Knowing where to place these kinds of additional effects in the signal path is key. Placed first in a chain, they will obviously affect the dry noise at source; placed after other devices in the chain (eg, filtering and reverb) the distortion effect will vary as the incoming signal fluctuates in level or tone.
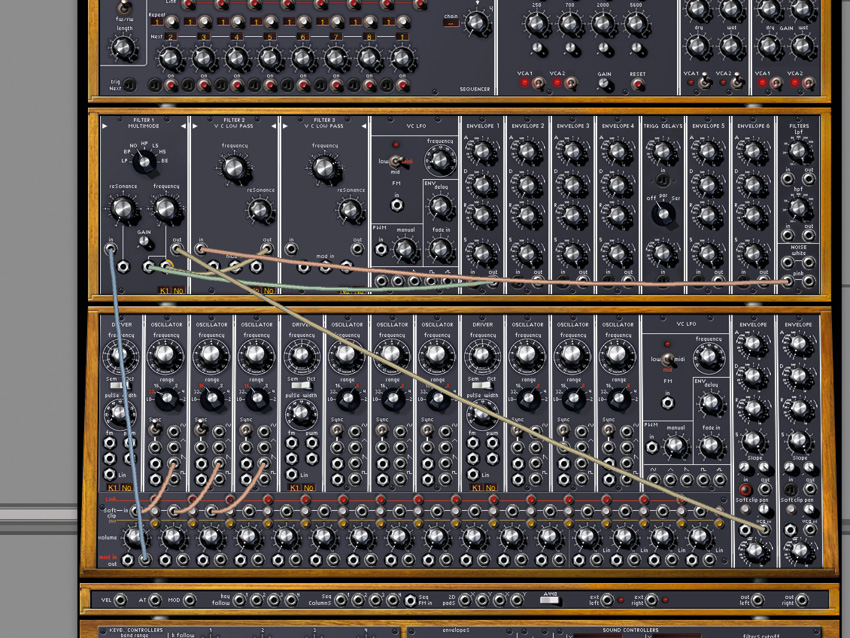
9. Noise as a mod source
As well as the actual sound, we can use noise for modulation purposes. In fact, many synths allow a noise oscillator’s frequency to modulate other parameters - said noise is usually filtered first, to remove high frequencies that might cause the modulation to be too fast (although this can be a cool effect in itself!).
A classic way of achieving an unusual wandering vibrato is to apply a low-pass filter to white noise and then use this low-frequency energy instead of a sine wave to modulate a target such as filter cutoff or pitch. Remember that the result won’t be exactly the same every time when you do this.
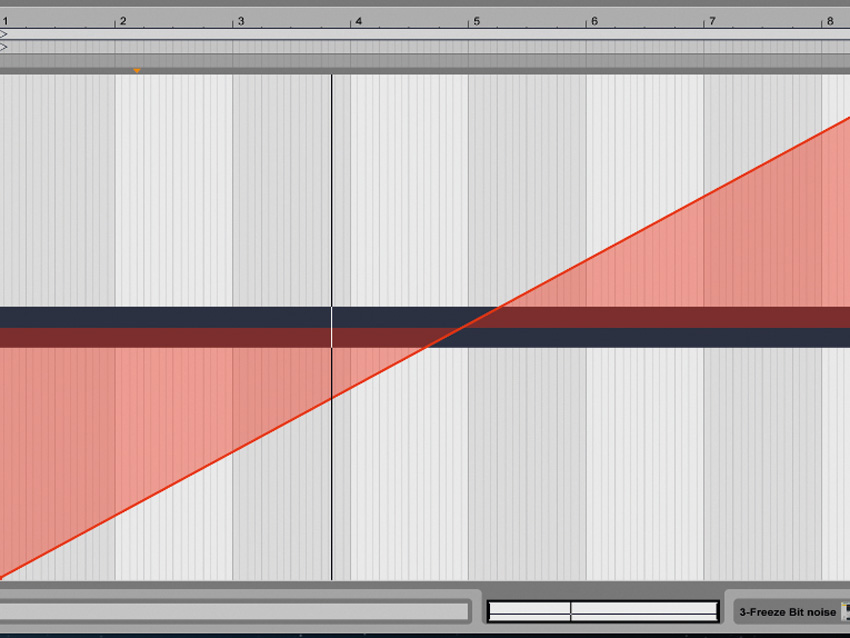
10. Pitching noise in a sampler
White noise is devoid of any meaningful harmonic information, so there’s not much use trying to change the pitch of noise emanating from a synth - play a synth’s noise oscillator up and down the keyboard and you’ll hear that for yourself!
However, it’s possible to create lo-fi special effects and 8-bit-style sweeps by pitching an audio region of noise in a sampler. Begin by applying a destructive or evolving effect (such as flanging or band-pass filtering) to your white noise - this creates some tonal variation, which will make the bend more noticeable. Now record a passage of this processed noise to a new audio file before loading it into a sampler for pitchbending there. Don’t forget that sampler transposition increases and decreases playback speed, shortening or lengthening the sampled noise, so employ sampler looping if needed.
Computer Music magazine is the world’s best selling publication dedicated solely to making great music with your Mac or PC computer. Each issue it brings its lucky readers the best in cutting-edge tutorials, need-to-know, expert software reviews and even all the tools you actually need to make great music today, courtesy of our legendary CM Plugin Suite.
