10 ways to 'stereoise' your sounds
Scatter mono tracks wide with our stereoisation bootcamp

Intro
Record something in a space with two mics, and you've instantly captured a stereo sound field based on the mic positions and room reflections. However, build a track from mono sound sources, and stereo won't play a part unless you make it.
In these ten tips, we're going to look at the most common ways to get from mono to stereo, adding width in an artificial way to create the stereo soundstage we desire. Without getting bogged down in the science, this boils down to artificially creating differences between the left and right channels, as well as invoking aspects of the Haas effect, whereby our ears determine where a sound source is.
At its simplest, 'stereoisation' could be panning, which introduces a level difference between left and right; or it could involve timing differences introduced using delays. Other techniques include modulation, pitchshifting and other effects that indirectly introduce some or all of these concepts, such as reverb.
Most of our techniques use readily available plugins. However, sometimes bespoke options can be good too, so we'll look at Computer Music magazine's new SideWidener (VST/VST3/AU/RTAS/AAX) plugin. This superb pseudo-stereo effect includes a handful of enhancing options, while also helping to retain mono compatibility - a subject particularly pertinent when creating stereo effects.
To round things off, we'll look at how mid/side equalisers and multiband stereo image plugins can be used to further tailor our stereo effects. Right then, pan pots at the ready.
To get videos that demonstrate all of these techniques, get your hands on Computer Music 215 (April 2015), which is on sale now.
Panning for gold
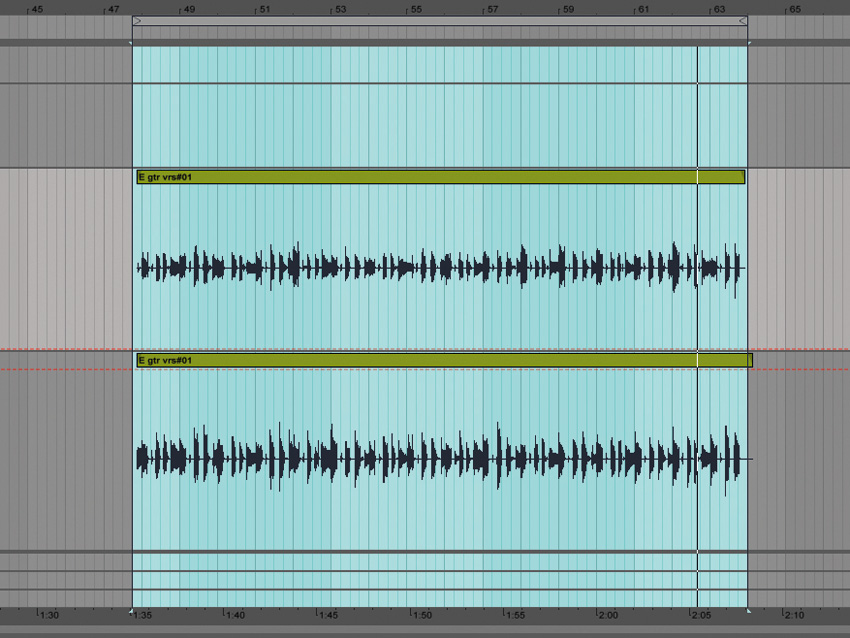
The simplest way to create stereo from multiple mono sound sources is to position them using the pan control, creating an artificial sound stage that translates very well over speakers, and reasonably well on headphones. Over time, common practices have developed to keep certain instruments in the centre (bass-heavy sounds and lead vocals), while panning others (backing vocals, keyboards, guitars etc).
One thing that bridges mono to stereo is the hard-panned double track. Double-tracking means recording the same part twice, creating two very similar versions. If using virtual instruments, you can also use two instances with subtly different settings and MIDI parts. The two can be blended in mono to create a ‘thicker’ sound, but hard-panning them adds fantastic width. When monoed, any phase cancellations sound reasonably natural.
Width from early reflections
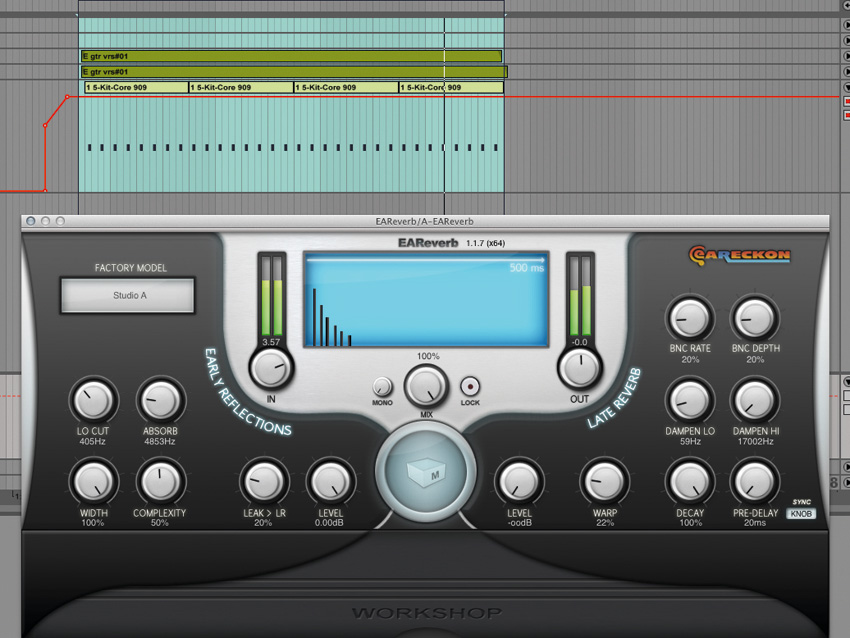
Adding reverb is a great way to spread any sound, giving it width, depth and scale. But what if you want the width without the scale? This is where early reflections can help.
Step one is to hunt down a reverb with independent control of early reflections and reverb tail (many algorithmic reverbs fit the bill). Next, simply mute the reverb tail, add the effect as an auxiliary or insert, and set the level to taste. This technique works particularly well on vocals, snares and kicks.
The microshifting trick
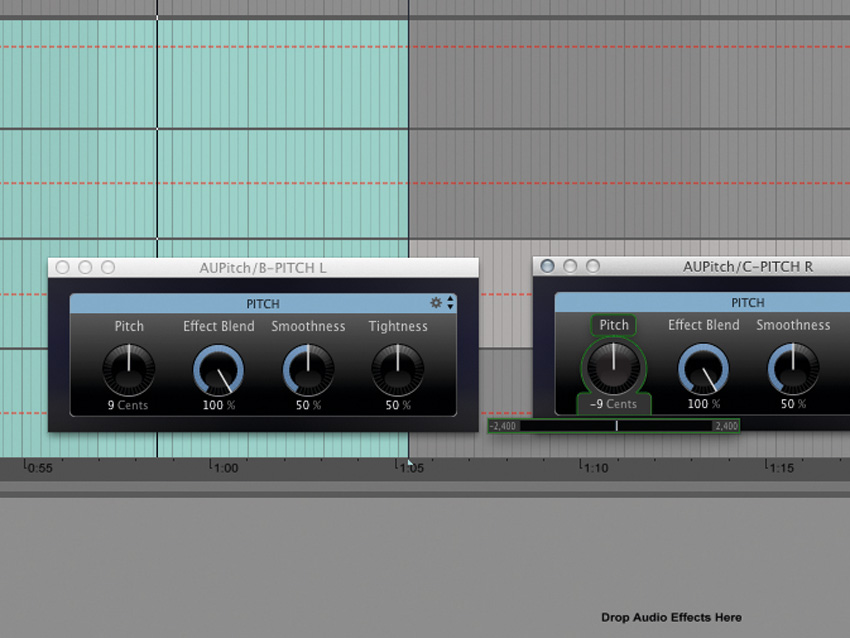
This technique was popularised by Eventide’s H3000 Harmoniser. One dry, original signed is mixed with two pitchshifted versions, hard-panned and shifted a few cents in opposite directions.
Here’s how you do it from scratch!
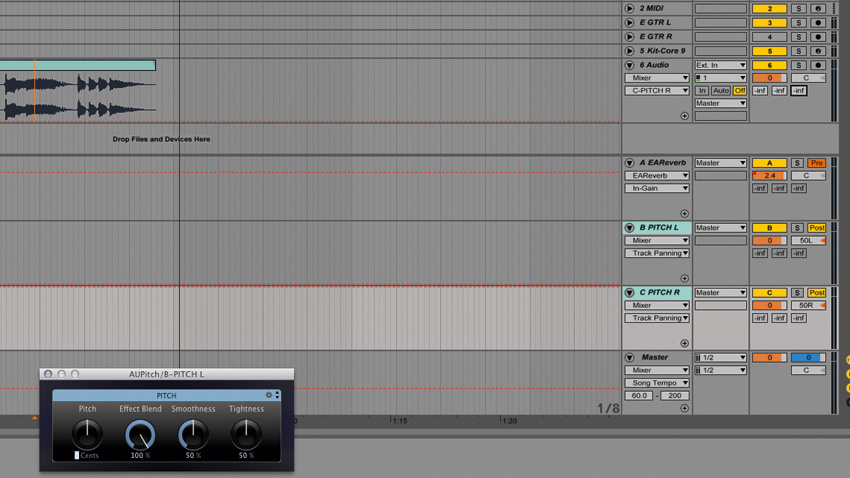
Step 1: This effect is easiest to use when set up as an auxiliary, so set up two sends, and hard-pan the returns in opposite directions to each other. Load up a couple of pitchshifting plugins, one on each return. Mac users will find the included Apple AUPitch works fine. Windows users should check out one of the many VST freebies available online.
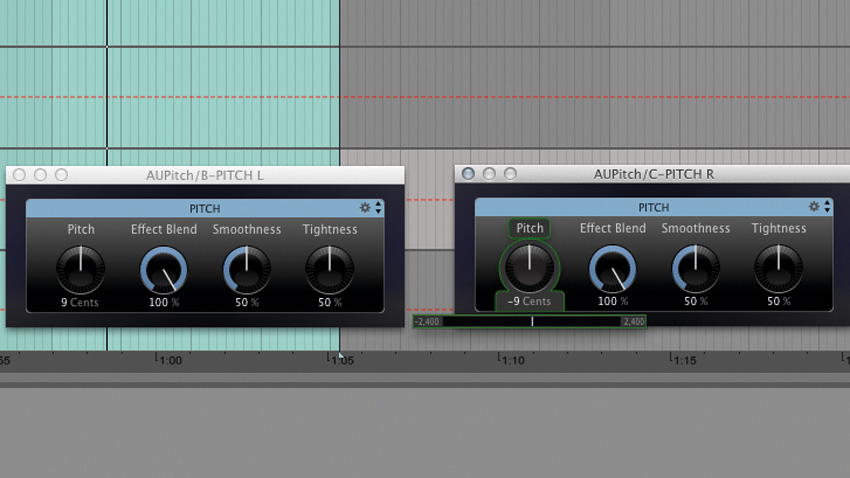
Step 2: Set the pitchshift on each to a few cents (here we’ve dialled in 9), and set one to positive and one to negative. Make sure the effect Mix is 100% on both, and adjust any further settings accordingly. Now set both sends to send equally to both auxiliaries with levels set to taste.
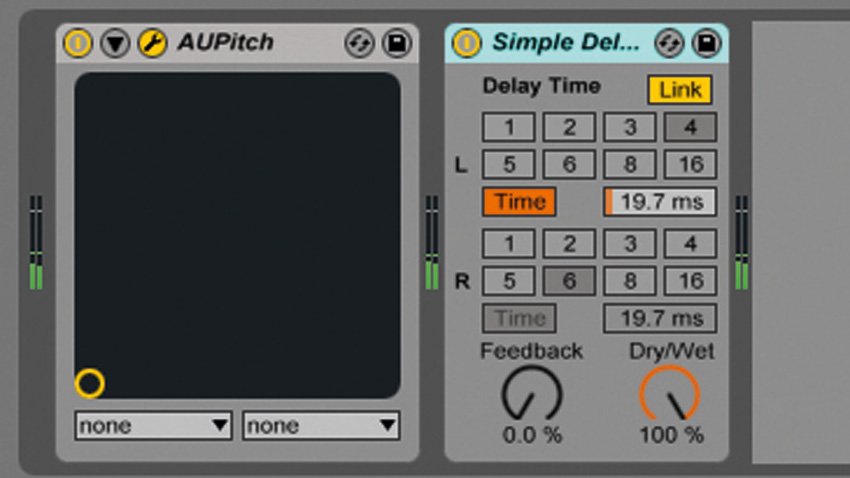
Step 3: The effect can be used in both subtle and extreme ways, but for a wilder effect, it’s also possible to factor in a small delay to one or both sides. Here we’ve placed a 20ms delay on just one return, but using different delays on each side (up to 30ms is recommended) also works well.
Dedicated stereo plugins
Setting up mono-to-stereo widening based on fundamental principles such as the Haas effect - which we discuss shortly - is perfectly valid. But sooner or later, you’ll reach the limits of regular plugins. Thankfully, a number of software developers have tackled this process, designing what we call ‘pseudo’ stereo enhancers.
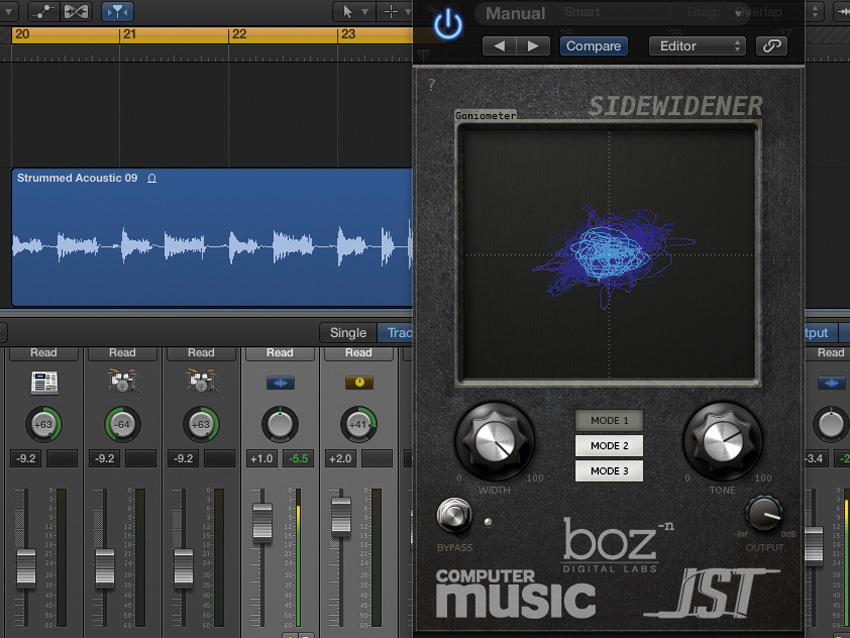
Computer Music's free SideWidener is a terrific example. Primarily for enhancing mono sources, it adds width while maintaining mono compatibility. The Tone control gradually shifts from full-frequency processing (fully clockwise) to just mid-range processing (fully anticlockwise). Meanwhile, the modes move from minimal time domain shifting (Mode 1) to maximum shifting (Mode 3). Finally, Width rebalances the stereo output using mid/side.
The three parameters allow for considerable flexibility. On vocals, try setting the Tone to fully midrange (0) and Mode 1 for a solid, wide lead sound, and then switch the Tone to full-frequency (1) and Mode 3 for a wide ‘air’ effect. On mono acoustic guitar, go for Mode 2 with maximum Width (100), and adjust the Tone setting to move from a full-body effect (0) to more subtle overall width (100). In all cases, mono compatibility is retained.
Vocals
Guitar
The Haas effect for instant stereo width
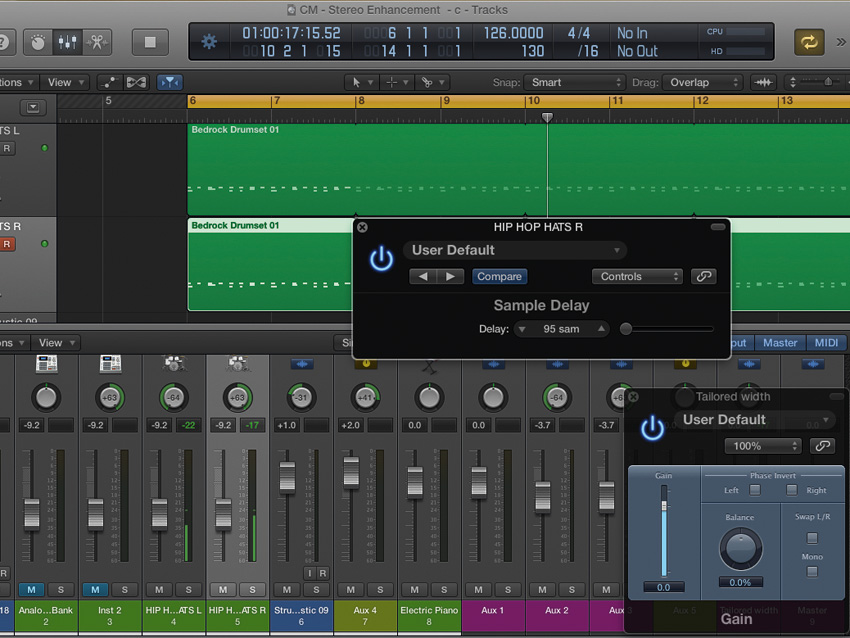
The quickest way to artificially add width employs the Haas effect, whereby tiny timing differences at each ear influence your spatial perception.
Duplicate your original sound, and hard pan each channel in opposite directions. Now delay just one channel by a few milliseconds - about 30ms at the most. Phase cancellation can be problematic with this effect, so try listening in mono and fine-tune the delay.
Dual panned Haas delays
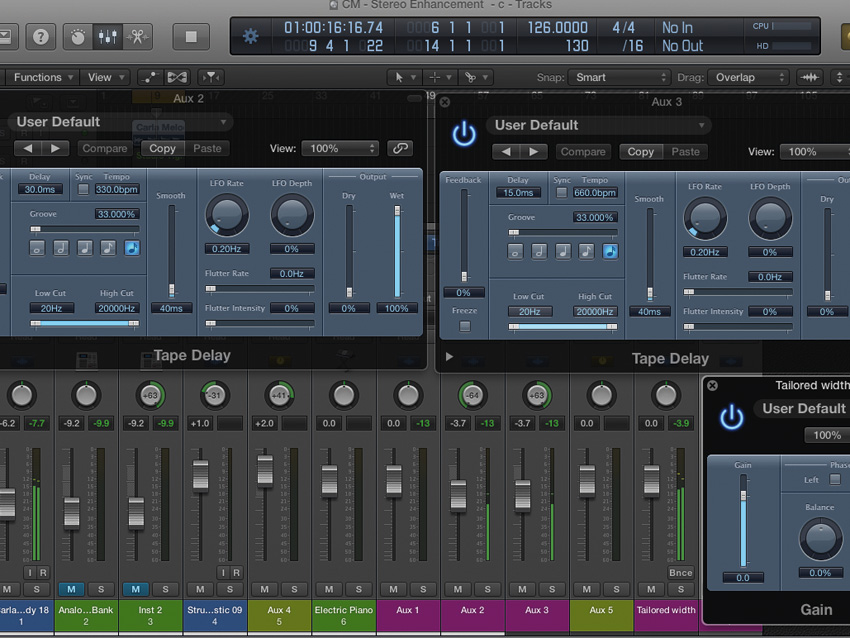
Although the single delay technique works OK for Haas widening, a more complex but often better option is twin delays - the original dry signal plus two zero-feedback delays, best achieved using a couple of hard-panned auxiliaries. We’re still making use of the Haas effect, so times must remain fairly short (less than 30ms), otherwise the delays will be perceived as individual sounds.
For the technique to work, the delays must be panned in opposite directions and have different delay times. A good starting point is 5ms and 10ms, but up to 15ms and 30ms is acceptable. As the delay times increase, the effect gets wider, although you may notice more phase cancellations in mono. The techniques work best when the delay levels are much lower-level than the original source, and this means it’s best for subtle width enhancement. Nevertheless, used in this way, the mono compatibility is good.
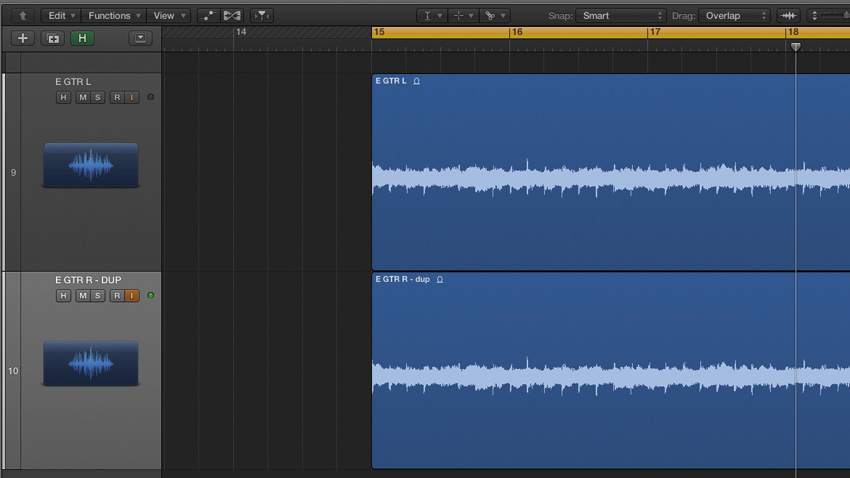
Stereoising with dual panned guitar amps
By duplicating a mono track, processing each track differently and hard panning them, it’s possible to create extra width. Take a listen and then find out how it's done...
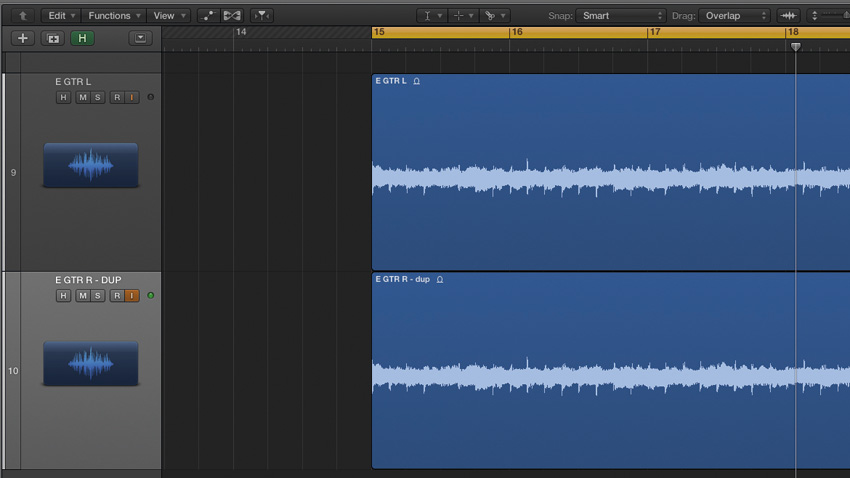
Step 1: This technique works particularly well with electric guitar amp sims, and can be very useful if double-tracking isn’t an option, or you simply have a solo part that you want to be wider. The starting point is to set up a duplicate parallel track.
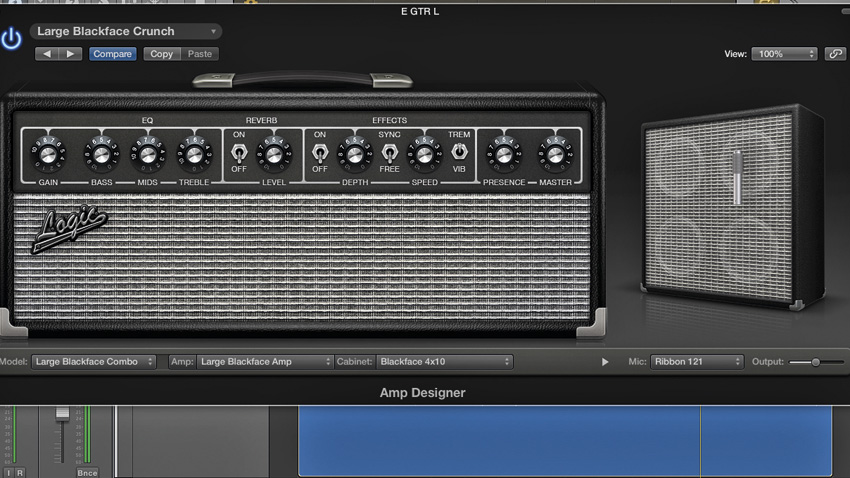
Step 2: Next, load up an amp simulation on each track and hard pan them. Remember, this technique often works better when the amp sounds differ considerably. Here, we’re trying a slightly driven sound on one amp and an overdriven sound on the other.
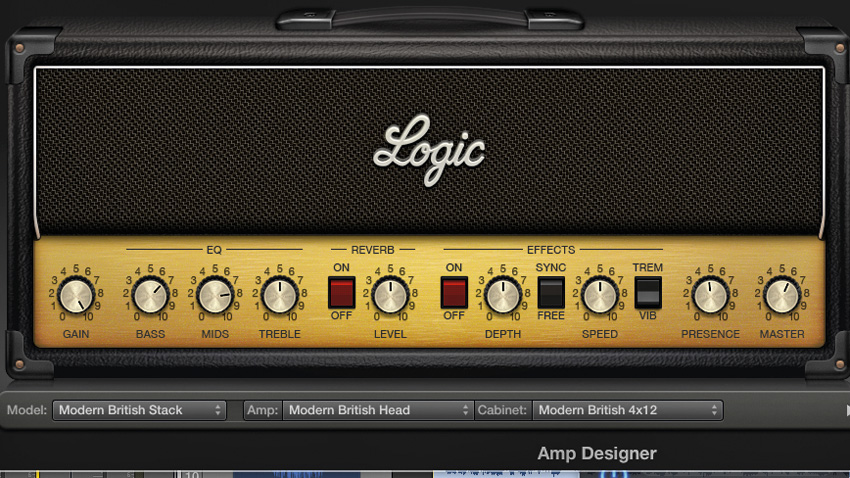
Step 3: Much of the tone in amp sims usually comes from speaker cabinet impulse responses, so take time to try different cabs and mics, positions and distances. Finally, adjust the track levels towards an even left/right balance, and monitor the output in mono to assess phase cancellation.
Modulation effects
We’ve looked at using straightforward delays to add width, but modulation is also a perfectly valid technique.
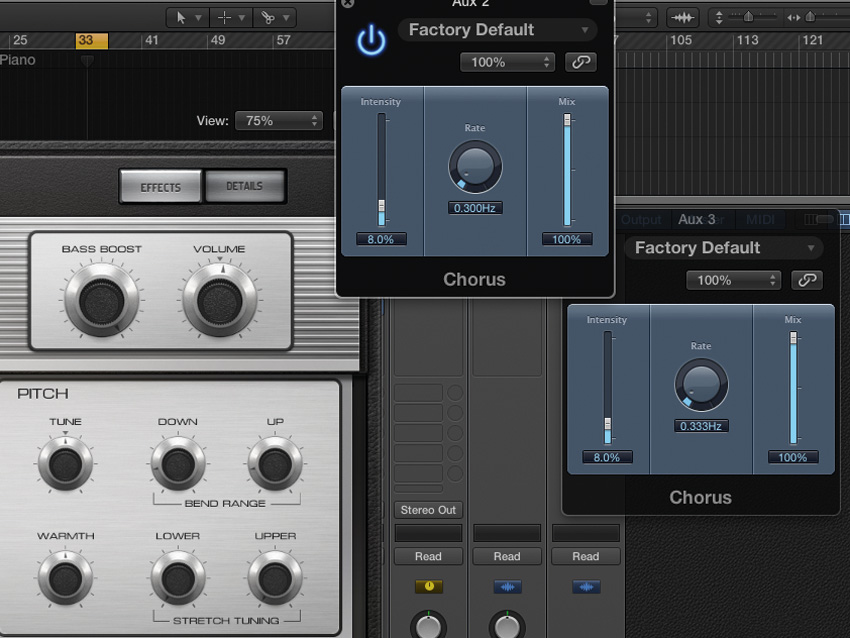
Once again, splitting the source onto two hard-panned tracks and processing only one of them works surprisingly well - though if you have a chorus plugin with split processing (such as UAD’s Boss CE-1), you can set it up on one track. If possible, set the chorus to a slow rate and low intensity, and ensure the effect mix is at 100%. This technique imparts a certain swirly modulation to the sound, and works on some sounds better than others. A good starting point is electric piano.
Retro-panned reverb
We typically use reverbs in stereo, but using them in mono also works.
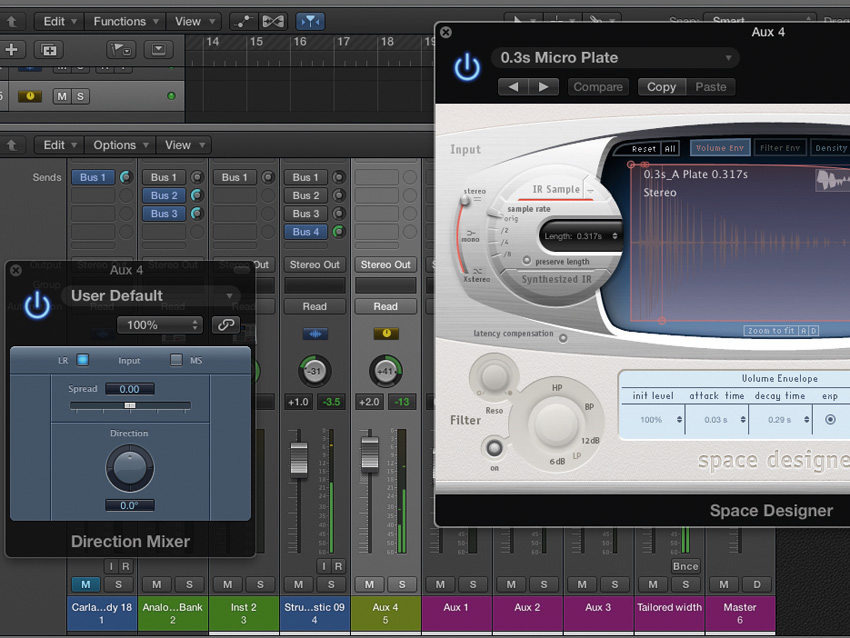
Here we’re using a technique that combines panning of the original sound source and panning of a monoed short reverb. It works best in situations where you have a mono sound that you want to keep away from the centre of the sound stage, add width to but not smear across the full stereo image. Load up a short reverb as a mono effect. If you’re unsure how to do this, simply use a stereo width plugin to make it mono. Then pan the reverb to the same degree as your source but in the opposite direction.
Tailored width
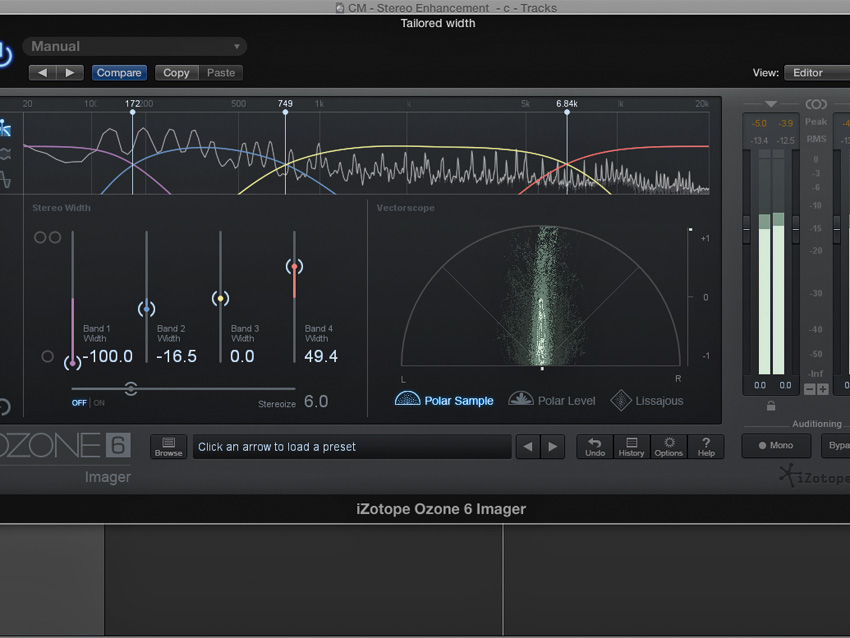
Creating artificial stereo effects may leave you with a stereo mix that needs further tailoring. Rather than simply rebalancing the image width, you can actually adjust the width of specific frequencies.
Our first method for this uses a mid/side-equipped EQ. Try boosting specific frequencies only in the sides signal to enhance its width, or filter out unwanted side frequencies to leave a focussed stereo element.
Our second method uses multiband image processors. These also use a mid/side approach but in multiple frequency bands, enabling a different approach. Plugins range from simple two-band designs (Brainworx bx_control), to complex multiband setups like iZotope’s Ozone Imager and MeldaProduction’s MStereoProcessor. Techniques to try include spreading the high frequencies, focussing on the mid range, mono-ing the lows or narrowing the low mids.
Computer Music magazine is the world’s best selling publication dedicated solely to making great music with your Mac or PC computer. Each issue it brings its lucky readers the best in cutting-edge tutorials, need-to-know, expert software reviews and even all the tools you actually need to make great music today, courtesy of our legendary CM Plugin Suite.
